Interfacing(USB – RS232 – I2c -ISP) Projects

Serial Call and Response with ASCII encoded output using Arduino

Serial Call and Response with ASCII-encoded output using Arduino

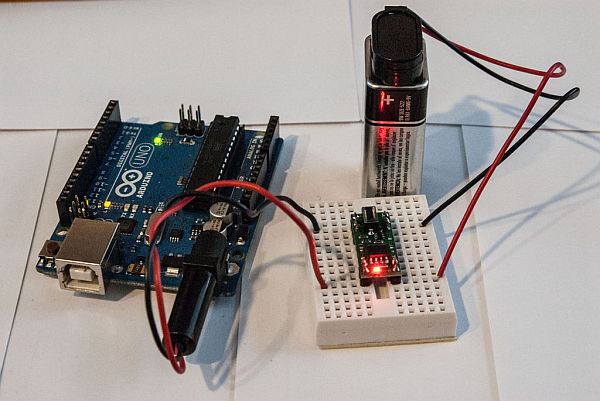
This example demonstrates string-based communication from the Arduino board to the computer using a call-and-response (handshaking) method. The sketch sends an ASCII string on startup and repeats that until it gets a serial response from the computer. Then it sends three sensor values as ASCII-encoded numbers, separated by commas and terminated by a linefeed and […]

Serial Call and Response with ASCII-encoded output using Arduino Continue Reading

Serial Call and Response using Arduino

Serial Call and Response using Arduino

This example demonstrates multi-byte communication from the Arduino board to the computer using a call-and-response (handshaking) method. This sketch sends an ASCII A (byte of value 65) on startup and repeats that until it gets a serial response from the computer. Then it sends three sensor values as single bytes, and waits for another response

Serial Call and Response using Arduino Continue Reading

Arduino Simple keyboard

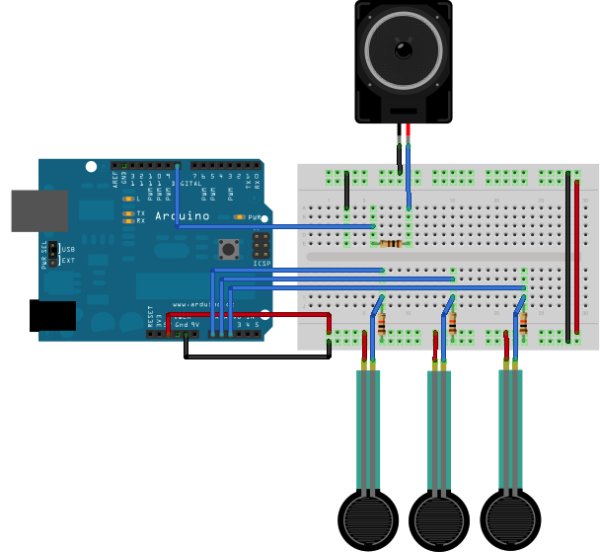
Simple keyboard using the tone() function using Arduino

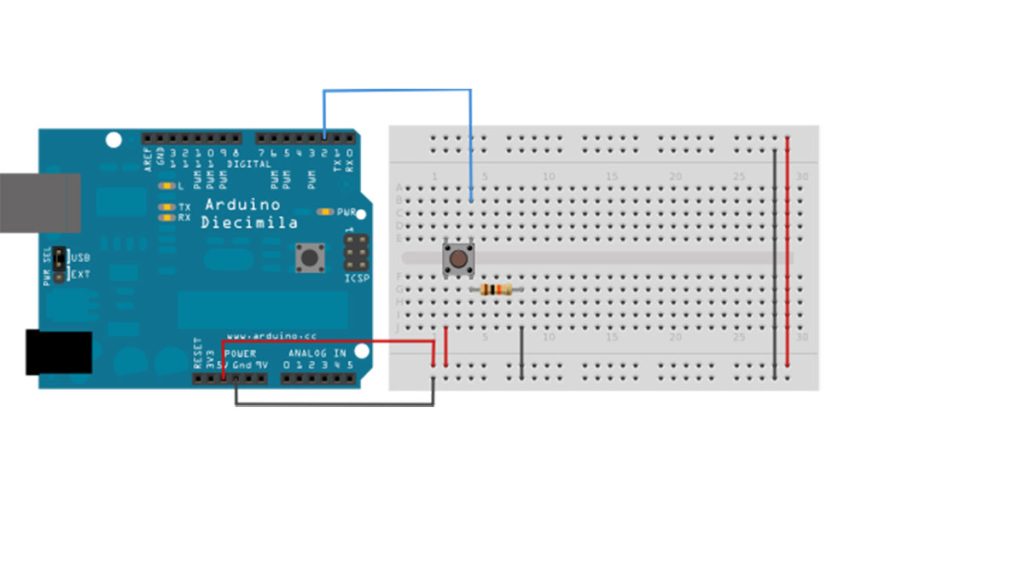
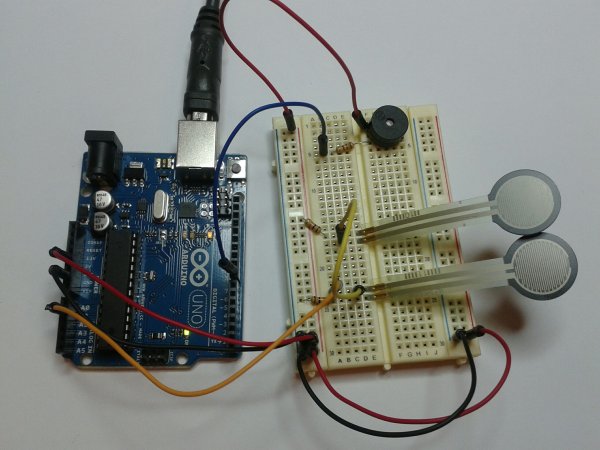
This example shows how to use the tone() command to generate different pitches depending on which sensor is pressed.   Circuit Connect one terminal of your speaker to digital pin 8 through a 100 ohm resistor, and its other terminal to ground. Power your three FSRs (or any other analog sensor) with 5V in parallel. Connect each

Simple keyboard using the tone() function using Arduino Continue Reading

Arduino MIDI Chiptune Synthesizer

Arduino MIDI Chiptune Synthesizer

Relive the fun of early computer game music with an authentic 8-bit chiptune synthesizer, which you can control over MIDI from the comfort of any modern DAW software. This simple circuit uses an Arduino to drive an AY-3-8910 programmable sound generator chip (or one of its many clones) to recreate that 1980’s sound. Unlike the many designs

Arduino MIDI Chiptune Synthesizer Continue Reading

Circuit of the PC based oscilloscope

PC-based Oscilloscope Using Arduino

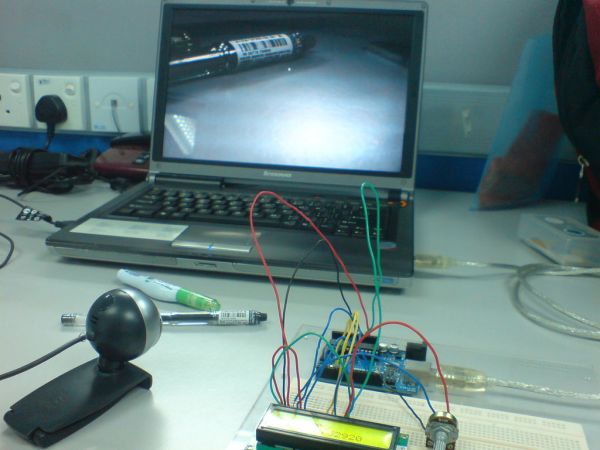
Oscilloscopes are an essential tool for electronics hobbyists and professionals to verify that their designs would work as expected. PC-based oscilloscopes score over standalone oscilloscopes due to their compact size, low cost and ability to do offline analysis. Here we describe how you can make your own oscilloscope at a very low cost using your

PC-based Oscilloscope Using Arduino Continue Reading

INTERF1

Interfacing LabVIEW With Arduino

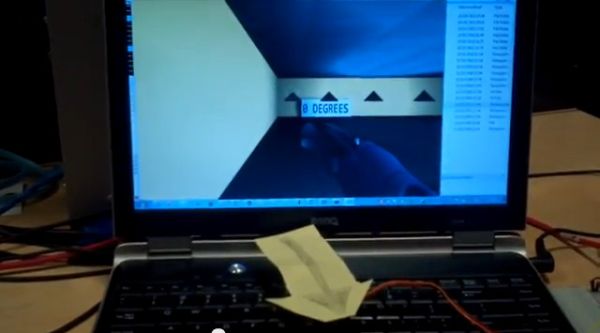
Interfacing LabVIEW With Arduino In previous article of Getting Started with LabVIEW, we have seen about LabVIEW and how it can be graphically programmed and executed in computer (software level). Now in this article we learn about How to Interface LabVIEW with Arduino Board. Requirements To interface LabVIEW with Arduino, you require the following software’s and hardware’s,

Interfacing LabVIEW With Arduino Continue Reading

Scroll to Top