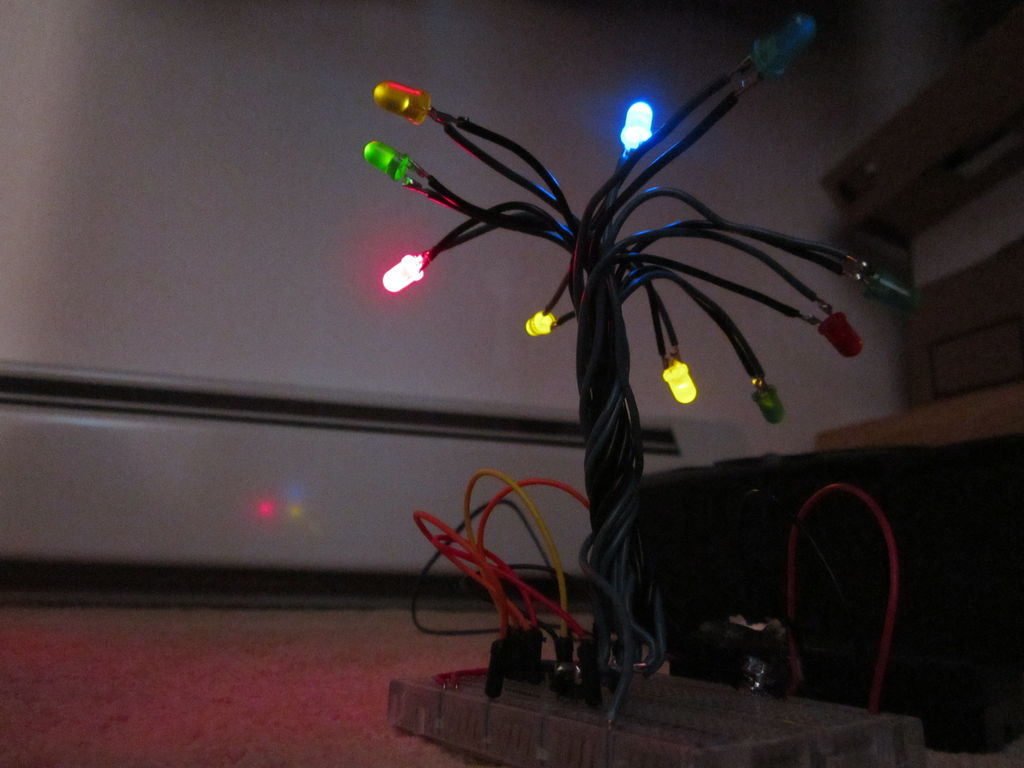
Build A Color Changing LED Tree Using Arduino
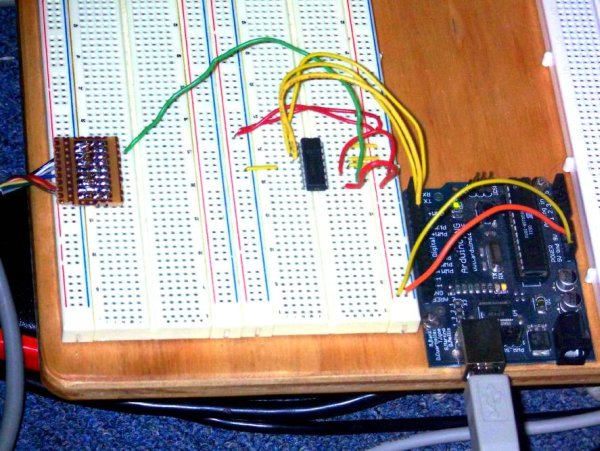
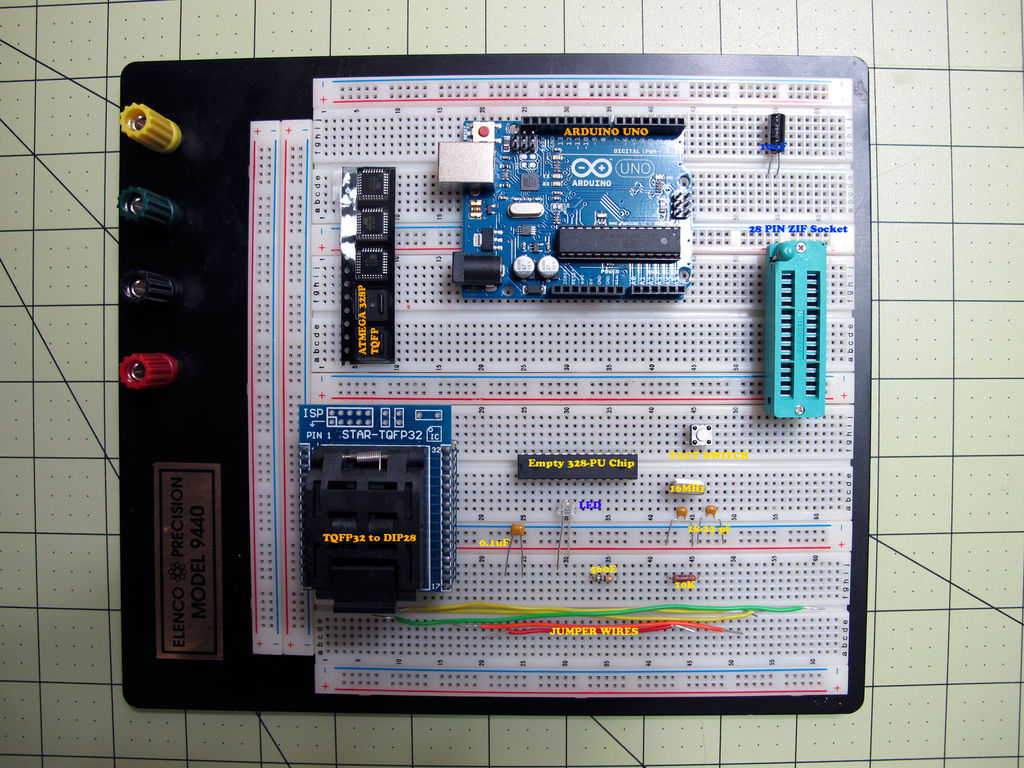
Ever wanted an LED tree? Well now you can have your LED tree and eat it too (no, wait, you probably shouldn’t).. Step 1: Gather the parts You will need: 1x ATtiny85 10x male header pins Solid core wire, 2 colors A bunch of LEDs 1x Arduino Uno to program the ATtiny Step 2: Program […]
Build A Color Changing LED Tree Using Arduino Continue Reading