Using the Arduino Serial Port
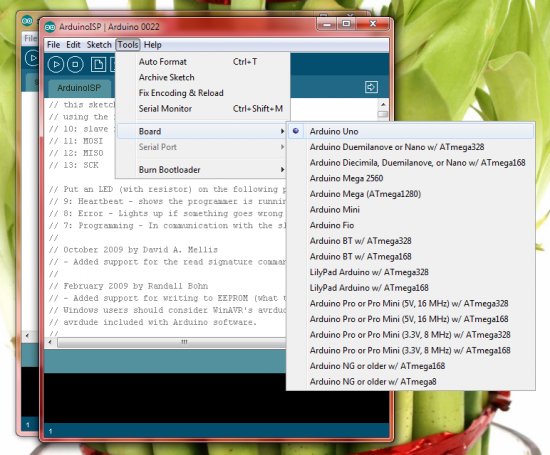
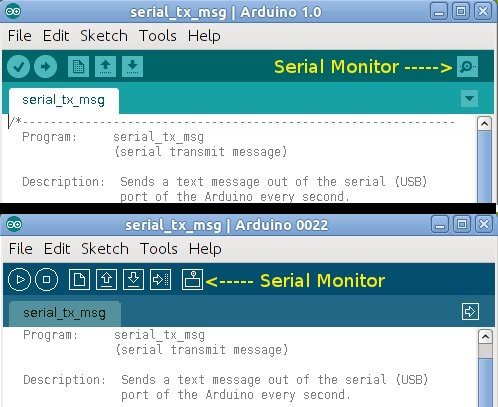
The Arduino Uno can send data (such as a text message) to the PC over the USB cable. The Arduino IDE has a serial monitor window that can be opened and will receive and display the data sent from the Arduino board. Data can also be sent to the Arduino board from the serial monitor. […]