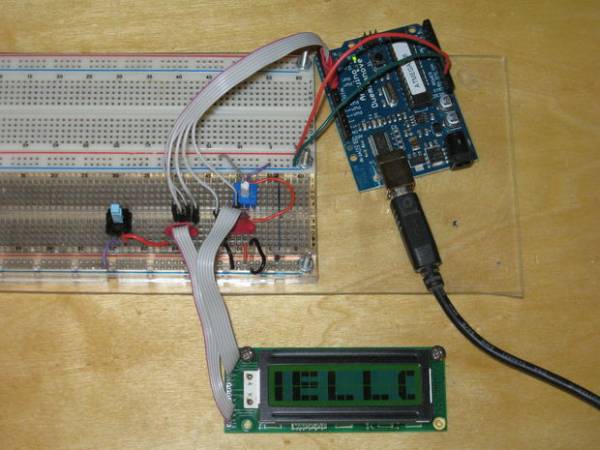
kid’s

Arduino while loop

How to use a while loop to calibrate the value of an analog sensor using Arduino

Sometimes you want everything in the program to stop while a given condition is true. You can do this using a while loop. This example shows how to use a while loop to calibrate the value of an analog sensor. In the main loop, the sketch below reads the value of a photoresistor on analog pin 0 and […]

How to use a while loop to calibrate the value of an analog sensor using Arduino Continue Reading

Serial Call and Response with ASCII encoded output using Arduino

Serial Call and Response with ASCII-encoded output using Arduino

This example demonstrates string-based communication from the Arduino board to the computer using a call-and-response (handshaking) method. The sketch sends an ASCII string on startup and repeats that until it gets a serial response from the computer. Then it sends three sensor values as ASCII-encoded numbers, separated by commas and terminated by a linefeed and

Serial Call and Response with ASCII-encoded output using Arduino Continue Reading

Arduino Calibration

Calibrating sensor input using Arduino

This example demonstrates one techinque for calibrating sensor input. The Arduino takes sensor readings for five seconds during the startup, and tracks the highest and lowest values it gets. These sensor readings during the first five seconds of the sketch execution define the minimum and maximum of expected values for the readings taken during the

Calibrating sensor input using Arduino Continue Reading

Arduino Prototyping Shield

Arduino Prototyping Shield on the cheap

Breadboards are very handy, but sometimes I just want to connect one IC or some LEDs and resistors to the controller. My simple solution was to canibalize a cheap Breadboard to get two expandable PrototypingShields with some additional features. What I used: Breadboard (~3$) 2 Pieces of Veroboard (<1$) 28 PinHeader (<1$) 28 femaleConnectors (<1$)

Arduino Prototyping Shield on the cheap Continue Reading

Input Pullup Serial using Arduino

Input Pullup Serial using Arduino

This example demonstrates the use of INPUT_PULLUP with pinMode(). It monitors the state of a switch by establishingserial communication between your Arduino and your computer over USB. Additionally, when the input is HIGH, the onboard LED attached to pin 13 will turn on; when LOW, the LED will turn off. Circuit image developed using Fritzing. For more

Input Pullup Serial using Arduino Continue Reading

Scroll to Top