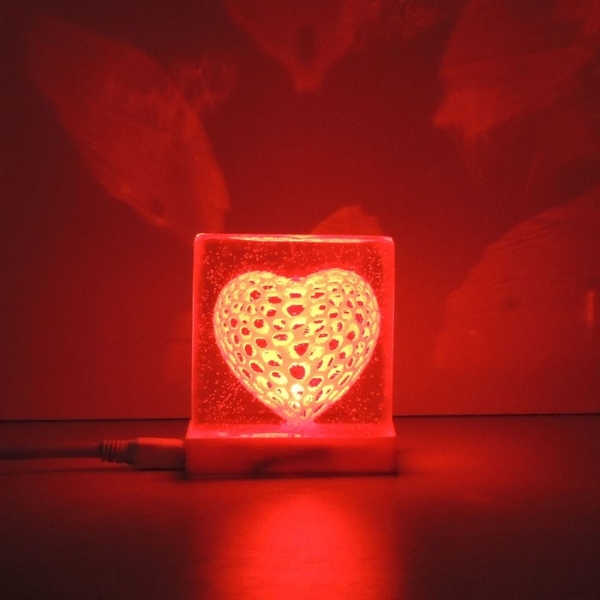
Hi makers, we are here again with a beautiful and stylish lamp Project. VORONOI HEART LAMP. In this project, we benefited from epoxy resin material and 3D printer.
Step 1: What Is VORONOI ?
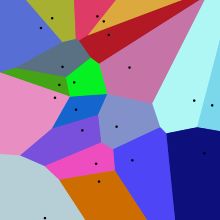
In mathematics, a Voronoi diagram is a partitioning of a plane into regions based on distance to points in a specific subset of the plane. That set of points (called seeds, sites, or generators) is specified beforehand, and for each seed there is a corresponding region consisting of all points closer to that seed than to any other. These regions are called Voronoi cells. The Voronoi diagram of a set of points is dual to its Delaunay triangulation.
Step 2: What Is EPOXY ?
Epoxy resin is known for its strong adhesive qualities, making it a versatile product in many industries. It offers resistance to heat and chemical applications, making it an ideal product for anyone needing a strong hold under pressure. Epoxy resin is also a durable product which can be used with various materials, including: wood, fabric, glass, china or metal.
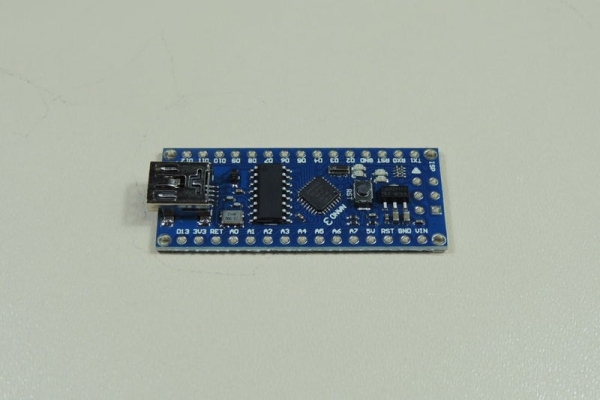
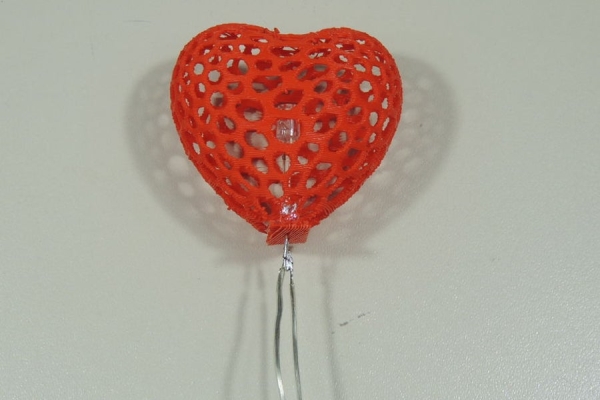
So we think about Voronoi heart. We designed it as a lamp. There is no more materials. You will find them easly. In this project, we are using just Arduino Nano, a resistor and a red led. That’s it. After you have a Voronoi heart lamp, use it yourself or give it to your loved ones. We bet they’ll certainly like it.
Step 3: Materials
We need some electonic and printable materials . As you can see in pics;
– Arduino Nano
– Red Led
– Voronoi Heart
– Boxes
– Epoxy Resin + Hardener
Step 4: Making Epoxy
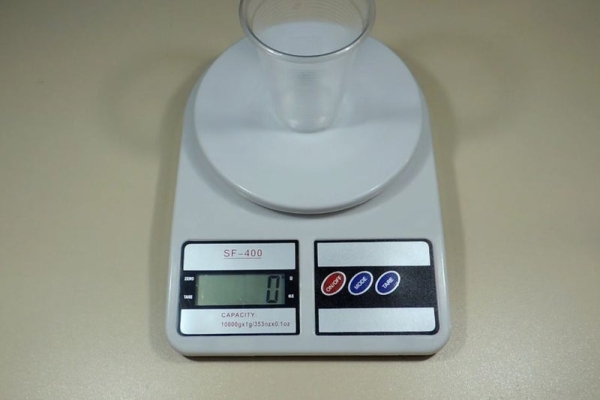
Firstly, we are starting with epoxy. we need resin and hardener. we have 100%. 20% Hardener + 80% resin.
Step 5: Assemble Voronoi Heart and Led

We are soldering the led legs. and than we put it into the voronoi heart. as you can see pics.
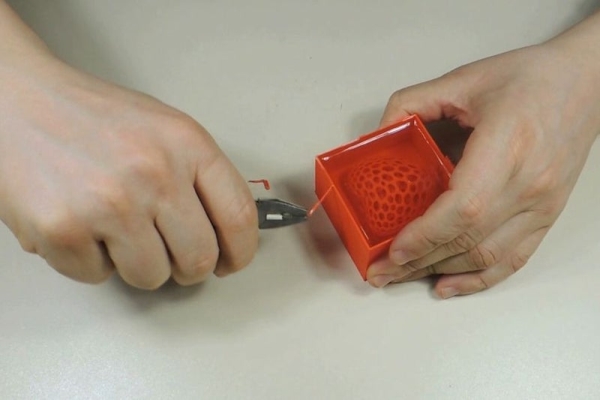
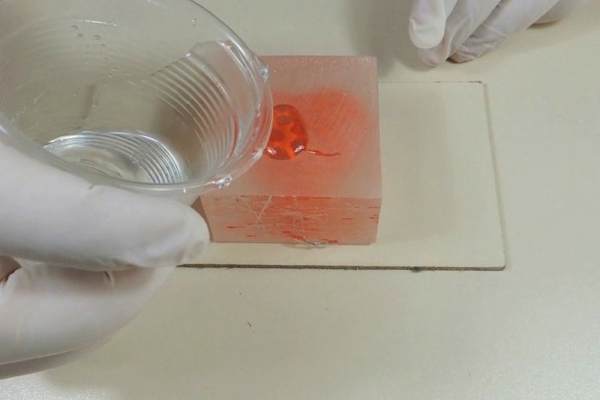
Step 6: Filling Epoxy
now we have voronoi heart with led. We are putting it in a box. This box will be a mold. Than we will split them for epoxy.
NOT: please wait min 2 days for drying epoxy. This is important
Step 7: Split and Sand
Step 8: Again Epoxy
Step 9: Electronic Connections
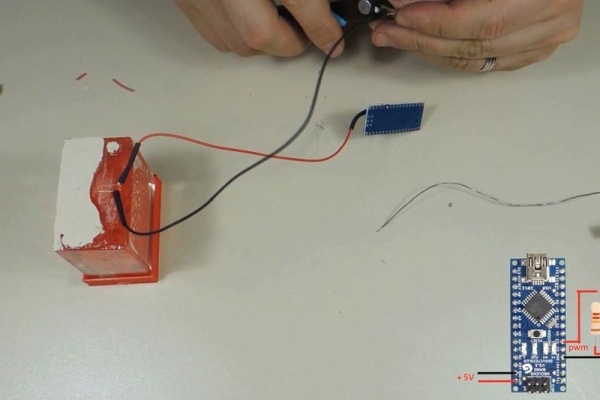
Connection is simple. Just need a few materials.
Source: VORONOI HEART LAMP