
Summary of Using the Parallax RFID Reader with an Arduino
This article introduces a simple project using the Parallax RFID reader with an Arduino board for hardware-based authentication. The setup requires only four wires and utilizes the serial protocol to transmit data from RFID cards. The guide outlines the necessary components and provides a specific pin mapping configuration to connect the reader to the Arduino, making it an accessible introduction for beginners.
Parts used in the Parallax RFID Reader Project:
- Four jumper wires
- Parallax RFID reader
- Arduino development board
- Optional breadboard
f you’ve ever wanted the ability to use some form of hardware-based authentication in your projects then this is the board to do it with. The Parallax RFID (Radio Frequency Identification) reader is super easy to configure. It only takes four wires! It uses serial protocol to transfer information from RFID cards to the Arduino. This project is a quick introduction to using this RFID reader with the Arduino system.
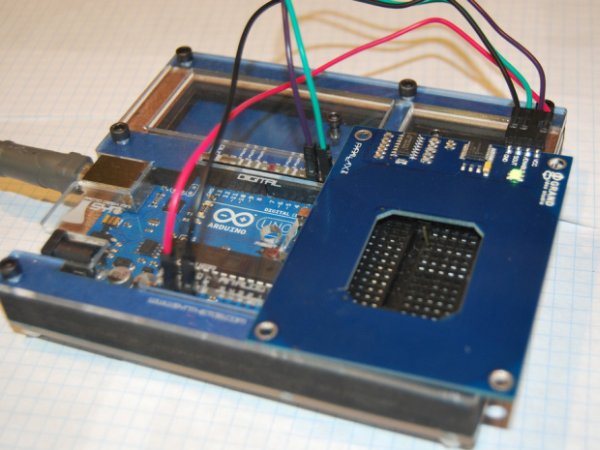
Step #1:
- This step is simple. Just gather up your needed components. You will need:
- Four jumper wires
- Parallax RFID reader
- Arduino development board
- Optional breadboard
- That’s it! Moving on….
Step #2:
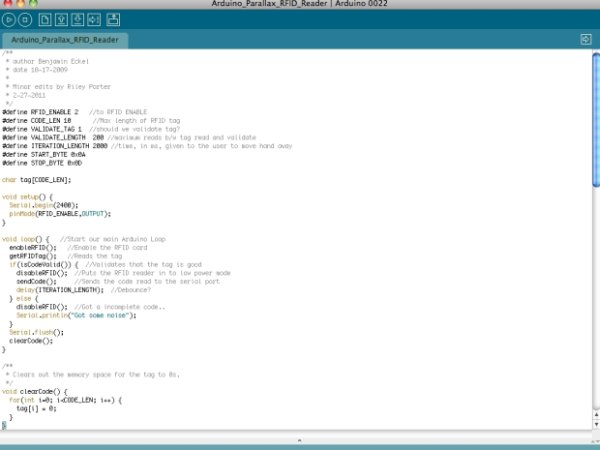
- Wire the RFID reader to the Arduino. Follow the pin mapping text below.
- Arduino Rx = RFID SOUT
- Arduino D2 = RFID Enable
- Arduino GND = RFID GND
- Arduino 5v = RFID VCC
- D2 means digital pin number 2.
Major Components in Project
Arduino
For more detail: Using the Parallax RFID Reader with an Arduino
- What is the main purpose of this project?
To use hardware-based authentication in projects. - How many wires are required to configure the Parallax RFID reader?
It only takes four wires. - Which protocol does the reader use to transfer information?
It uses the serial protocol. - What is the connection between Arduino Rx and the RFID reader?
Arduino Rx connects to RFID SOUT. - How do you connect the Enable pin on the RFID reader?
Connect it to Arduino D2. - What is the wiring for the GND pins?
Arduino GND connects to RFID GND. - Which Arduino pin supplies power to the RFID VCC?
The 5v pin on the Arduino connects to RFID VCC. - Is a breadboard mandatory for this project?
No, a breadboard is optional. - What does D2 refer to in the pin mapping?
D2 means digital pin number 2. - Can this setup be used with the Arduino system?
Yes, this is a quick introduction to using the reader with the Arduino system.
