
Summary of The Simplest Buzzer Tutorial; Using Arduino
Lets make a Simple Quiz Buzzer using Arduino that sounds a buzzer when a player presses a switch and can play tunes. The project uses an Arduino Uno, a buzzer, a push switch, and a 100 ohm resistor wired with the buzzer positive to digital pin 13 through the resistor and/or switch, and the buzzer negative to ground. The setup supports a basic quiz game buzzer and simple melodies via Arduino code.
Parts used in the Simple Quiz Buzzer:
- Arduino Uno
- Buzzer
- Switch (push button)
- 100 ohm resistor
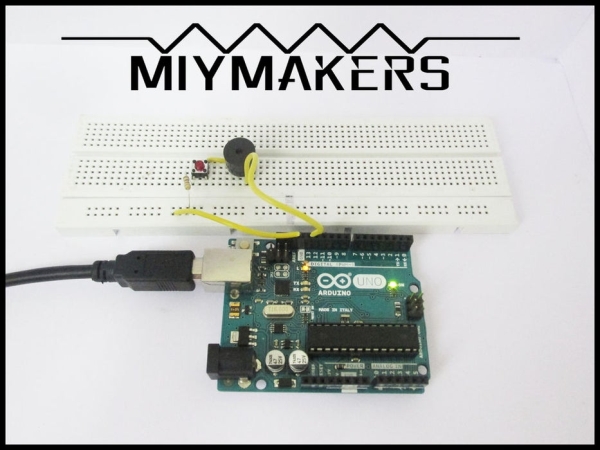
Hey Makers,
Lets make a Simple Quiz Buzzer using Arduino!
Step 1: What We Can Do With It?
What we can do with it?
>Quiz Game Buzzer
>Play Tunes and lots more………….
Step 2:
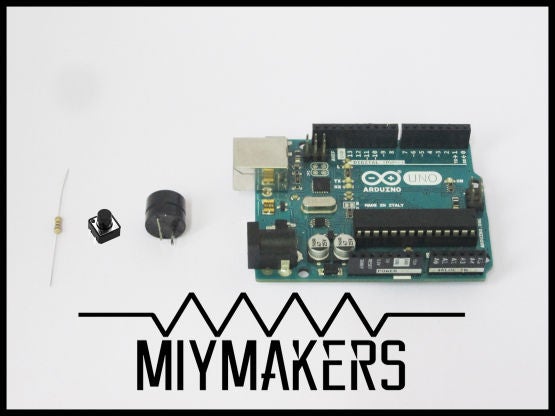
Things Required
>Arduino Uno (Buy From Amazon.in) (Buy From Amazon.com)
>Buzzer (Buy From Amazon.in) (Buy From Amazon.com)
>Switch (Buy From Amazon.in)(Buy From Amazon.com)
>100ohm Resister (Buy From Amazon.in)(Buy From Amazon.com)
Step 3: Circuit
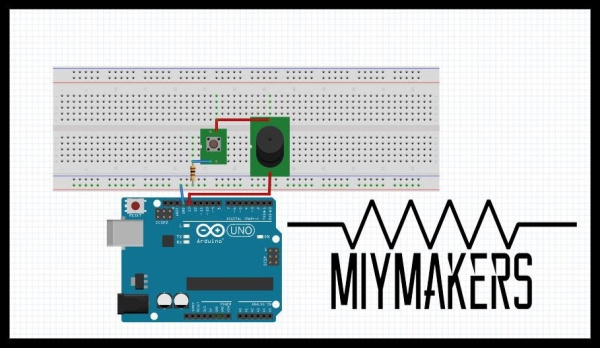
Connect Arduino According to the Circuit
> Digital pin 13- Buzzer Positive (Via Resistor/Switch)
> Gnd -Buzzer Negative (Directly)
Read more: The Simplest Buzzer Tutorial; Using Arduino
- What can this Simple Quiz Buzzer do?
It functions as a quiz game buzzer and can play tunes and other sounds via Arduino. - Which Arduino pin is used for the buzzer positive connection?
Digital pin 13 is used for the buzzer positive connection via the resistor and/or switch. - Where is the buzzer negative connected?
The buzzer negative is connected directly to ground (Gnd). - Is a resistor required in the circuit?
The circuit uses a 100 ohm resistor between digital pin 13 and the buzzer positive (and/or switch). - What switch is used in the project?
A push switch is used to trigger the buzzer. - Can the buzzer play tunes?
Yes, the project notes the buzzer can play tunes and more via Arduino code. - What components are needed to build the buzzer?
The required components are an Arduino Uno, a buzzer, a switch, and a 100 ohm resistor.
