As summer is coming, I bought a USB fan from HuaQiangBei, Shenzhen. However, when I focus myself on work(or game), I could hardly notice its existence. If I can teach it how to think and execute its duty without my order, that will be more practical and fun! So roll your sleeves and follow me to refit a temp-controlled fan!
Step 1:
The structure of USB fan is pretty simple. When you break it down(or even you don’t need to, just think in your mind), you can find it just consists of a motor and a key. To make it controllable, turn it over, screw out the screws then we can continue to the next step.
Step 2: Solder the controlling wires
First of all, you need two wires. Then solder them on two ends of the key. It doesn’t matter which side is positive and which side is negative. They function in the same way.
Step 3: Wire up the Relay
Step 4: Combine the stuff
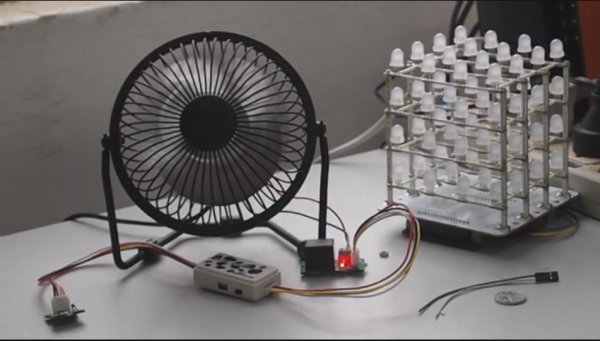
The temperature sensor, relay board and MilCandy are all members of Grove plug-and-play system. In this step, find two Grove cables to connect all the stuff. The “eye” of the MilCandy, AKA temperature sensor, should be connected to the input side of MilCandy. And the “hand”, AKA relay, should be connected to the output side of it. Then they are ready to go.
For more detail: Temperature-controlled USB fan using Arduino