ESP8266 Weather Station with Arduino – #1 Hardware
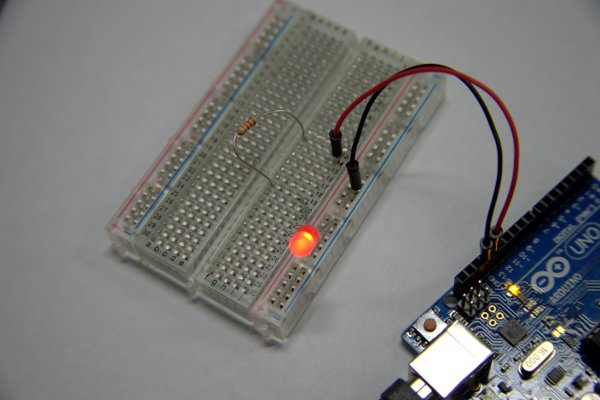
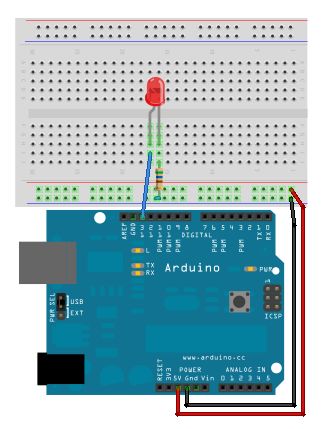
Background I read about the ESP8266 first in March this year and I didn’t know what to do with. And now I’m really fascinated how easy the connection of an Arduino to the Internet can be. Like others I set up a weather station on a breadboard first and sent data to thingspeak.com. This ends […]
ESP8266 Weather Station with Arduino – #1 Hardware Continue Reading