circuit

THE APOLLO DIGITAL RANGING SYSTEM MORE THAN MEETS THE EYE

THE APOLLO DIGITAL RANGING SYSTEM: MORE THAN MEETS THE EYE

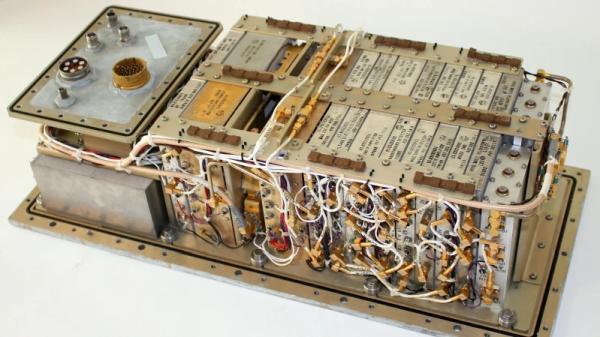
If you haven’t seen [Ken Shirriff]’s teardowns and reverse engineering expeditions, then you’re in for a treat. His explanation and demonstration of the Apollo digital ranging system is a fascinating read, even if vintage computing and engineering aren’t part of your normal fare. The average Hackaday reader should be familiar with the concept of determining the distance

THE APOLLO DIGITAL RANGING SYSTEM: MORE THAN MEETS THE EYE Continue Reading

APEXEL ET8103 IS AN INTELLIGENT DIGITAL MULTIMETER WITH NO KNOB

APEXEL ET8103 IS AN INTELLIGENT DIGITAL MULTIMETER WITH NO KNOB

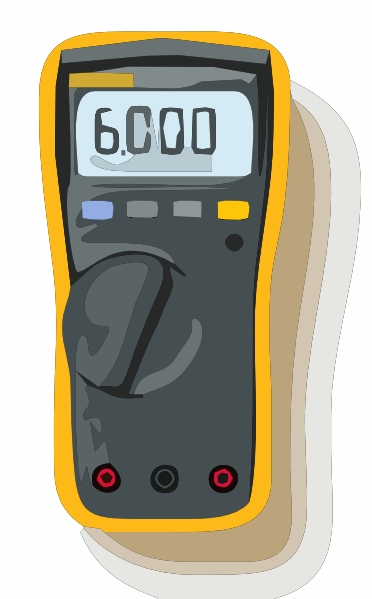
A digital multimeter is an electronics measurement tool which is a necessary and powerful tool for every hacker, engineer, and maker. It can be used as a voltmeter, ohmmeter, ammeter, continuity meter, and some even offer more features than this. At the hand of a creative hacker, it might just be the only debugging or measurement tool

APEXEL ET8103 IS AN INTELLIGENT DIGITAL MULTIMETER WITH NO KNOB Continue Reading

64 KEY INFRARED REMOTE CONTROLLER USING PT2222M – NEC CODE

64 KEY INFRARED REMOTE CONTROLLER USING PT2222M – NEC CODE

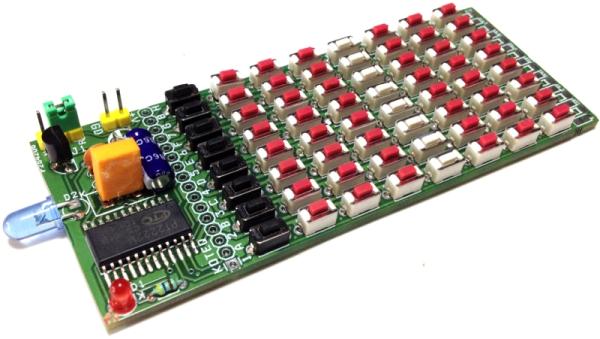
64 channels Infra-Red Remote Transmitter circuit build around PT2222M IC, The IC is pin to pin compatible with NEC uPD6122 respectively, the remote is capable of controlling 64 functions keys and 3 double keys. The PT2222M Infra-red remote control transmission ICs using the NEC transmission format that is ideally suited for TVs, DVD Players, Audio

64 KEY INFRARED REMOTE CONTROLLER USING PT2222M – NEC CODE Continue Reading

breadboarding

Introduction to Arduino Using TinkerCAD Simulator: No Hardware Required

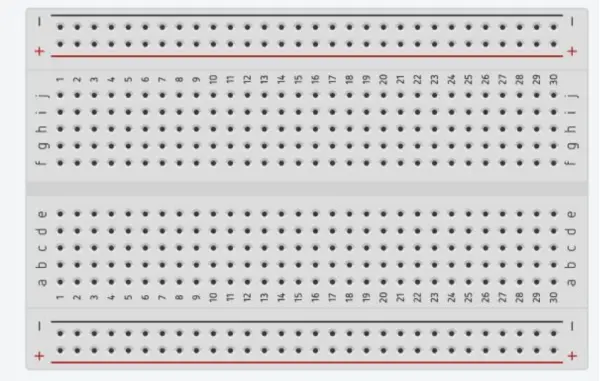
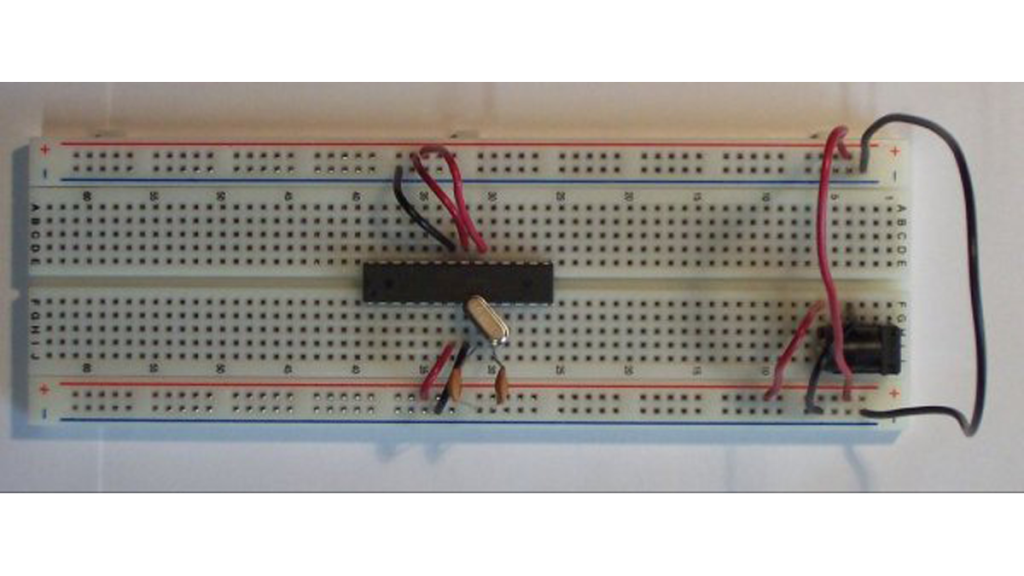
Context and Preparation Getting started with tinkering on Microcontrollers can often be hindered by the need to purchase hardware. In this tutorial, we offer an introduction to Arduino that requires no prior experience and no physical hardware. Instead, we will utilize an Arduino simulator called TinkerCAD. However, for those who do have the hardware, we

Introduction to Arduino Using TinkerCAD Simulator: No Hardware Required Continue Reading

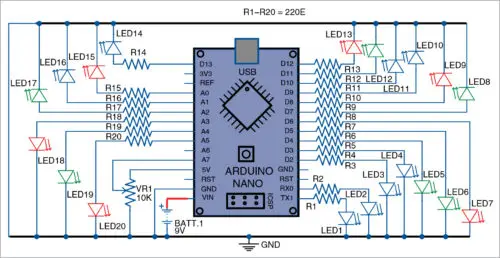
Circuit diagram of the LED flasher using Arduino

Dazzle Your Eyes with a Twinkling LED Symphony: Learn to Create Your Own LED Display

This circuit demonstration showcases a random LED flasher controlling twenty lights. LED flashers and sequencers are commonly employed in decorative lighting applications to produce aesthetically pleasing color patterns. Rather than steadfast illumination, these systems cycle LEDs on and off in either a predetermined sequence or at irregular intervals. The latter approach generates a more dynamic,

Dazzle Your Eyes with a Twinkling LED Symphony: Learn to Create Your Own LED Display Continue Reading

IoT Set up to Operate control 220 240 Volt AC Bulb Device NodeMCU Amica 5V Relay MQTT Arduino IDE Web Browser HTML JavaScript jQuery

IoT Set-up to Operate/control 220-240 Volt AC Bulb/Device; NodeMCU Amica + 5V Relay + MQTT + Arduino IDE + Web Browser (HTML + JavaScript/jQuery)

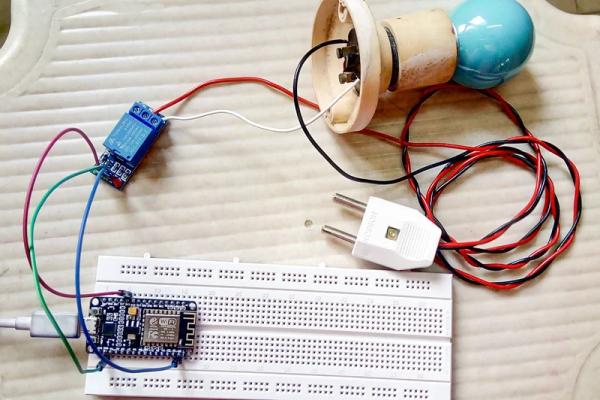
What are we messing with? IoT (Internet of things) set-up to operate/control 220-240 Volt AC Bulb/Device NodeMCU Amica + 5V Relay + MQTT + Arduino IDE + Web Browser (HTML + JavaScript/jQuery) WARNING!! – THIS PROJECT INVOLVES WORKING WITH HIGH VOLTAGES THAT CAN CAUSE SERIOUS INJURY, DEATH, AND/OR SET YOUR HOUSE ON FIRE. PLEASE PROCEED

IoT Set-up to Operate/control 220-240 Volt AC Bulb/Device; NodeMCU Amica + 5V Relay + MQTT + Arduino IDE + Web Browser (HTML + JavaScript/jQuery) Continue Reading

Drawing an Arduino Circuit Diagram

Drawing an Arduino Circuit Diagram

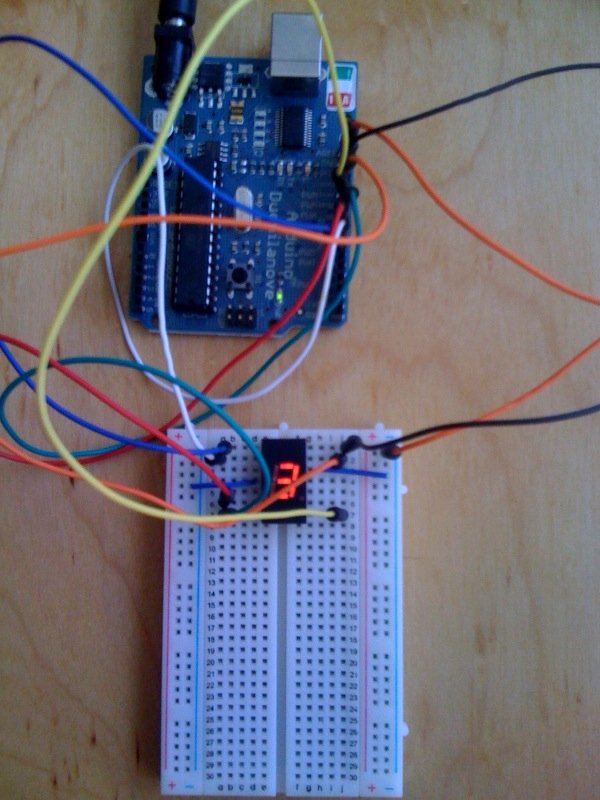
I’ve been in possession of an Arduino Duemilanove for a couple of weeks. If you are unfamiliar with the Arduino, it is defined as “a platform for creating electronics prototypes using adaptable, user-friendly hardware and software”. The setup consists of a small microcontroller, a USB port for programming on a computer, a power socket for

Drawing an Arduino Circuit Diagram Continue Reading

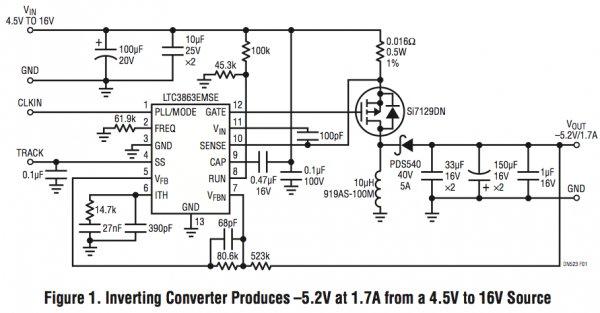
AppNote Inverting controller converts a positive input to a negative output with a single inductor

AppNote: Inverting DC/DC controller converts a positive input to a negative output with a single inductor

There are several ways to produce a negative voltage from a positive voltage source, including using a transformer or two inductors and/or multiple switches. However, none are as easy as using the LTC3863, which is elegant in its simplicity, has superior efficiency at light loads and reduces parts count compared to alternative solutions. Advanced Controller

AppNote: Inverting DC/DC controller converts a positive input to a negative output with a single inductor Continue Reading

Scroll to Top