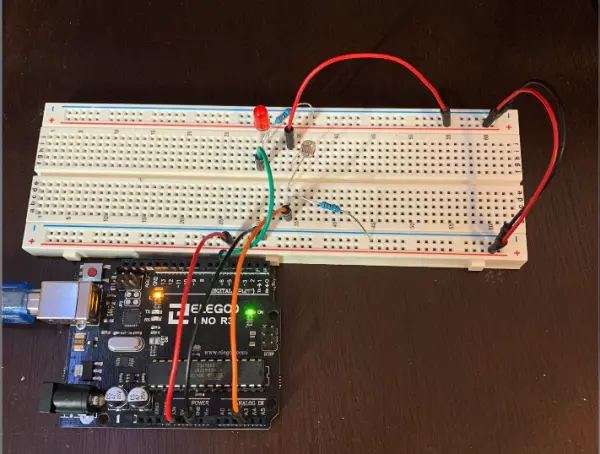
circuit

Arduino Based Smart Parking System with IR Sensor Integration

Arduino-Based Smart Parking System with IR Sensor Integration

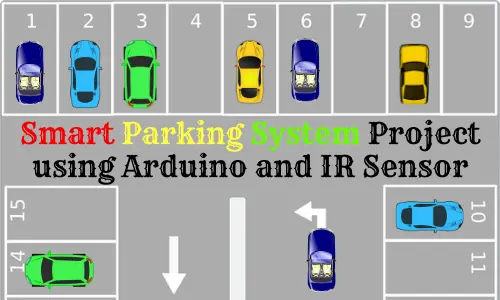
Good day, ElectroDuino community! We are delighted to have all of you back to our site. In today’s session we will be learning the Smart Parking System Project based on Arduino, IR Sensors and servo Motors. The above considerations of explaining the project concept, thinking through the approach, using a block diagram, determining components, using

Arduino-Based Smart Parking System with IR Sensor Integration Continue Reading
Implementing Automation TSOP 1738 Sensor and Arduino Applications

Implementing Automation: TSOP 1738 Sensor and Arduino Applications

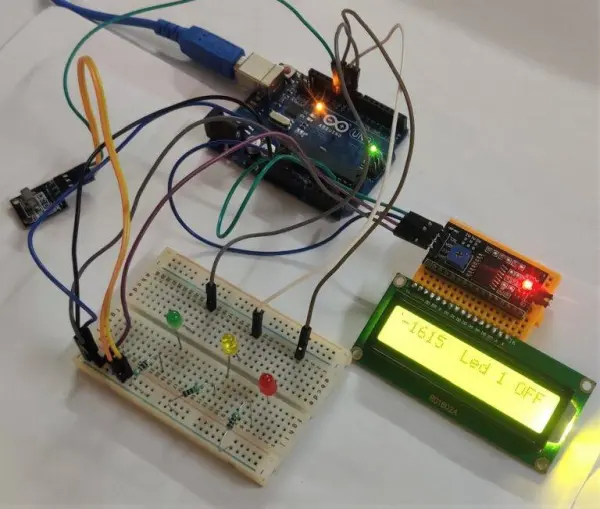
Introduction Hello, tech enthusiasts! Welcome once again to Techatronic. We trust that you’re familiar with the concept of automation, which happens to be quite popular these days. In this piece, we’ll delve into the process of automating three LEDs utilizing a TSOP 1738 sensor module along with an Arduino UNO. Follow the circuit layout provided,

Implementing Automation: TSOP 1738 Sensor and Arduino Applications Continue Reading

Arduino Powered Bidirectional Counter with IR Sensor

Arduino-Powered Bidirectional Counter with IR Sensor

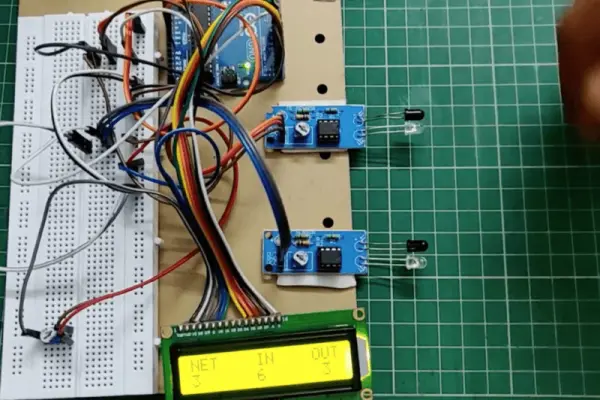
Hello everyone, welcome back to Techatronic. Today, we’re diving into a highly practical project – the Bidirectional Counter. Our goal with this project is to tally individuals passing through the sensor. Bidirectional counters have become increasingly prevalent, especially aiding us during the pandemic. They find specific utility in seminar halls and conference rooms, accurately recording

Arduino-Powered Bidirectional Counter with IR Sensor Continue Reading

Exploring Arduino LED Control using Rotary Encoder

Exploring Arduino: LED Control using Rotary Encoder

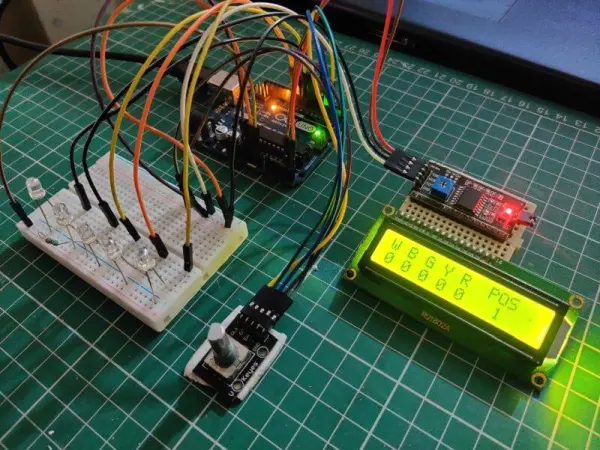
Introduction Hello everyone, welcome back to Techatronic. Within this article, we’ll be creating an Arduino LED project using a rotary encoder and a 16×2 LCD module. To ensure ease of understanding, we’ve included circuit diagrams and detailed connection descriptions for each setup. The rotary encoder comprises 5 pins, two for power and three for data.

Exploring Arduino: LED Control using Rotary Encoder Continue Reading

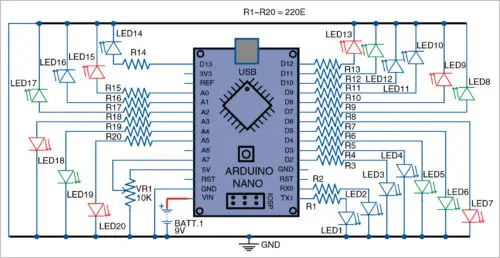
Circuit diagram of the LED flasher using Arduino

Dazzle Your Eyes with a Twinkling LED Symphony: Learn to Create Your Own LED Display

This circuit demonstration showcases a random LED flasher controlling twenty lights. LED flashers and sequencers are commonly employed in decorative lighting applications to produce aesthetically pleasing color patterns. Rather than steadfast illumination, these systems cycle LEDs on and off in either a predetermined sequence or at irregular intervals. The latter approach generates a more dynamic,

Dazzle Your Eyes with a Twinkling LED Symphony: Learn to Create Your Own LED Display Continue Reading

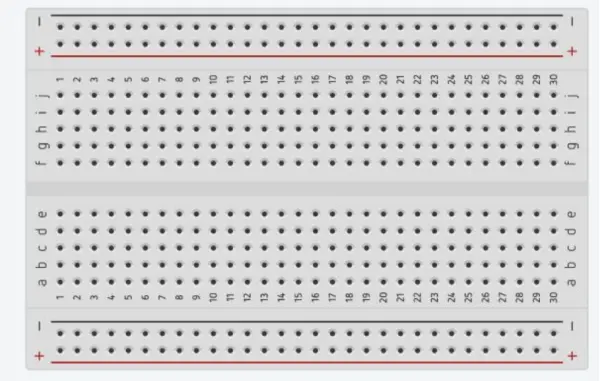
breadboarding

Introduction to Arduino Using TinkerCAD Simulator: No Hardware Required

Context and Preparation Getting started with tinkering on Microcontrollers can often be hindered by the need to purchase hardware. In this tutorial, we offer an introduction to Arduino that requires no prior experience and no physical hardware. Instead, we will utilize an Arduino simulator called TinkerCAD. However, for those who do have the hardware, we

Introduction to Arduino Using TinkerCAD Simulator: No Hardware Required Continue Reading

Night Light

Arduino Project Challenge: Exploring Sensor Readings and Component Control

HW9 – Arduino The Task: In our Arduino project challenge, we were free to create anything of our liking, with the only requirement being that the circuit must either read a sensor or control an active component. During a class session, a practice example was demonstrated, involving a humidity sensor, LED, potentiometer, and LCD screen.

Arduino Project Challenge: Exploring Sensor Readings and Component Control Continue Reading

Scroll to Top