Projects

Getting Started With the Particle Photon Internet Controlled LEDs

Getting Started With the Particle Photon (Internet Controlled LEDs)

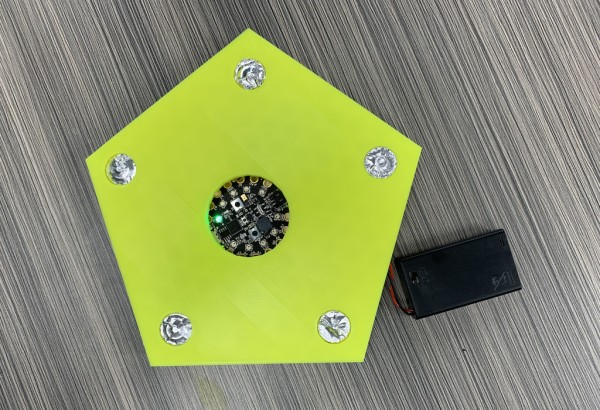
In the previous instructable I showed you how to get started with IoT using the nodeMCU, in this instructable I will be featuring the Particle Photon which is an easy to use IoT device to get started with designing IoT projects. The particle photon is smaller than the nodeMCU and features STM32 ARM Cortex M3 microcontroller on

Getting Started With the Particle Photon (Internet Controlled LEDs) Continue Reading

Simple 3 Button On off With 12f629 mikroC

Simple 3 Button On-off With 12f629 (mikroC)

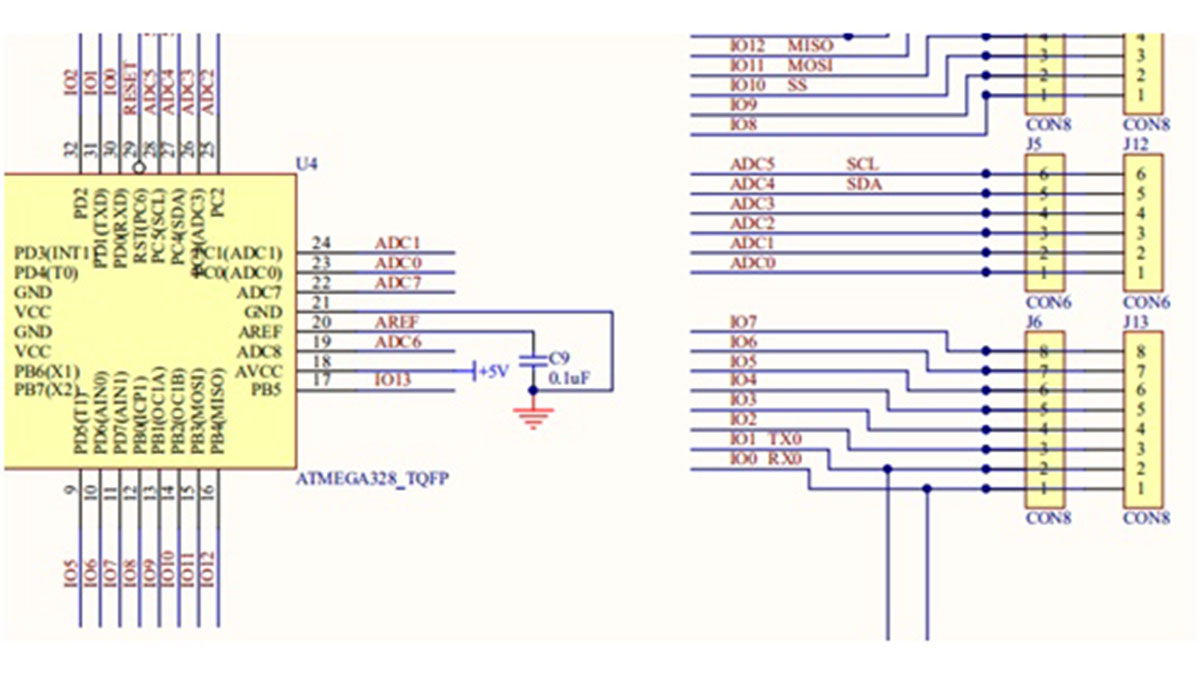
a simple 3 buttons on-off with pic12f629. it’s written with MikroC Step 1: The Code… start the code with ”int”———————————————————- int x0,x1,y0,y1,z0,z1; ////// with this the GPIO outputs could stay on or off void main() { GPIO = 0x00; ////// all outputs are 0 CMCON = 0x07; ////// Disable CMCON PORT TRISIO = 0b00111000; //////

Simple 3 Button On-off With 12f629 (mikroC) Continue Reading

DIY Cheapest Bluetooth Controlled Home Automation

DIY Cheapest Bluetooth Controlled Home Automation

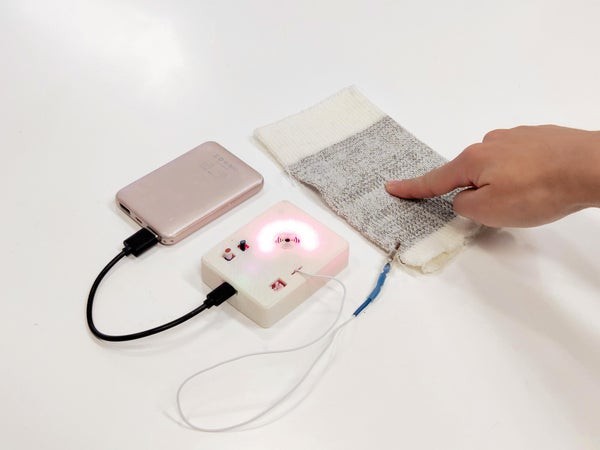
Step 1: COMPONENTS REQUIRED  Bluetooth module (HC-05) AT89S52/C51/S51/C52 microcontroller Relay Driver ULN2003A Relay Resistances and capacitors as circuit diagram depicts(below) power module(if the input is more than 5V or else not necessary) IC 7805(5V voltage regulator) 1000uF capacitor 10uF capacitor led and resistance(as per convenience so that led doesn’t get damaged) IMPORTANT NOTE: USE 11.0592MHz

DIY Cheapest Bluetooth Controlled Home Automation Continue Reading

Scroll to Top