A handy-dandy portable device for testing e-textile sensors on the fly.
Sometimes your electronics workspace and your textiles workspace are not the same places. You want to make multiple samples and test them, but then you have to carry your whole electronics prototyping kit (laptop, breadboard, crocodile clips, Arduino etc) and do all the setup.
Other times you may just want to demonstrate e-textiles sensors to people with no background knowledge in electronics or programming. You may not want them to be bogged down by having to manipulate the programming or dealing with connecting the electronics together.
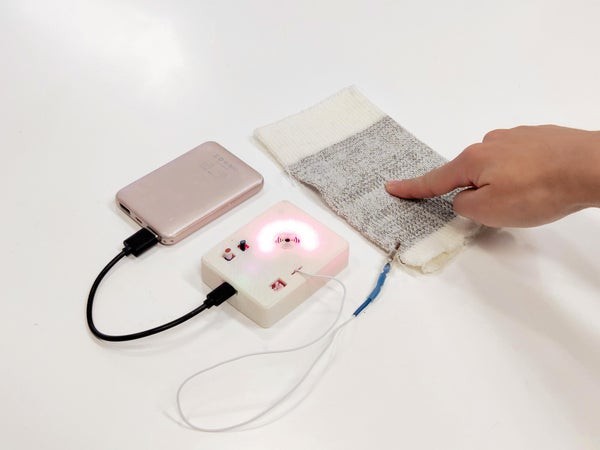
This little device is designed to allow you to connect an e-textiles sample to test it as a resistive sensor or a capacitive sensor. Depending on which sensing mode, you need to connect 1 or 3 wires to the fabric samples. The LEDs are illuminated in a particular colour to indicate which mode it is in. Red for capacitive and blue for resistive.
The device has a calibration phase in which you need to do a high-intensity action to the sample (grab, stretch etc) and then leave it to rest. The microcontroller will then capture the highest and lowest sensor value.
It will then go into the sensing phase. In this phase, the sensor reading is represented with light and sound. Fewer lights on and a low tone equals a low sensor reading, while the opposite is true.
All programming and 3D files are provided here. The 3D printed case is optional and it is there for aesthetics and protection.
Supplies:
1x Adafruit Trinket M0
1x 12mm 3v Buzzer
2x 7x7mm Push Button Latching Switch 30AWG solid core wire (blue, white, black)
5x7cm perfboard 1x JST XH2.54 assembly & connector
1x 12 LED Neopixel ring (RGB or RGBW) PCB Pin headers
26AWG wire
3x 28mm Crocodile clips Shrink tubing (blue, red, black and clear)
Micro-USB wire
Clear or white 3D printing filament (PLA) for the top and bottom part of the case
White TPU 3D printing filament for cover
Step 1: Quick Intro to E-textiles Soft Sensors
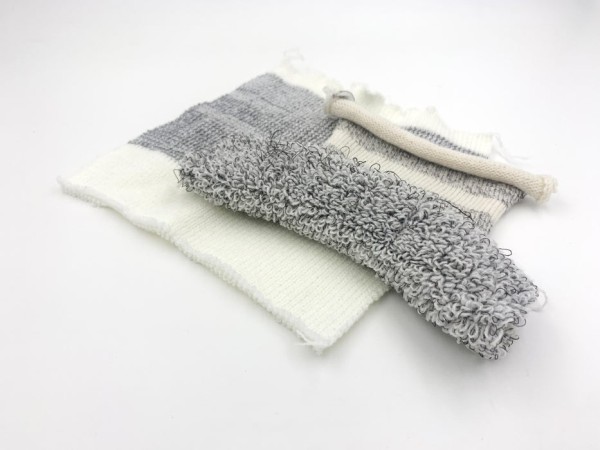
Soft sensors are sensors that are made from materials like fabric and yarn. They often incorporate conductive yarn like stainless steel or silver coated yarn to allow for sensing capability.
You can use them to sense all kinds of interactions, like soft touch sensors, stretch sensor and motion. Instructables has plenty of tutorials, as well as the website How To Get What You Want (https://www.kobakant.at/DIY/)
Step 2: Prepare Your Crocodile Clip Wires
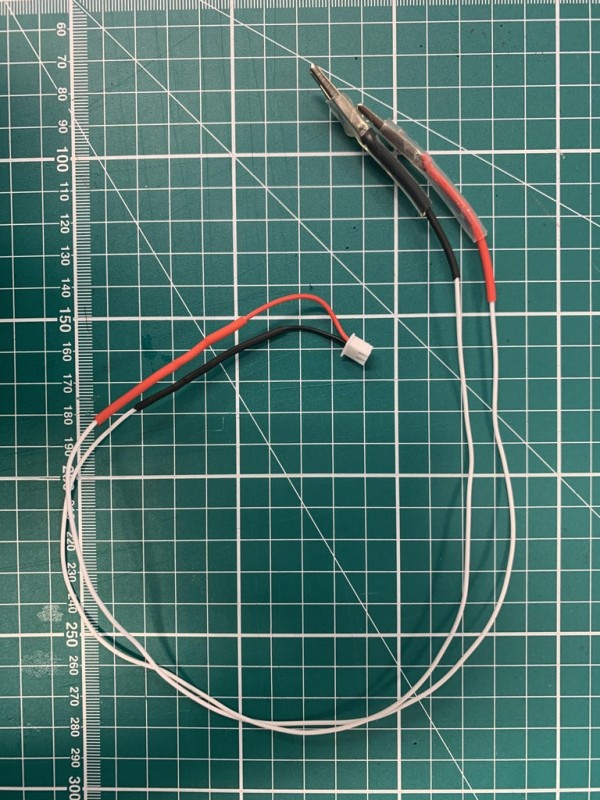
You’ll need one clip-ended wire as the sensor wire and the power and ground wire, which has its end connected to the male JST connector. You can make the 26 AWG wire longer if you prefer.
Power & Ground wires
Solder 30cm 26AWG wire to JST male connector.
Thread shrink tube (2x 3cm red/black, 1x clear) onto each wire.
Attach crocodile clip to ends of the wire, crimp and solder.
Cover crocodile clips and wire connection points with shrink tube and shrink with heat gun.
Sensor Wire
Same as previous without the JST connector.
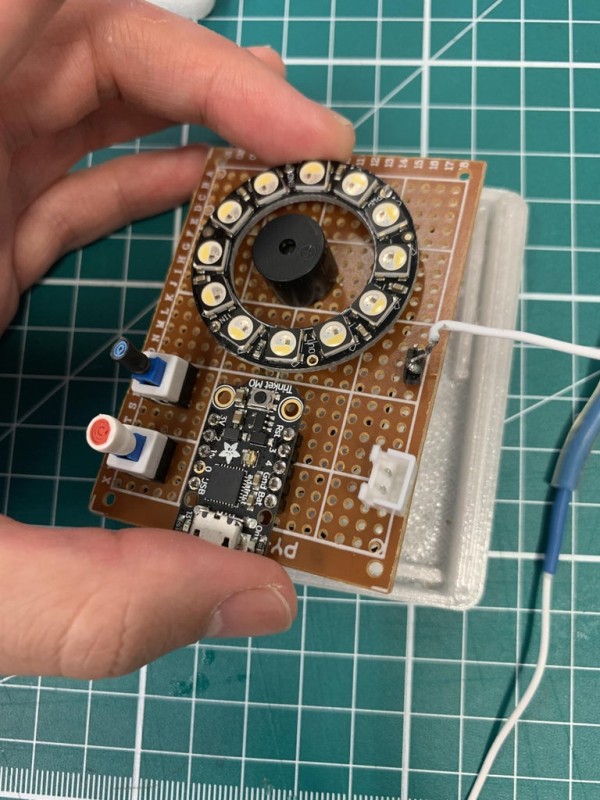
Step 3: Soldering the Parts
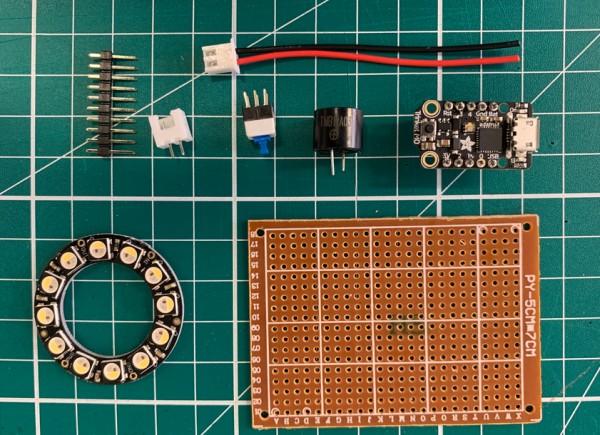
Take the components and solder them as shown in the diagram.
The Adafruit trinket and the Neopixel will need the pin headers soldered in advance of soldering to the protoboard. A pin header was soldered to the protoboard, which the blue clip wire is later soldered to
Step 4: 3D Printed Case
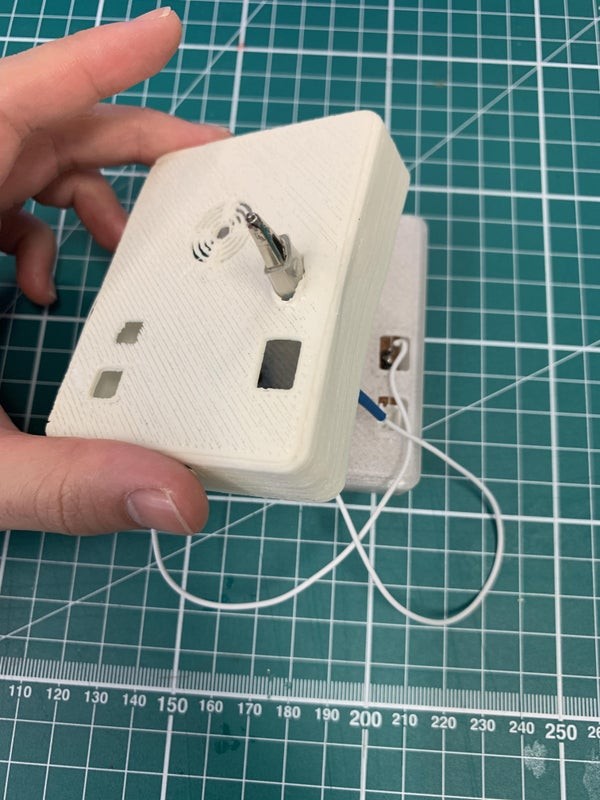
3D print the pieces. White is the best colour for the case cover and top, to allow the light to shine through.
The case cover is optional, it just helps cover the hole in the case top piece which allows the sensor wire through.
Step 5: Assemble
Put all the pieces together as shown.
Step 6: Upload the Programming
Since it’s an Adafruit microcontroller, you will need to do the necessary setup (https://learn.adafruit.com/adafruit-trinket-m0-circuitpython-arduino/arduino-ide-setup)
Then install Freetouch and Neopixel libraries after setting up from Sketch -> Include Library -> Manage libraries. Search for ‘Adafruit_FreeTouch’ and ‘Adafruit_NeoPixel’
Then upload code corresponding to the type of Neopixel is used
e.g. InteractionMultimeterRGB for RGB Neopixel, InteractionMultimeterRGBW for RGBW Neopixel
Source: Resistive/Capacitive Sensing Tester (For E-textiles Soft Sensors and More)