Projects

Supplies

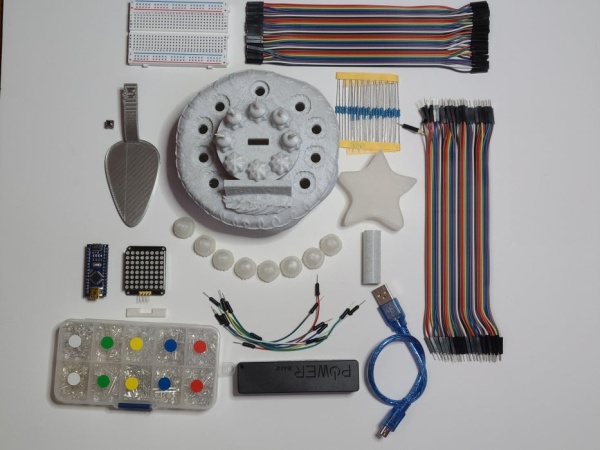
Mario 64 Cake Timing Light Game

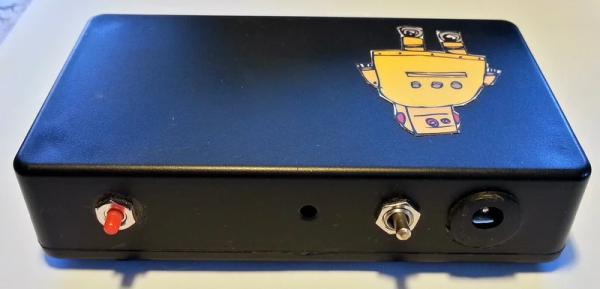
Welcome to my Mario 64 Cake Carnival Timing Game! The cake is modeled after the end screen in Mario 64. The active light moves around the cake in a circle. The goal of the game is to stop the light on the star by pressing the button on the cake cutter. The game gets more […]
Control Servo Motor Using Accelerometer

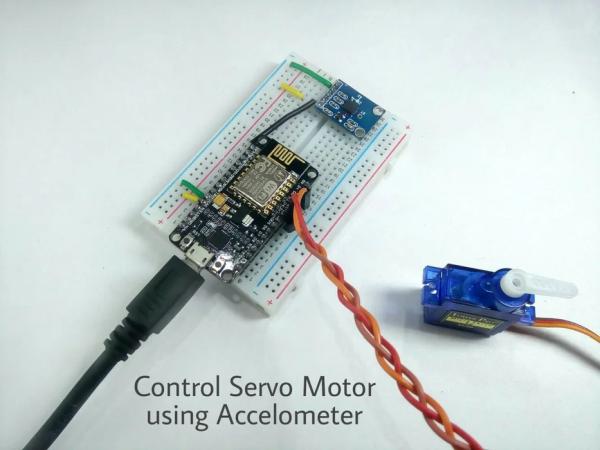
Control Servo Motor Using Accelerometer

Lets begin with another cool instructable. In this Instructable we will learn how to control the position of Servo Motor using Accelerometer with NodeMCU. Step 1: Things to Be Collected To begin with this instructable all you need is : Hardware Requirement ADXL335 : Accelerometer Sensor NodeMCU Servo Motor Connecting Wires ( Optional ) Bread […]

MQTT and Wifi Powered Mailbox Flag

MQTT and Wifi Powered Mailbox Flag

A couple of years I embarked on my own home automation project. It started off by building a server controlled 433 MHz transmitter build with an Arduino to switch lots of cheap PT2262 based remote switches. Later I added an Arduino based receiver for my weather station, hooked up the control contact of my EV […]

Arduino Voice Controlled Robot

Arduino Voice Controlled Robot

Over the years as technology advanced and grew at a tremendous pace, so did the horizon of ideas and creation in our mind. If we look a few years back, a teenager like me would dare think about creating a robot that would operate listening to their voice and follow the given commands. All they […]

Using the Instructabes Hit Counter

Instructables Hit Counter (ESP8266-01)

Some time ago, I tried to make an “Instructables Hit Counter” using the Instructables API, and an Arduino Uno with a wired network shield. However, with the limited RAM of the Arduino Uno, I was unable to get the system to work. A while ago, I noticed a similar project done by diytronics using a NodeMCU. This was just […]

Reading Data From a RFID Tag

MFRC522 RFID Reader Interfaced With NodeMCU

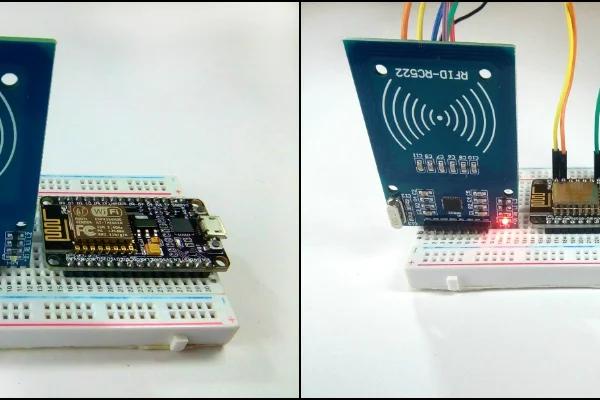
If you have noticed in an office before, you would be probably aware of those RFID cards or Tags that would unlock specific doors depending on your access.Well let’s make a simple NodeMCU RFID reader using the MFRC522 module, and program the NodeMCU to provide access when the right card is detected. This simple example […]

Interfacing Servo Motor With NodeMCU

Interfacing Servo Motor With NodeMCU

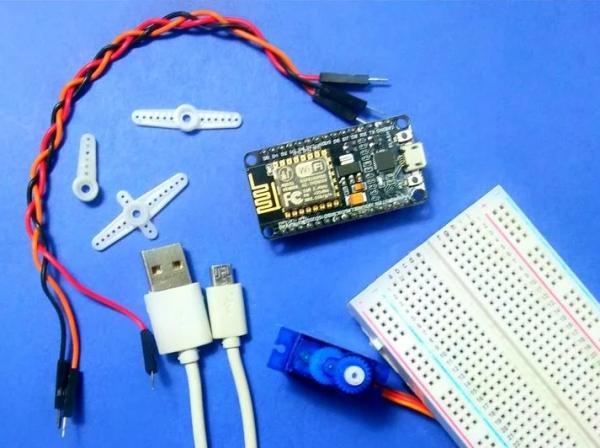
This here is my first Instructable project. So you want to get started with NodeMCU? Well, I’m here to share with you.Today, I’m going to show you how to get started with NodeMCU. Let’s GO ! NodeMCU has on board ESP8266-12E makes the board suitable for IoT (Internet Of Things). In this Instructable I will show you […]

Getting Started With the Particle Photon Internet Controlled LEDs

Getting Started With the Particle Photon (Internet Controlled LEDs)

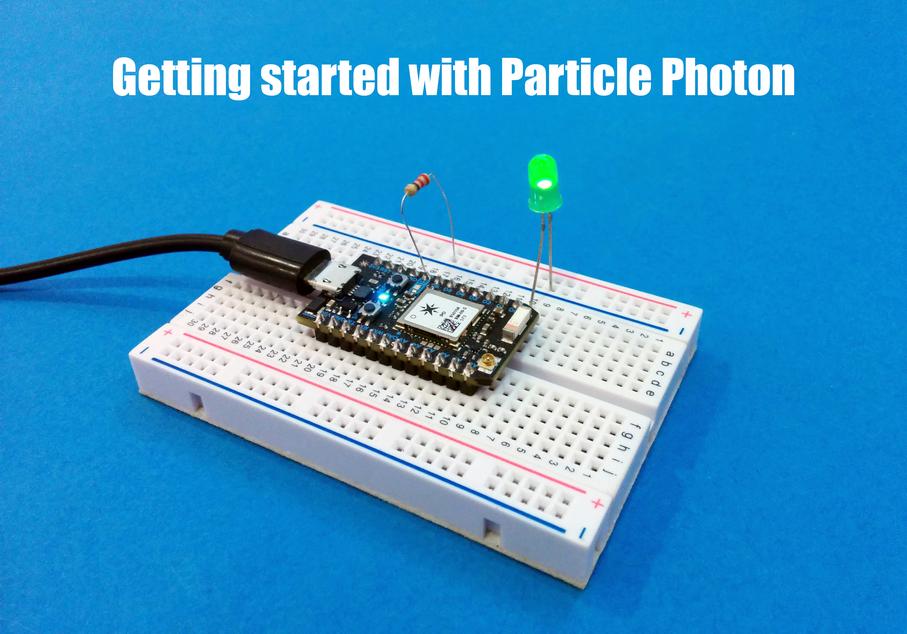
In the previous instructable I showed you how to get started with IoT using the nodeMCU, in this instructable I will be featuring the Particle Photon which is an easy to use IoT device to get started with designing IoT projects. The particle photon is smaller than the nodeMCU and features STM32 ARM Cortex M3 microcontroller on […]

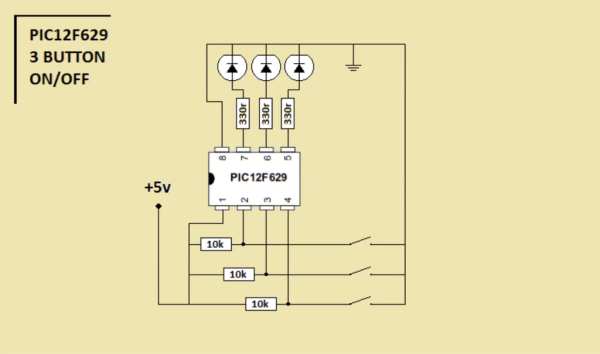
Simple 3 Button On off With 12f629 mikroC

Simple 3 Button On-off With 12f629 (mikroC)

a simple 3 buttons on-off with pic12f629. it’s written with MikroC Step 1: The Code… start the code with ”int”———————————————————- int x0,x1,y0,y1,z0,z1; ////// with this the GPIO outputs could stay on or off void main() { GPIO = 0x00; ////// all outputs are 0 CMCON = 0x07; ////// Disable CMCON PORT TRISIO = 0b00111000; ////// […]

DIY Cheapest Bluetooth Controlled Home Automation

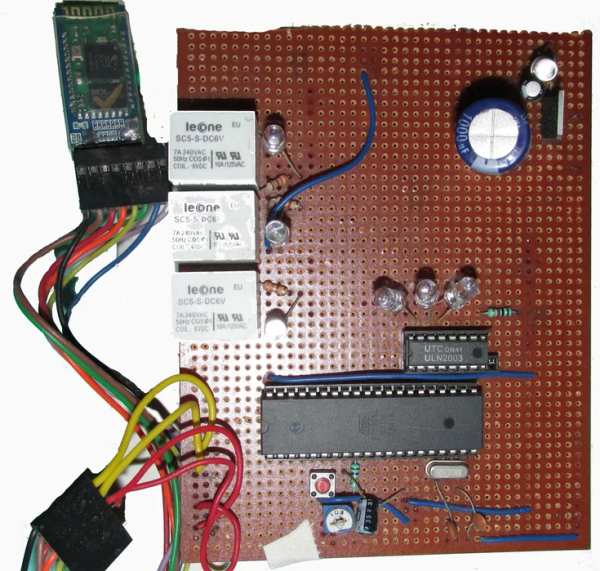
DIY Cheapest Bluetooth Controlled Home Automation

Step 1: COMPONENTS REQUIRED  Bluetooth module (HC-05) AT89S52/C51/S51/C52 microcontroller Relay Driver ULN2003A Relay Resistances and capacitors as circuit diagram depicts(below) power module(if the input is more than 5V or else not necessary) IC 7805(5V voltage regulator) 1000uF capacitor 10uF capacitor led and resistance(as per convenience so that led doesn’t get damaged) IMPORTANT NOTE: USE 11.0592MHz […]

Scroll to Top