
Summary of How to control 8 leds using Arduino UNO
Summary: A beginner Arduino project that sequences eight LEDs on and off one after another using an Arduino Uno (or compatible board), a breadboard, jumper wires, 1k resistors, and simple Arduino code that writes HIGH to each LED pin with a short delay.
Parts used in the Project:
- Arduino Uno or any compatible Arduino board
- Breadboard
- 8 LEDs (any colors; example used 3 red, 3 green, 2 blue)
- 8 1k resistors
- 9 jumper wires (or generic wires)
hey guys this is my first arduino project plz comment how u feel.
Step 1: Things u need
As this is easy project for beginner’s so parts are also simple
Parts:
1- Arduino uno or any other board will work
1-Beardboard
9- jumper wires or wires will also do
8 -leds any color u like i used 3 red, 3 green and 2 blue
8- 1k resistors
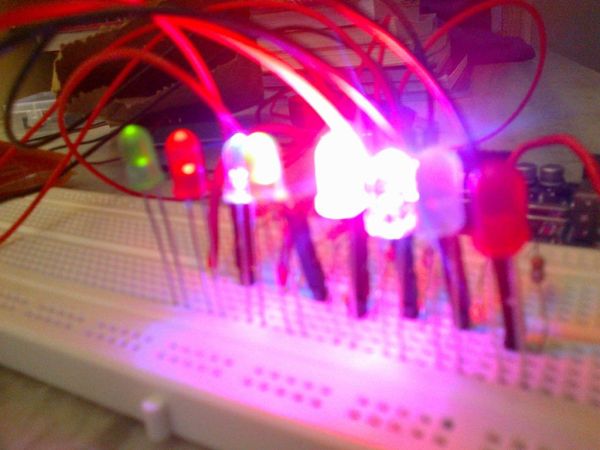
Step 2: Placing the leds and wiring
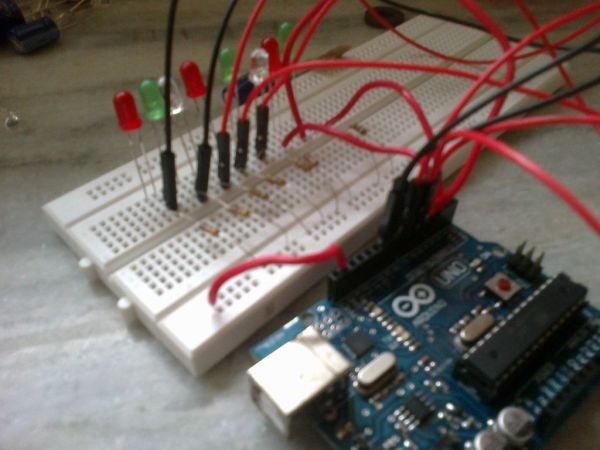
In this step u have to place the leds on the bread board i have kept the positive wire on the right side .
Next wire them as shown in
Step 3: Uploading the code
//LED Pin Variables
int ledPins[] = {2,3,4,5,6,7,8,9}; //An array to hold the pin each LED is connected to
//i.e. LED #0 is connected to pin 2, LED #1, 3 and so on
//to address an array use ledPins[0] this would equal 2
//and ledPins[7] would equal 9
/*
* setup() – this function runs once when you turn your Arduino on
* We the three control pins to outputs
*/
void setup()
{
//Set each pin connected to an LED to output mode (pulling high (on) or low (off)
for(int i = 0; i < 8; i++){ //this is a loop and will repeat eight times
pinMode(ledPins[i],OUTPUT); //we use this to set each LED pin to output
} //the code this replaces is below
/*
* loop() – this function will start after setup finishes and then repeat
* we call a function called oneAfterAnother(). if you would like a different behaviour
* uncomment (delete the two slashes) one of the other lines
*/
void loop() // run over and over again
{
oneAfterAnotherNoLoop(); //this will turn on each LED one by one then turn each off
}
void oneAfterAnotherNoLoop(){
int delayTime = 100; //the time (in milliseconds) to pause between LEDs
//make smaller for quicker switching and larger for slower
digitalWrite(ledPins[0], HIGH); //Turns on LED #0 (connected to pin 2 )
delay(delayTime); //waits delayTime milliseconds
digitalWrite(ledPins[1], HIGH); //Turns on LED #1 (connected to pin 3 )
delay(delayTime); //waits delayTime milliseconds
digitalWrite(ledPins[2], HIGH); //Turns on LED #2 (connected to pin 4 )
delay(delayTime); //waits delayTime milliseconds
digitalWrite(ledPins[3], HIGH); //Turns on LED #3 (connected to pin 5 )
delay(delayTime); //waits delayTime milliseconds
digitalWrite(ledPins[4], HIGH); //Turns on LED #4 (connected to pin 6 )
delay(delayTime); //waits delayTime milliseconds
digitalWrite(ledPins[5], HIGH); //Turns on LED #5 (connected to pin 7 )
delay(delayTime); //waits delayTime milliseconds
digitalWrite(ledPins[6], HIGH); //Turns on LED #6 (connected to pin 8 )
delay(delayTime); //waits delayTime milliseconds
digitalWrite(ledPins[7], HIGH); //Turns on LED #7 (connected to pin 9 )
delay(delayTime); //waits delayTime milliseconds
1-Beardboard
For more detail: How to control 8 leds using Arduino UNO
- What does this project do?
It turns eight LEDs on one after another using an Arduino and simple code. - What parts are needed for this beginner project?
An Arduino Uno or compatible board, a breadboard, 8 LEDs, 8 1k resistors, and jumper wires. - How are the LEDs connected on the breadboard?
LEDs are placed on the breadboard with the positive side on the right and wired to Arduino pins as shown in the instructions. - Which Arduino pins are used for the eight LEDs?
The code uses pins 2 through 9 for the eight LEDs. - How does the Arduino code control the LEDs?
The setup function sets the LED pins as outputs, and loop calls oneAfterAnotherNoLoop which writes HIGH to each LED pin with a delay between them. - What is the delay time between LED changes?
The code sets delayTime to 100 milliseconds between each LED change. - Can any Arduino board be used?
The article states that Arduino Uno or any other board will work. - How many jumper wires are suggested?
The parts list mentions 9 jumper wires or wires will also do.
