The very first project of my channel is about controlling an RGB LED using annoying push buttons…. I feel that the project was not a good one to learn about micro-controllers, because most of the micro-controllers uses are not fully utilised in that project….
So, This is definitely the time for an upgrade, and upgrade means letting the micro-controller to work with at least few of the features…. The micro-controller used here is an Arduino UNO which has nearly 13 Digital pins and 7 Analog pins….
This whole circuit build can be completed around 500INR. But, with different parts list. and this video uses parts that are little expensive…
Part list:
Used here Low Cost Alternate
1) Arduino UNO 1) Arduino NANO
2) LED Strip 2) Standard LED
3) Resistor 1K, 2K
4) Bluetooth HC-05
5) Jumper wires 3) Standard Copper wires
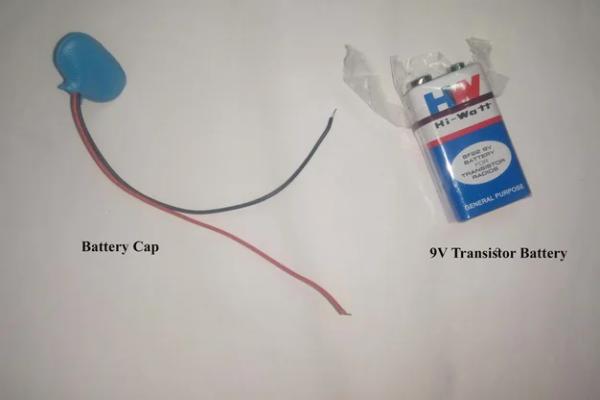
6) +9V Battery + cap
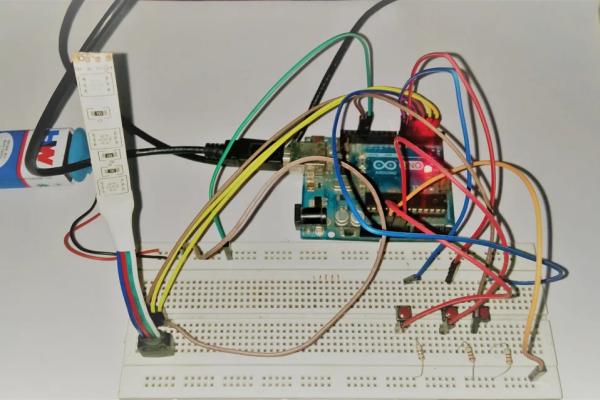
Step 1: Building the Project…
Building of the hardware part….
This project build has two important building steps. one is the hardware build and the other one is the software build. Even a beginner can build this circuit with 30 Minutes along with the programming of the micro-controller. The first will be the hardware part.., i.e., Wiring of LED, Bluetooth, Arduino.
HARDWARE BUILD…
The part list that i have used is mentioned in the introductory part and links to buy them are provided in the YouTube Video Description…. Make sure you visit and subscribe my channel so you don’t miss any of the projects in future 😉
To ease the circuit build i have already designed my circuit using EasyEDA online PCB editor..(Is is 100% free and it’s online library is super easy to get almost all components you ever need)….
For advanced users you can build the circuit on your own….
Step 2: Preparing Bluetooth Module
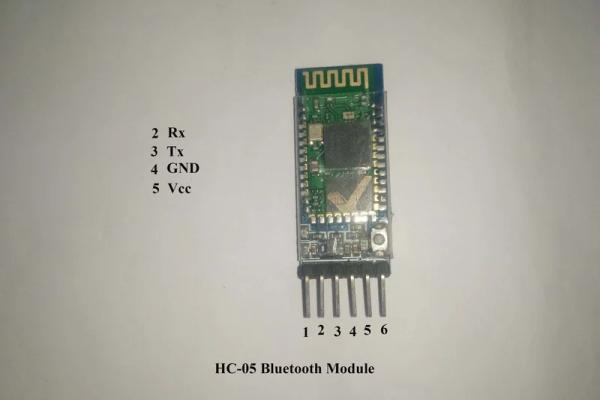
HC-05 Bluetooth Module
Connecting Bluetooth module with Arduino using Male to Female jumper wires….
The pins which we need from Bluetooth module is Vcc, GND, Tx & Rx.. leave the En and State pins untoched because they are not used in this project…
The connections are given in the image.
If your Bluetooth module is logic level 3v then do not connect your module directly to Arduino. Use pull down resistor at each pins or step down the Tx pin’s voltage by creating voltage divider…
Step 3: Preparing the LED
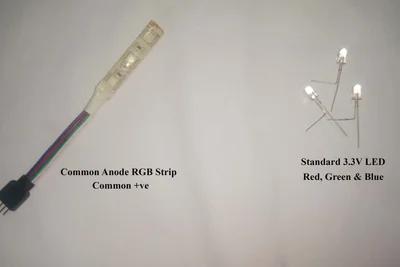
Preparing RGB LED Strip…
There are two types of LED one is common cathode and another one is common anode. I have used common anode in this project, but you can use anything you have already and also have to program the micro-controller according to it. If you are lazy like me then the sketch is provided below in txt format.
You can download it and compile directly and use it for the project. According to the type of LED you use, your connection should be like mentioned below:-
If you cannot afford a LED strip, then you can always buy those cheap 3V Standard LEDs, bend and solder there anode or cathodes together to make Common Anode or Common Cathode LED. Check the images…
Step 4: Program the Micro-controller…
Arduino IDE
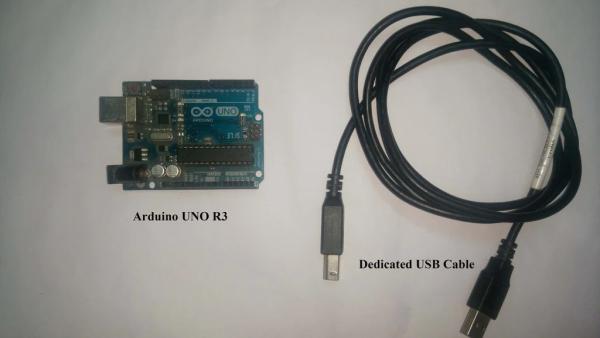
I used Arduino UNO R3 as controller and so arduino IDE to program and burn it to the controller… With an appropriate communication provided to the computer and arduino (USB in My Case).FTDI Breakout in case if you use Arduino NANO. The sketch to the controller does one simple task….
It receives the RGB saturation values sent from the smartphone through the Bluetooth communication and according to it PWM (Pulse Width Modulation) is used to change the resistance to ground in case of common anode and potential to ground in case of common cathode….
The arduino sketch which i programmed is linked to this instructable as program.txt format, you can download it and burn it to the controller. But, for advanced users you can program on your own and comment your suggestions below…
Step 5: Downloading the Application and Connecting to the Bluetooth…
Downloading the application…
Click on this link ==> LED RGB Bluetooth controller
Download and install this application in your android smartphone. It is free and the developers really did good thing. so i am promoting them with anything in return.
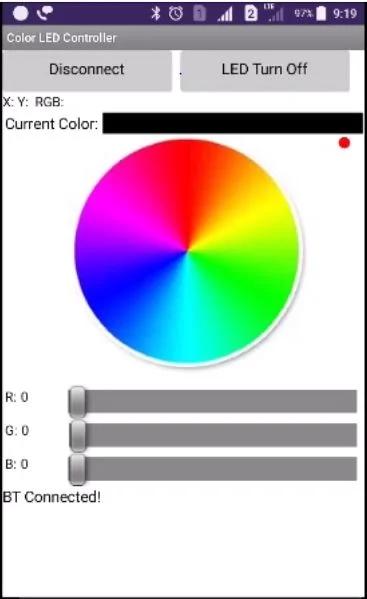
This app is easy to use, Connecting it simple and the Disc as well as RGB bars are easy to use.
Turn on the bluetooth in your android smart phone after you install it and pair it with the HC-05 module by inserting its default passcode 1234. Powering up the arduino before this will power up the module as well….
Step 6: Enjoy the Colors…
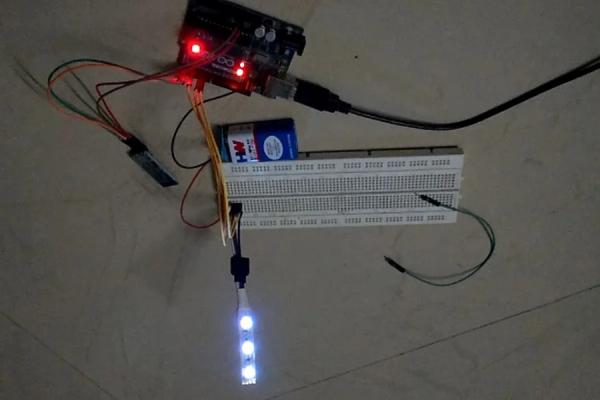
Finalize….
Once, the connection is successful, just play around with the color disc and three bars which sends the saturation value of RGB…
Check out the Video procedure in my youtube channel, subscribe to get more of my projects…
If you like this project, like share comment and subscribe…
Source: Controlling an RGB LED With an Android Smartphone Using Arduino and Bluetooth Module