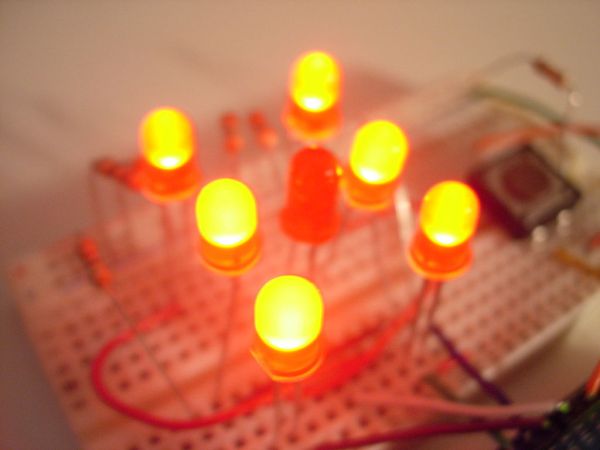
This instructable will show you how to create a dice using Arduino and few components. It’s an easy and fun project, suitable for beginners and those who want to start with Arduino; it also requires a minimal amount of components.
This explains how to create it in the breadboard, how to solder it and how to make some changes.
Step 1: What is Arduino?
Arduino is a tool for making computers that can sense and control more of the physical world than your desktop computer. It’s an open-source physical computing platform based on a simple microcontroller board, and a development environment for writing software for the board. Arduino can be used to develop interactive objects, taking inputs from a variety of switches or sensors, and controlling a variety of lights, motors, and other physical outputs. Arduino projects can be stand-alone, or they can be communicate with software running on your computer (e.g. Flash, Processing, MaxMSP.) The boards can be assembled by hand or purchased preassembled; the open-source IDE can be downloaded for free.
The Arduino programming language is an implementation of Wiring, a similar physical computing platform, which is based on the Processing multimedia programming environment.
Why Arduino?
There are many other microcontrollers and microcontroller platforms available for physical computing. Parallax Basic Stamp, Netmedia’s BX-24, Phidgets, MIT’s Handyboard, and many others offer similar functionality. All of these tools take the messy details of microcontroller programming and wrap it up in an easy-to-use package. Arduino also simplifies the process of working with microcontrollers, but it offers some advantage for teachers, students, and interested amateurs over other systems:
- Inexpensive – Arduino boards are relatively inexpensive compared to other microcontroller platforms. The least expensive version of the Arduino module can be assembled by hand, and even the pre-assembled Arduino modules cost less than $50
- Cross-platform – The Arduino software runs on Windows, Macintosh OSX, and Linux operating systems. Most microcontroller systems are limited to Windows.
- Simple, clear programming environment – The Arduino programming environment is easy-to-use for beginners, yet flexible enough for advanced users to take advantage of as well. For teachers, it’s conveniently based on the Processing programming environment, so students learning to program in that environment will be familiar with the look and feel of Arduino
- Open source and extensible software- The Arduino software and is published as open source tools, available for extension by experienced programmers. The language can be expanded through C++ libraries, and people wanting to understand the technical details can make the leap from Arduino to the AVR C programming language on which it’s based. Similarly, you can add AVR-C code directly into your Arduino programs if you want to.
- Open source and extensible hardware – The Arduino is based on Atmel’s ATMEGA8 and ATMEGA168 microcontrollers. The plans for the modules are published under a Creative Commons license, so experienced circuit designers can make their own version of the module, extending it and improving it. Even relatively inexperienced users can build the breadboard version of the module in order to understand how it works and save money.
How do I use Arduino?
Step-by-step instructions for setting up the Arduino software and connecting it to an Arduino Duemilanove:
(All this part was taken from the official website of Arduino)
Step 2: Parts & Tools
This is what you need for this simple project:
Parts:
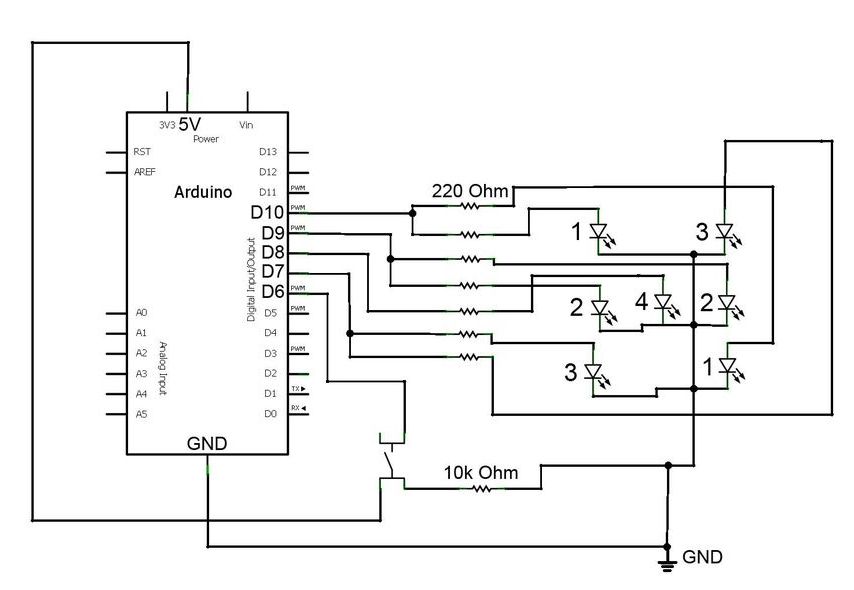
- Arduino
- 7x Leds of any kind (I use 5mm Red Leds)
- A 10k Resistor (brown black orange)
- 7x 220 or 330 Resistor (red red brown or orange orange brown)
- A little Push Button
- Breadboard
- Some wires for the breadboard
Tools:
- The Arduino programmer (you can download it from the official site of Arduino)
- Usb Cable A-B
- Soldering Iron (If you want solder the project)
- A ProtoBoard (f you want solder the project)
- Solder Spool (If you want solder the project)
- Third Hand (optional, but useful if you want solder the project)
- Arduino
- 7x Leds of any kind
- A 10k Resistor
- 7x 220 or 330 Resistor
- A little Push Button
- Breadboard
- Some wires for the breadboard
For more detail: Arduino Led Dice