Welcome to my 3rd Instructable everyone !
Today we’re going to build a ‘device’ to control a mini-sized helicopter with a Wii Nunchuk.
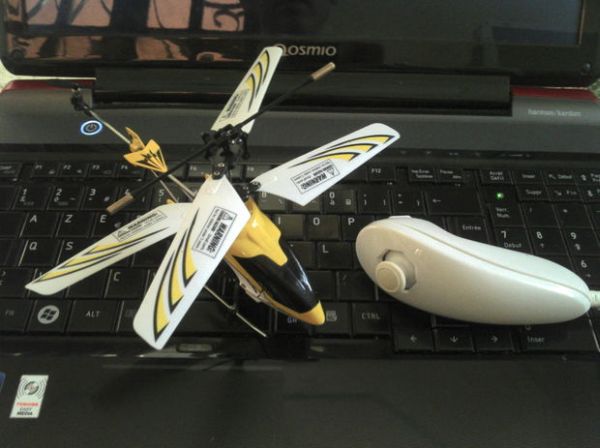
The helicopter that we’re using is a cheap (26$) 3-channel (yaw, throttle, pitch) helicopter that I bought a 1 month back from Dealextreme.com . I can say that it is a VERY durable heli : I have crashed more thant 100 times and it’s still working ! It is not radio-controlled, but rather Infrared-controlled, so easier to reverse-engineer. I should also say that in this instructable, the original remote won’t be harmed, everything can be done without opening it or even opening the helicopter itself. That means we have nothing to lose 😀
In this instructable we’re going to take a look at reverse-engineering the Infrared communication with a IR demodulator (very cheap), we’ll also learn to use our beloved Arduino as a 1Mhz ‘full-featured’ logic analyzer. Finally, at the end, there’s loads of fun flying the heli around with a nunchuk !
But be warned : as I’m away from home, I won’t be able to provide you with a clean PCB to arrange all the components, this is more a quick-and-dirty hack than a real (and finished) project.
Please rate this Instructable ! And also, if you’re actually building the thing (or have problems building it), please post a quick comment, I’m always happy to learn I’ve helped people out !
If you’re in, let’s go : step 1, the required stuff
Step 1: Required stuff
Required tools:
– soldering iron
– solder wire
Required parts:
– Arduino (I use a Mega, but any Arduino will be just fine)
– Mini-Helicopter (This project can easely be ported to work on a Syma S107, and any other heli if you reverse-engineer the IR pulse yourself)
– Wii Nunchuk
– 9v battery with 9v battery clip an jack
– TIP120 transistor
– 38kHz IR detector/demodulator
– 10kOhm potentiometer
– 10 ohm resistor
– 4x AA batteries
– 4x AA battery holder (optional, used if you don’t want to break your original remote)
– 3x IR leds (used if you don’t want to break your original remote)
Required software (for now) :
– Arduino IDE, get it here
– SUMP OpenLogicSniffer client (special version), get it here .
Ok, I think everything’s here, so let’s head to step 2…
Step 2: Infrared modulation
Now, this is the theory, if you don’t want to know how to reverse-engineer an IR remote control, you can just skip to step 6.
Ok, so the helicopter isn’t controlled with a ‘normal’ radio remote, but is controlled with a cheaper Infrared remote.
This is just great because we can more easely reverse-engineer the thing ! We only need a component called an IR detector or IR demodulator.
Now this page has an excellent tutorial on how infrared modulation works, but I’m only going to resume it quickly here :
As you know, the sun, as well as most heat sources, including light bulbs, emits infrared radiation. Infrared modulation is a technique that involves PWM-ing an Infrared led at a certain frequency (here 38kHz) to ‘bypass’ the IR radiation from ambient light : the IR demodulator only accepts 38kHz modulation, filters out everything else, and gives a clean logic (0 or 1) output. It gives a logic LOW (0volts) output when it detects a modulated IR signal.
There’s a device like this on all TVs/DVRs/DVD players, etc.. Fortunately, this thing doesn’t cost much , is really easy to interface with a microcontroller/logic analyzer and will allow us to reverse-engineer the IR protocol used by our helicopter remote without opening the remote !
BTW, the image below kinda illustrates well how IR modulation works : the remote gives the signal on the left, the demodulator gives the one on the right.
Now let’s move on to step three : preparing our improvised ‘logic analyzer’.
For more detail: Nunchuk-controlled Helicopter