This Instructable will show you how to build your own FM radio receiver shield to be used with an Arduino board. The radio chip we are going to be using is the AR1010 on a breakoutboard found at Sparkfun or Electrokit and there will be code to get you up and running provided later on. We are going to use an laser cutter for the shield fabrication.
Step 1: Eagle 1
Step 2: Eagle 2 Layout
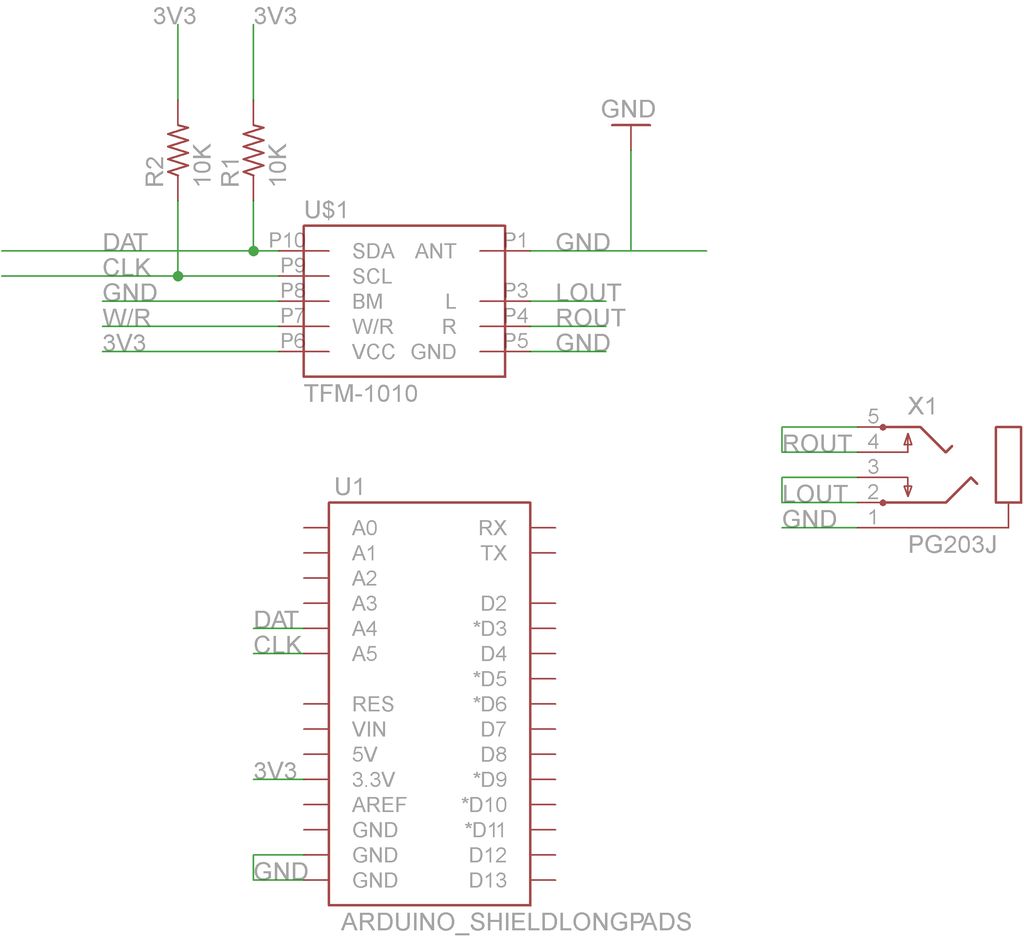
Once you have your layout done it is time to export it to a more laser friendly format. The first picture below is the finished pcb layout and the second is the schematic of the circuit. To get the nice monochrome laser friendly picture (pic 3 below) you have to export it from eagle as png.
Step 3: Eagle 3 Export
1. Select the layers that you are interest in laser cutting. I tend to only select the top layer and the pads since there resides nearly always all the necessary information.
2. Open the export menu
3. Select that it is an Image that u want to export
4. Select where you want to save it also remember to save it as an monochrome image for the laser to be happy.
5. Enjoy the finished png.
Step 4: Spraypaint
Next thing to do is to prepare the copper pcb. This can be found in many sizes and the one I have hear is 160x100x1,6 mm and is pretty standard her in Sweden.
1/ Clean the copper from any residues, fingerprints, jelly or whatever has landed on them.
2/ Spraypaint the copper with two layers of paint as evenly as possible
3/ Let it dry
Step 5: Laser
Put the exported file into your favorite laser program, in this case Illustrator, and make sure that the size is correct and everything is looking fine. After that it is time to send it to the laser. The settings I use to etch the spraypaint away is the Marble setting on my Epilog 40 w laser. This will change depending on your laser type.
laser cutter
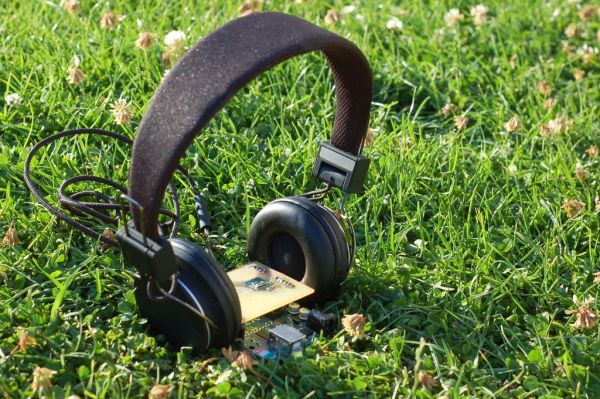
The radio chip
For more detail: Arduino FM radio receiver shield