Want to be able to control a couple of servos with a thumb-joystick? But don’t know where to start?
I don’t have servos, but I can put you on the right track on how to do stuff when you move the thumbstick around.
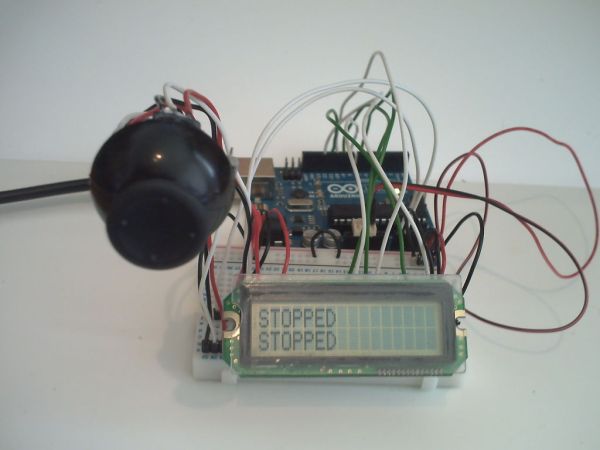
This instructable will teach you how to output the direction of the thumbstick to a 16×2 LCD screen.
What you do after that is only limited by your imagination!
Have fun!
Step 1: Materials
1x Arduino (Any type, I’m using an uno)
1x Breadboard (Sparkfun / Maplin )
1x 16×2 LCD Screen compatible with Arduino (Sparkfun / Maplin )
1x Thumbstick (I salvaged mine from a broken games controller) (Sparkfun )
1x Breakaway pins
4x Bell Wire/Jumpers (Sparkfun / Maplin )
1x Wire Stripper
1x Wire snips
1x Flat snip (For the breakaway pins)
Step 2: Mount the LCD Screen and Thumbstick
Take your flat snips and your breakaway pins, and cut a row of 16 (My LCD doesn’t have a back light so I used 14 instead).
If you’ve salvaged your LCD screen from a printer like I did, it may already have a ribbon cable attached if so just use your wire strippers to expose some of the wire and press it into the pins.
The pins I got the wire fits in snugly, you MIGHT have to solder them (Not covered in this instructable), once you’ve got all the wires into the pins connect the LCD screen to the breadboard pins 1 through to 16 (14 if you don’t have a back light)
If you’ve bought your LCD screen from sparkfun or maplins, be sure to buy some header pins as well and then you can solder those straight onto the LCD screen then plug it directly into the breadboard.
Again, take your breakaway pins and flat snips and cut off a further 6 pins for the joystick.
This time you will have to solder on some wires (I did), the thumb stick from sparkfun might clip into the jumpers you can purchase from there.
Once you’ve got the pins connected to the wires for the thumb stick, then connect it to the breadboard on pins 25 to 30.
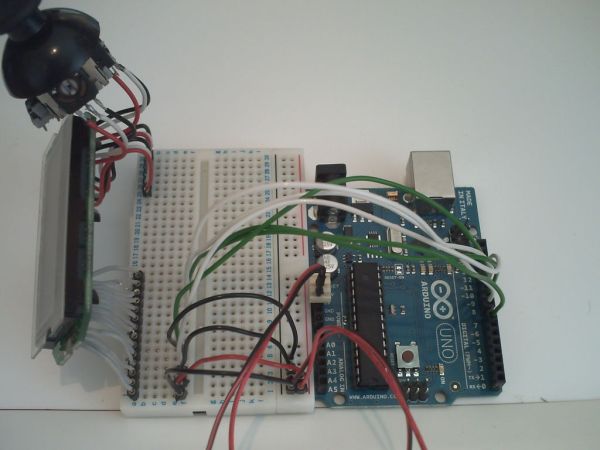
Step 3: Wiring up the LCD screen and thumb stick
Time to wire everything up!
We’ll start with the LCD screen since it has the most pins.
Connect pins 1,3 and 5 to the Arduino’s GND. (Doesn’t matter which one)
Connect pin 2 to the Arduino’s +5v
Connect pin 4 to the Arduino’s Digital Pin 12
Connect pin 6 to the Arduino’s Digital Pin 11
Connect pin 11 to the Arduino’s Digital Pin 10
Connect pin 12 to the Arduino’s Digital Pin 9
Connect pin 13 to the Arduino’s Digital Pin 8
Connect pin 14 to the Arduino’s Digital Pin 7
Now let’s move onto the thumb stick, I’ve colour coded all 6 pins on the thumb stick, each direction is Red, White and Black, they represent +5v, Analog signal and ground respectably.
Hook up the black wires into the ground rail, and the red wires into the +5v power rail, connect one white wire into analog in 0 and the other into analog in 1
Step 4: Connect & Code
Connect the Arduino to your PC/Laptop and download the attached pde code file and upload it to you’re Arduino, in case the download doesn’t work, I’ve posted it here as well.
1x Breadboard
1x 16×2 LCD Screen
For more detail: Arduino Joystick Breadboard with LCD Output