Hello, everybody!!! It has been some time I had not updated my post here. Today I would like to share with you guys an experiment I made. I am going to control LEDs using MIT app inventor speech recognizer. Oh before I forget, I had also started a blog where I post some other Arduino Experiments. Feel free to visit to my blog at
halim930112.blogspot.com
Ok now, let’s see what is needed to accomplish this experiment.
Step 1: Items Needed

The Items needed for this experiment are as follows:
Hardware:
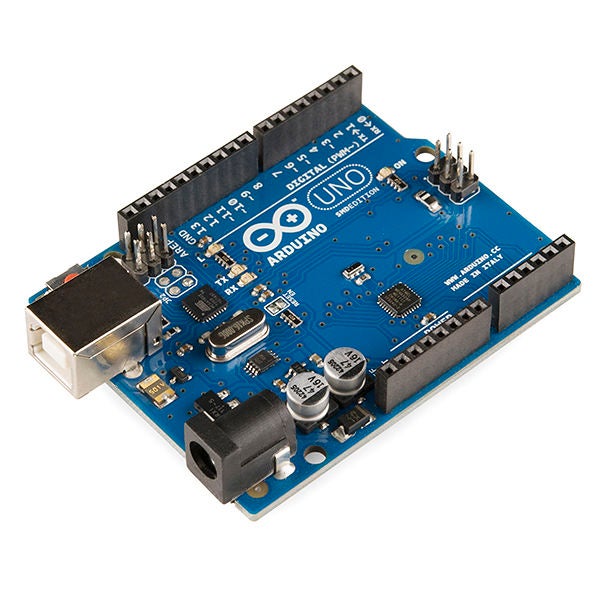
1.Arduino UNO
2.LED x 4
3.Resistors x4 (recommended but not used for this experiment)
4.Male to male to jumper
5.Android Smartphone
6.HC-06
Software
1.Arduino IDE
2.MIT app inventor
Well, that wraps up for the items needed. On to the next step!!!!
Step 2: Circuit Assembly!!!!

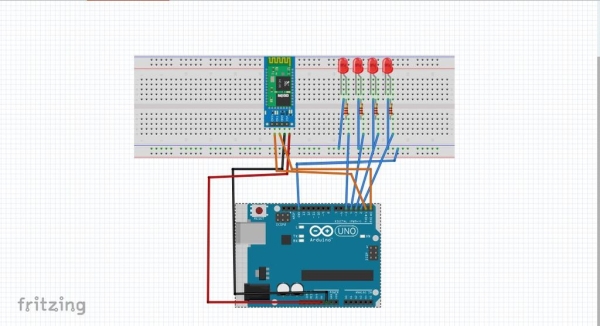
Well, the circuit assembly is not difficult. The circuit consists only of LEDs, resistors, HC-06 and Arduino. The long “leg” of the LED will be connected to the pinouts while the shorter “led” will be connected to the GND. For the HC-06, the VCC is connected to 5V, GND to GND, RX of HC-06 to Arduino TX, while TX of HC-06 to Arduino RX. From here I will divide the codes into two parts, MIT and Arduino. First let’s see the MIT code.
Step 3: MIT App Inventor Code Block

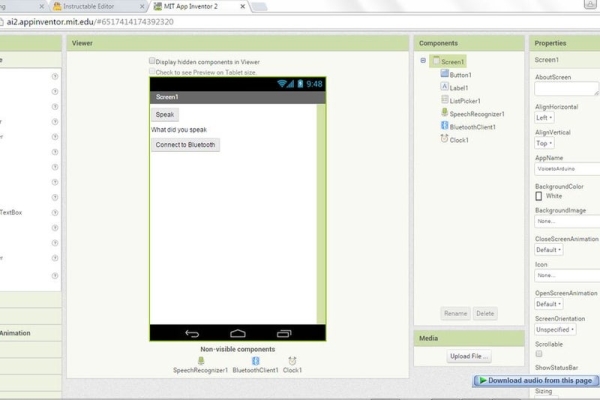
The important aspect of this app is that it implements the Speech recognizer function alongside the Clock and the Bluetooth client function. A google Speech recognizer(you need to be connected to the internet) will be activated when the speak button is pressed. Whatever spoken will be shown in the label “What do you speak” and be sent to Arduino. The arduino will do the rest of the processing.
Read more: Voice to Arduino: Control LEDs Using MIT Speech Recognizer
