Time for a follow-up to the Single Button Combination Lock by creating another oddball type of switch/lock. To activate this switch we make use of a Parallax Ping))) Ultrasonic sensor, an Arduino-style board and some other hardware – to make a device that receives a four-number code which is made up of the distance between a hand and the sensor. If Arduino and ultrasonic sensors are new to you, please read this tutorial before moving on.
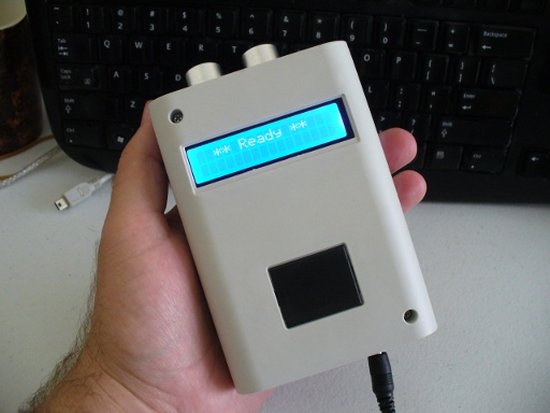
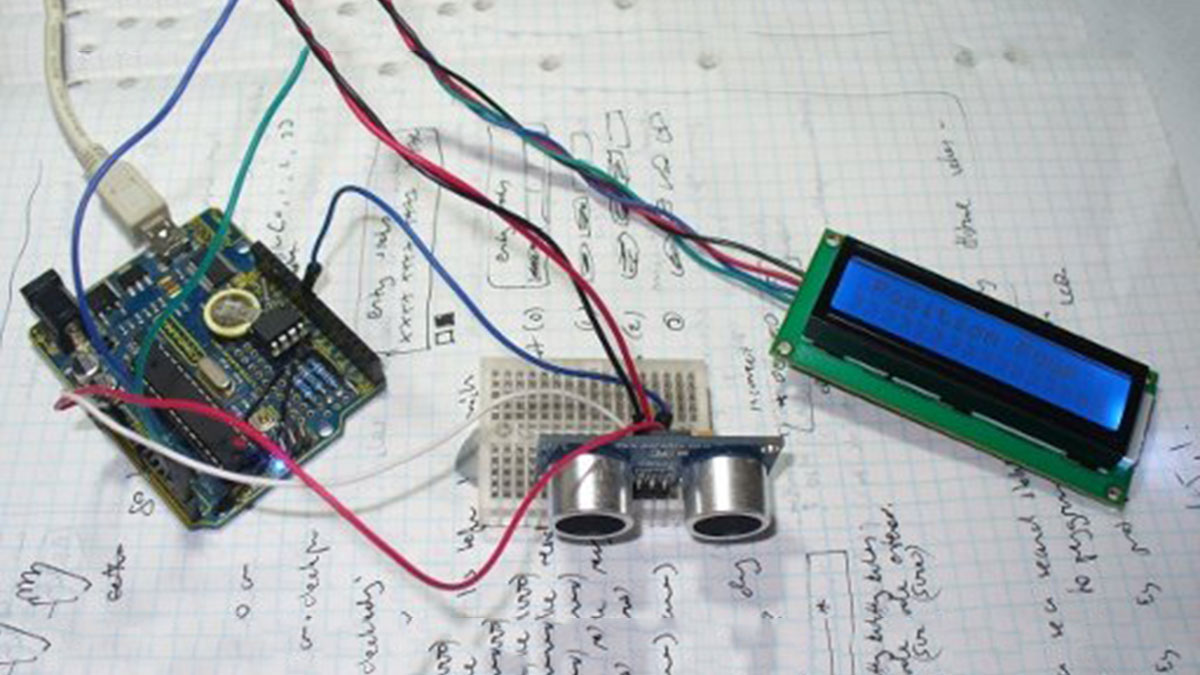
The required hardware for this project is minimal and shown below – a Freetronics Arduino-compatible board, the Ping))) sensor, and for display purposes we have an I2C-interface LCD module:
The combination for our ‘lock’ will consist of four integers. Each integer is the distance measured between the sensor and the user’s hand (etc.). For example, a combination may be 20, 15, 20, 15. So for the switch to be activated the user must place their hand 20cm away, then 15, then 20, then 15cm away. Our switch will have a delay between each measurement which can be modified in the sketch.
Project Code and other data:
To keep things simple the overlord of the switch must insert the PIN into the switch sketch. Therefore we need a way to take measurements to generate a PIN. We do this with the following sketch, it simply displays the distance on the LCD (download):
// Ultrasonic combination lock - distance display
// John Boxall - December 2011
// tronixstuff.wordpress.com/projects | CC by-sa-nc
#include "Wire.h"
#include "LiquidCrystal_I2C.h" // for I2C bus LCD module http://bit.ly/eNf7jM
LiquidCrystal_I2C lcd(0x27,16,2); // set the LCD address to 0x27 for a 16 chars and 2 line display
int signal=8;
void setup()
{
 pinMode(signal, OUTPUT);
 lcd.init(); // initialize the lcd
 lcd.backlight(); // turn on LCD backlight
}
int getDistance()
// returns distance from Ping))) sensor in cm
{
 int distance;
 unsigned long pulseduration=0;
 // get the raw measurement data from Ping)))
 // set pin as output so we can send a pulse
 pinMode(signal, OUTPUT);
 // set output to LOW
 digitalWrite(signal, LOW);
 delayMicroseconds(5);
 // now send the 5uS pulse out to activate Ping)))
 digitalWrite(signal, HIGH);
 delayMicroseconds(5);
 digitalWrite(signal, LOW);
 // now we need to change the digital pin
 // to input to read the incoming pulse
 pinMode(signal, INPUT);
 // finally, measure the length of the incoming pulse
 pulseduration=pulseIn(signal, HIGH);
 // divide the pulse length by half
 pulseduration=pulseduration/2;
 // now convert to centimetres. We're metric here people...
 distance = int(pulseduration/29);
 return distance;
}
void loop()
{
 lcd.print(getDistance());
 lcd.println(" cm ");
 delay(500);
 lcd.clear();
}
And here is a demonstration of the sketch in action:
Now for the switch itself. For our example the process of “unlocking” will be started by the user placing their hand at a distance of 10cm or less in front of the sensor. Doing so will trigger the function checkPIN(), where the display prompts the user for four “numbers” which are returned by placing their hand a certain distance away from the sensor four times, with a delay between each reading which is set by the variable adel. The values of the user’s distances are stored in the array attempt[4].
For more detail: Ultrasonic Combination Switch using an Arduino