Summary of The E.M.F.Meter
This article introduces a DIY E.M.F. Meter designed for hands-on physics education, enabling students to measure induced voltage from changing magnetic fields. The project combines Arduino and Raspberry Pi software to visualize data locally on a TFT screen and share it class-wide via a browser. Users must have prior familiarity with these platforms to assemble the device effectively.
Parts used in the E.M.F. Meter:
- ADS1115 Featherwing
- Adafruit HUZZAH Feather
- Adafruit TFT Featherwing
- Raspberry Pi 3B
- PiTop (Optional)
Hello, fellow Makers!
In this instructable, I will be discussing my newest and most versatile tool for edcuation: the E.M.F. Meter.
This instructable will be covering a lot of steps involving Arduino and Raspberry Pi software. Although resources will be provided, please make sure you have some familiarity with these softwares before tackling this project.
Step 1: A Tool for Hands-On Experiments With Electromagnetism
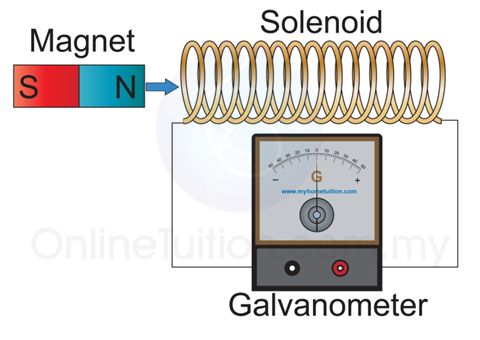
All to frequently, when students who take physics classes learn about electromagnetism and inductance, they are assigned to memorize formulas from a textbook. As for lab experiences, it would be considered a hands-on science lab if the instructor were to have magnet move through a copper coil and cause an LED to light up.
Being able to truly and organically engrave the laws of electromagnetism into our minds is lost in this style of teaching. My goal with building the E.M.F.Meter was to make a tool that allows students to learn the laws through raw experimentation: to be able to collect enough data to induce the laws for themselves.
With this device, a student can measure the voltage induced in the presence of a moving or changing magnetic field. Its portable size makes it extremely easy to put into various setups to test the laws of magnetism. For instance, one could set the EMF Meter up to measure how a coils voltage changes when a magnet rotates in place. Or, one could alter the coil’s cross section to see how the area and shape affect the voltage over time. The limit is only your imagination.
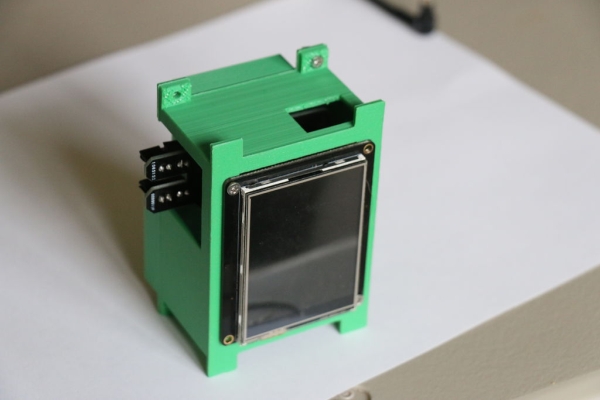
In this instructable, I will be explaining how to assemble an E.M.F. meter and which resources you should use when setting it up. By the end of this instructable, you will be left with a device that not only measures the voltage and displays it on a TFT screen but also publishes the data to a single browser which can display an entire class’s data.
Step 2: The ADS1115 Featherwing: a Recap
In my previous instructables, I described my first featherwing that requires surface-mounted soldering to make.
If you have not read this instructable yet, see here.
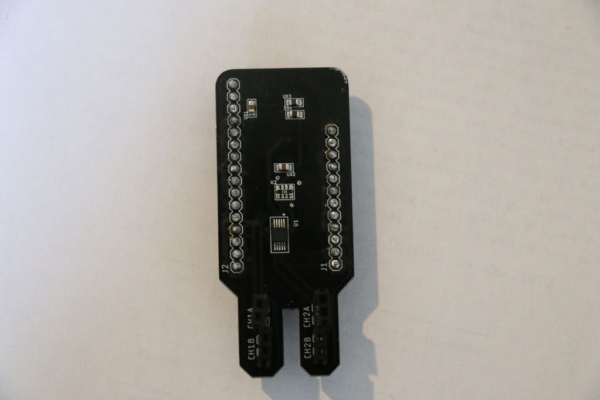
For a brief recap for those who have seen this instructable, the ADS1115 featherwing is a custom made device that is meant to:
-Measure voltages through two channels (one voltage source per channel)
-Amplify the measured voltage (optional)
-Fit the form factor of the Adafruit feather/featherwing family to encourage interchangeability and simplicity
Since the E.M.F. Meter’s job is to measure the voltage produced from changing magnetic fields, this featherwing is crucial to have. Make sure that you have a properly built ADS1115 featherwing before starting.
Step 3: Additional Components: Hardware
The hardware you will need are the following:
Adafruit HUZZAH Feather: This feather is able to wirelessly send data through a protocol called MQTT. This itself does not publish data onto a browser but it does send it to a host sever (the raspberry pi) which then publishes it to a specified wifi.
Adafruit TFT Featherwing: This wing is what will be displaying the voltage-time graph on the E.M.F. Meter itself.
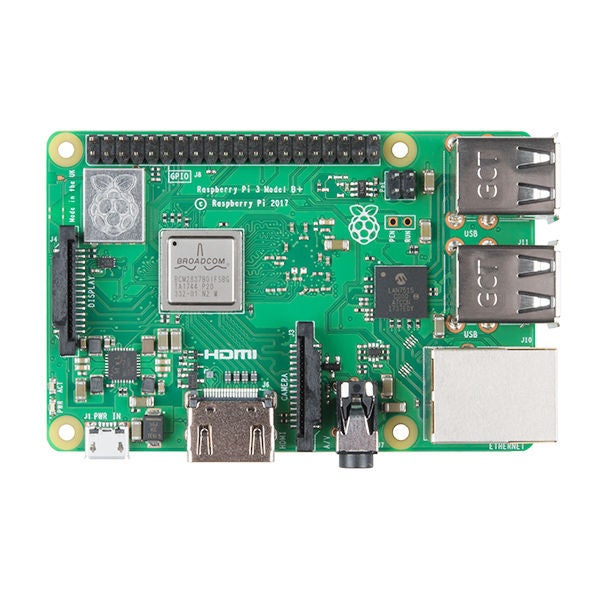
Raspbery pi 3B: This board is a computer that will be acting as the MQTT Host that recieves the HUZZAH feather’s data and publishes it to the wifi.
PiTop (Optional, but strongly suggested): This is the physical interface that the raspbery pi will be placed in to make it easier to use (for finding IP addresses in particular).
Step 4: Additional Components: Software
Arduino: Make sure you have the newest Arduino available. It is completely free.
Node Red: This is the software that will make up the browser for displaying the E.M.F. Data. Your raspberry pi needs to download the Node Red software to work, though. Like Arduino, it is free.
Read more: The E.M.F.Meter
- What is the primary purpose of the E.M.F. Meter?
To allow students to learn electromagnetism laws through raw experimentation by measuring induced voltage. - Can the device display data for an entire class?
Yes, it publishes data to a single browser that can display the whole class's data. - Does the Adafruit HUZZAH Feather publish directly to a browser?
No, it sends data via MQTT to a host server which then publishes it to the wifi. - What software runs on the Raspberry Pi?
The Raspberry Pi needs Node Red software to act as the MQTT Host and display data. - Is the PiTop required for the project?
No, it is optional but strongly suggested to make the Raspberry Pi easier to use. - How many channels does the ADS1115 featherwing support?
It measures voltages through two channels. - What hardware displays the voltage-time graph locally?
The Adafruit TFT Featherwing displays the graph on the meter itself.