This is an inexpensive, DIY, Arduino-powered oneironautics device that allows users to alert themselves when they are in a deep dreamstate, without waking up. In other words, this machine will tell you when you are dreaming, while you are dreaming. Why is this such a big deal? Because, this is the first step to achieving a lucid dream where you are in control and can dream whatever you want.
Q: Is this the machine from Inception? Can I share other people’s dreams with it?
A: Now, everyone I explain this to gets this same impression, so I’ll put it up front: This is not the machine from Inception! But without sci-fi military-level technology, I’d say it’s the next best thing.
Q: Well then what good is it? What does it actually do if not provide the whole setting for Inception?
A: Quite a bit actually! Here’s some lists:
WHAT THIS MACHINE CAN DO:
Allow you to be more aware while dreaming
Allow you to have more vivid and/or memorable dreams
Motivate you to get and maintain a good sleep schedule
Understand more how dreams and thoughts behave and interact
WHAT THIS MACHINE WILL NOT DO:
Allow you to control your dreams whenever you want
Allow you to share someone else’s dreams
Allow you to have a dream within a dream (as far as I know)
Q: So I just wear this thing while I sleep and then I have these weird half-awake dreams?
A: Not exactly. This machine doesn’t work on it’s own; in order for it to be particularly effective, it requires some mental exercises and practices as well as a bit of a time investment; however, you can be asleep for most of that time and (hopefully) you were going to be doing that anyways. I’ve done quite a bit of research and practice into this project before building this device, but in the end it still depends on the user to operate it effectively.
Q: Sounds like a joke/scam/hoax/conspiracy. Does this actually work?
A: I haven’t been able to train myself into it lately due to the ever-changing time constraints of college, so it’s been awhile since I’ve had it working personally. I will say, though, that when I’ve gotten it to work (a year or so ago) it was pretty awesome – but it does take a bit of commitment. Also, these devices were for sale awhile ago, but for $200 or so on eBay I figured I could build one myself for less.
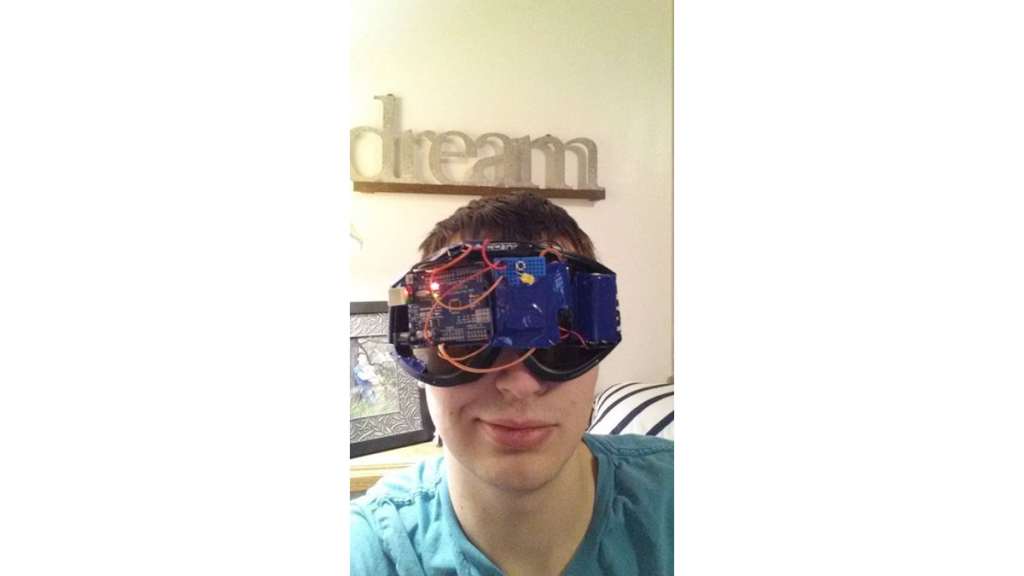
Yes, I am aware this isn’t the most professional-looking device, but at the time it was a proof-of-concept idea and I haven’t had a chance lately to design it to use less duct tape. Still, the electronics are the main components, and fortunately they aren’t made of tape.
It’s worth mentioning that lucid dreaming generally does not detract from your quality of sleep, so you don’t need to worry about exhausting yourself in a dream and then waking up tired from it. Relief!
I’ll also point out that this device is not required to achieve lucid dreams; it simply makes it easier than trying to do it yourself (which can be frustratingly difficult). So if you’d rather not spend the ~$30 for the parts, or just want to try it on your own first, you can still follow the guide and get similar results.
Lastly, most of this background comes from lucidity.com and a bit from Wikipedia. The Lucidity Institute has more information there (they’re the ones who used to sell these), along with scientific reports and studies.
Now for the science!
Step 1: Building the Machine
The device itself is quite simple and easy to make; the physical calibration is the hardest part.
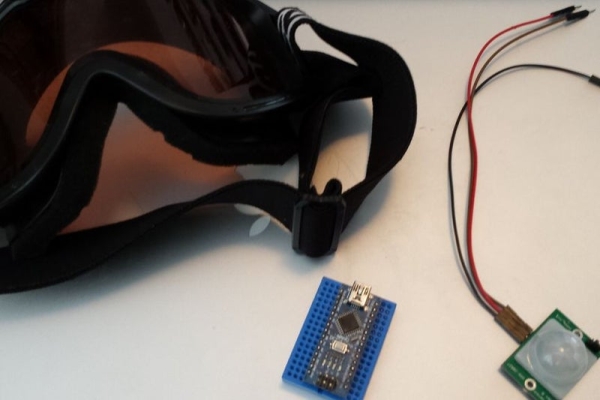
Parts:
Ski Goggles – Make sure they’re comfortable (ideally enough to sleep in).
Arduino – I used an Uno since I couldn’t get my Chinese Nano to work, but a smaller board might be preferable.
Battery and adapter – A 9V works quite well.
2 Yellow LEDs – Yes, they should be yellow or at least orange; maybe green, but not blue. There’s a reason for this that I’ll explain later.
PIR Sensor – If you can get one without an internal LED it would be much more effective.
Toggle switch – Optional, makes it easier to turn the device on/off
Small breadboard – Optional, makes wiring a bit easier
Small pushbutton switch – Optional, for Reality Tester
Buzzer/Speaker – Optional, for Reality Tester
Small resistor – Optional (if you don’t like LEDs connected straight to the Arduino)
Several wires – Ooh, didn’t see that one coming…
Duct Tape – Hey, duct tape can fix anything, and it makes the construction fast and easy.
Foam – I used some packing material from an Arduino box, but this can be anything that doesn’t feel too irritating to the touch.
Assembly:
Attach the Arduino, battery and breadboard to the outside of the lens. Wire up the LED, buzzer (if used), resistor and pushbutton in series on the breadboard from 5V to GND, and try to keep the wires away from the button. Connect the battery to VIN and GND on the Arduino (+ and – respectively) and the toggle switch in series with it (if applicable).
Inside the lens, attach the other LED to the surface so that when you are wearing the mask it is just in front of one of your eyes. Make sure it isn’t sticking up off the lens too far to avoid poking an eye out. On the other side attach the PIR sensor in a similar fashion, but position it such that it is directly in front of the top of your eye when you’re wearing the mask. The sensor should be as close to your eye as comfortably possible. Wire the LED and PIR sensor to the Arduino according to the diagram, and upload the code to the Arduino.
Attach foam to the mask however you need to make it comfortable enough to wear and sleep in. In particular you will probably want to put some on the edge around the PIR sensor, since pressure on the mask can cause it to push on your eye.
Testing:
To test the device, you should be able to trigger the PIR sensor by looking around inside the mask while you’re wearing it, specifically with your eyes closed. The sensor I used has an LED inside the lens that turns on whenever it is activated, which gets really annoying when you’re trying to sleep and move your head around; a sensor without that LED would be much more effective. If everything is working properly you should see the LED inside the mask flash several times after moving your eyes around repeatedly for a short time. If it’s too difficult to activate or it activates too often, try moving the sensor around inside the lens to a better position.
Read more: The Dream Machine Or, How to Be More Awake While You Sleep