Summary of Serial Communication – Arduino and Linkit One
This article guides users on establishing serial communication between an Arduino and a Linkit One board to enable complex projects. It details the necessary hardware connections, specifically linking TX/RX pins and grounding both devices, and provides a C++ code snippet for data transmission using SoftwareSerial. The process involves installing the Linkit One plugin in the Arduino IDE and utilizing the serial monitor to verify data exchange between the two microcontrollers.
Parts used in the Serial Communication Project:
- Linkit One
- Wires
- Arduino
In this instructable I’m going show you how to establish serial communication between the arduino and the Linkit One. This would help you make a more complex project with these two boards.
Step 1: Components
Here is a list of all the components required to get started, make sure you collect all the components first before proceeding to other steps-
Linkit One
Wires
Arduino
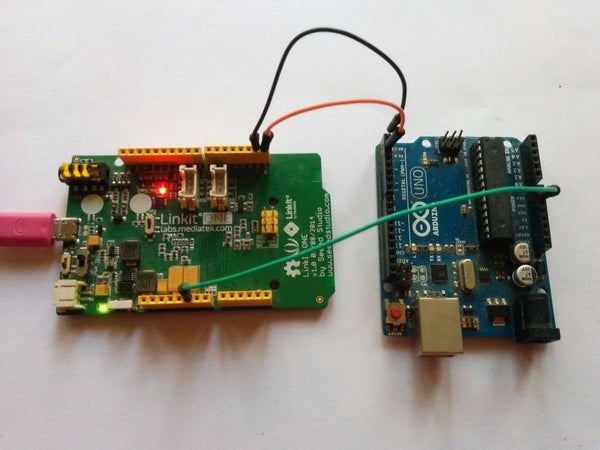
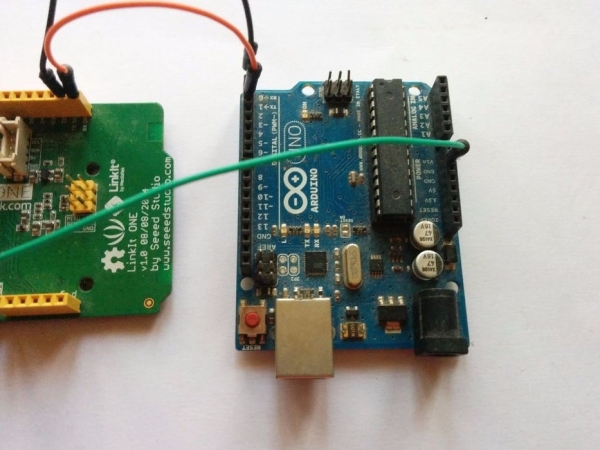
Step 2: Schematics
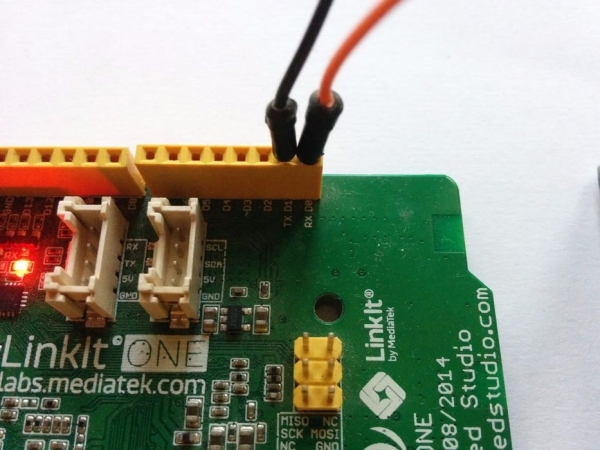
All the connections you need to do is connect the TX pin of the arduino to the RX pin of the Linkit One, Connect the Rx pin of the arduino to the TX pin of the Linkit One. And also connect both the GND terminals together.
Step 3: Program
To upload the program you need to install the Linkit one plugin along with the Arduino IDE. You can find instructions on how to do that in the official website. You can also download the IDE with the Linkit One plugin pre-installed from GitHub.
include
SoftwareSerial ser(0,1);
void setup() {
  Serial.begin(9600);
  Serial.println("SERIAL: BEGIN");
  ser.begin(9600);
  ser.println("SOFTWARE SERIAL: BEGIN");
}
void loop() {
  if(ser.available()) {
    Serial.print("writing to serial");
    Serial.write(ser.read());
  }
}
Step 4: Setting It Up
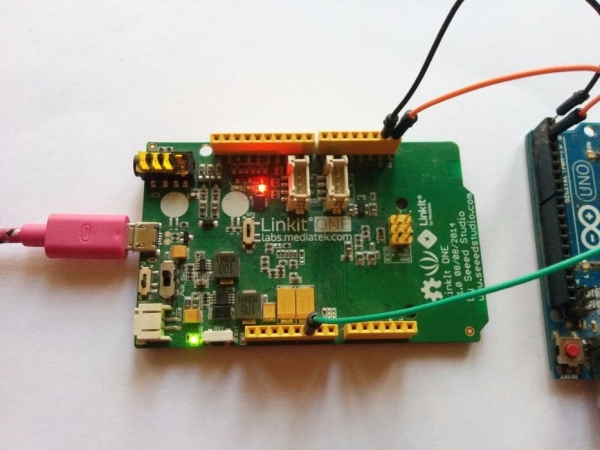
Open up a serial monitor and you can transmit data across the two boards.
Source: Serial Communication – Arduino and Linkit One
- How do I connect the Arduino to the Linkit One?
Connect the TX pin of the Arduino to the RX pin of the Linkit One, the RX pin of the Arduino to the TX pin of the Linkit One, and join both GND terminals. - What software is required to upload the program?
You need the Arduino IDE along with the Linkit One plugin, which can be found on the official website or downloaded pre-installed from GitHub. - What baud rate is used for the serial communication?
The code initializes both Serial and SoftwareSerial at a baud rate of 9600. - How can I transmit data across the two boards?
Open up a serial monitor to transmit data across the two boards after uploading the program. - Can I download the IDE with the plugin already installed?
Yes, you can download the IDE with the Linkit One plugin pre-installed directly from GitHub. - What does the setup function initialize?
The setup function begins the standard Serial port and the SoftwareSerial port at 9600 baud, printing start messages to each. - How does the loop handle incoming data?
The loop checks if data is available on the software serial port and writes it to the standard serial output if present.