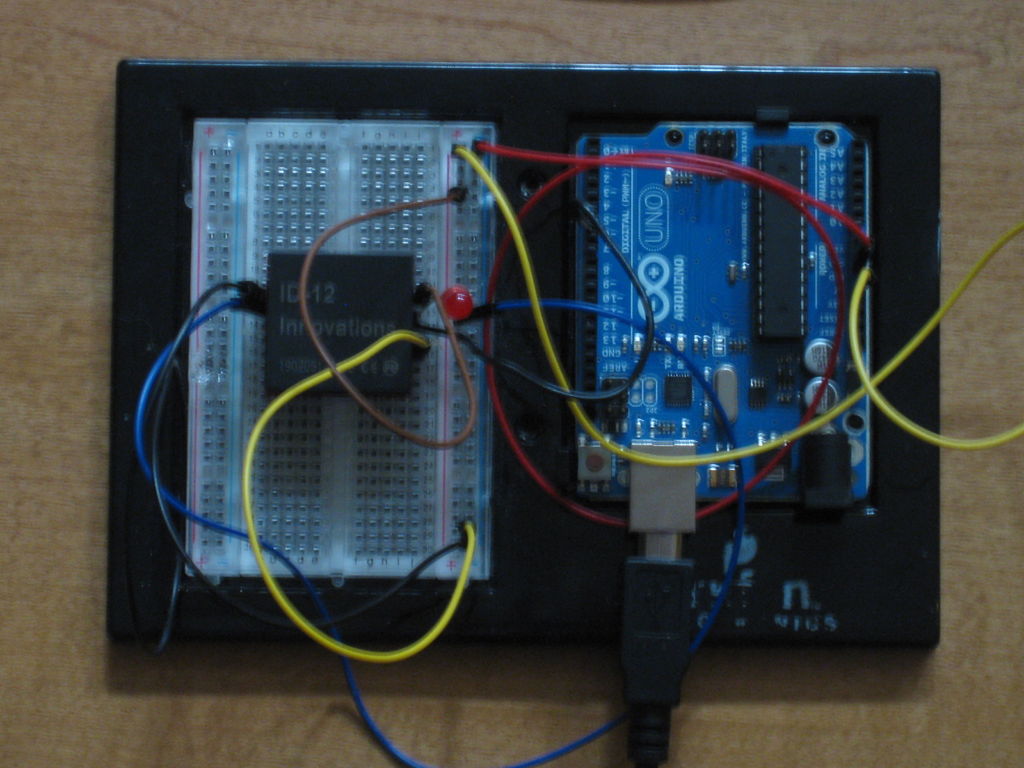
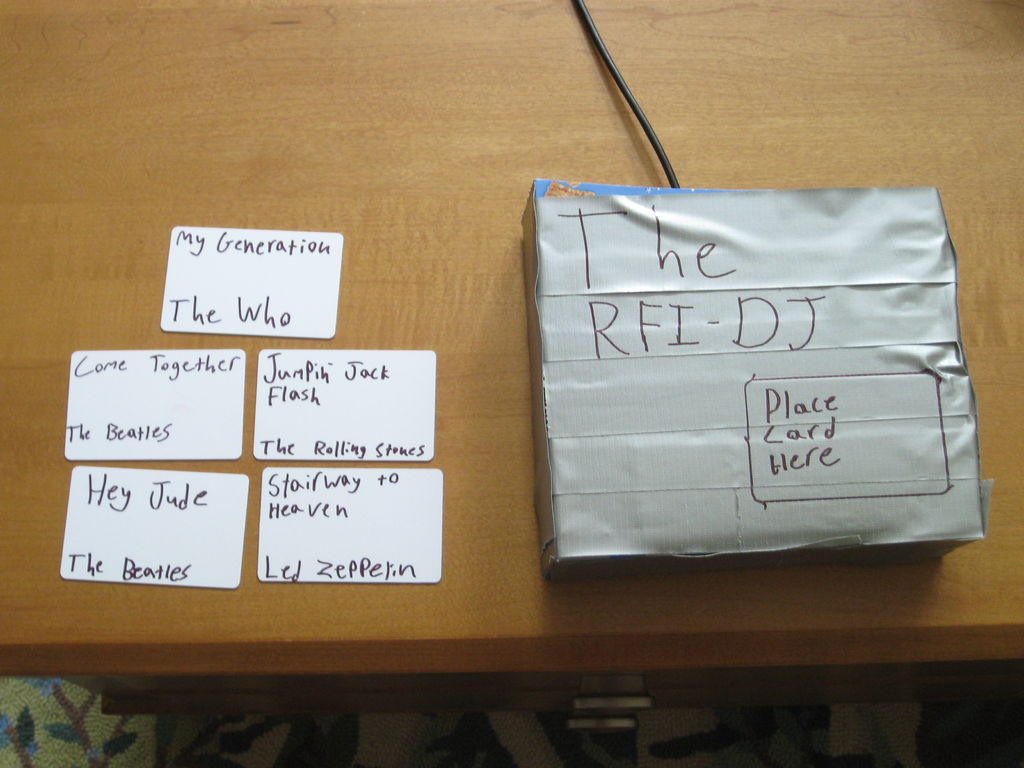
Actually, it’s not magic. It uses an Arduino and an ID-12 RFID scanner, and a python script running on your computer.
The device is really fun to use, and it makes a great afternoon project. The parts it uses are owned by most DIY people, and if you don’t have them, they’re pretty cheap and easy to find. The number of tracks it can play is severely limited to the number of RFID tags you have, so don’t plan on throwing away your i-pod.
Wait a minute, I think I’ve seen this before…
Yes, unfortunately, you have. After starting on this instructable I discovered that somebody had already done something very similar, which can be found here. There are still many differences in his approach, such has that his is not USB, it is standalone, and his is much bigger and is more difficult and time-consuming to make. His is also based off of an i-pod.
Also, this project was inspired by this instructable. I probably wouldn’t have thought of this without it. It’s basically the same thing, but that one was with websites, not songs.
Here’s a video I made of me playing a song with it (with my cat yelling in the background):
How it works:
An RFID scanner scans your card.
An Arduino processes the reading.
Based on the reading, the Arduino sends a letter to the serial port.
A python script reads the letter, and plays a song based on what letter it receives.
Step 1: Supplies
1 Arduino
1 RFID Reader
1 RFID Reader Breakout
Many RFID Tags
1 Computer
Some MP3 Files (Don’t pirate them, please.)
Wire
Optional:
1 LED
1 Box of sorts (I used a cereal box)
Step 2: Download ALL THE THINGS!
pySerial – A python module for serial communication.
It can be found here.
1. Download and extract.
2. Use “cd” to change your directory to the pyserial folder.
3. Use “sudo su” to change into root. (Use your root powers for good, not evil)
4. Run “python setup.py install” to install it and stuff.
mpg321 – A program to play MP3 files and such.
1. Run “sudo apt-get install mpg321” and type in the root password.
To test:
2. “cd” into the directory of an MP3 file.
3. Run “mpg321 [mp3filename].mp3” and it should be working.
Step 3: Wire up RFID Reader
RFID reader pin 1 to ground.
RFID reader pin 2 to 5v.
RFID reader pin 11 to 5v.
RFID reader pin 10 to LED. (Optional: for debugging purposes. Will light up when a card is scanned.)
RFID reader pin 9 to Arduino pin 6.
RFID reader pin 7 to ground.
Done!
Step 4: Prepare Box (Optional)
Step 5: Figure Out RFID Identifiers
#include <SoftwareSerial.h>
SoftwareSerial RFID = SoftwareSerial(6, 7);
void setup ()
{
Serial.begin(9600);
RFID.begin(9600); //Begins connection with the reader
}
char read;
void loop ()
{
while(RFID.available() > 0)
{
read = RFID.read();
Serial.print(read);
}
}

While that code is running, open up the serial monitor. Now, scan some cards, and write down the characters that show up in the serial monitor. Write letters (such as ‘a’ or ‘b’) on each card. Make sure each card has its own letter. On the same paper you wrote down the IDs, write down the letter associated with that ID.
Step 6: Arduino Code
This is the BRAND NEW, SUPER AWESOME code that I used for my RFI-DJ, or it’s at least more brand new, and more super awesome than when I first posted this instuctable. You must edit some lines to make it work for you.
For more detail: RFI-DJ: MP3 Playing RFID Thing

