Driving multiple Sparkfun 7-segment displays with an Arduino
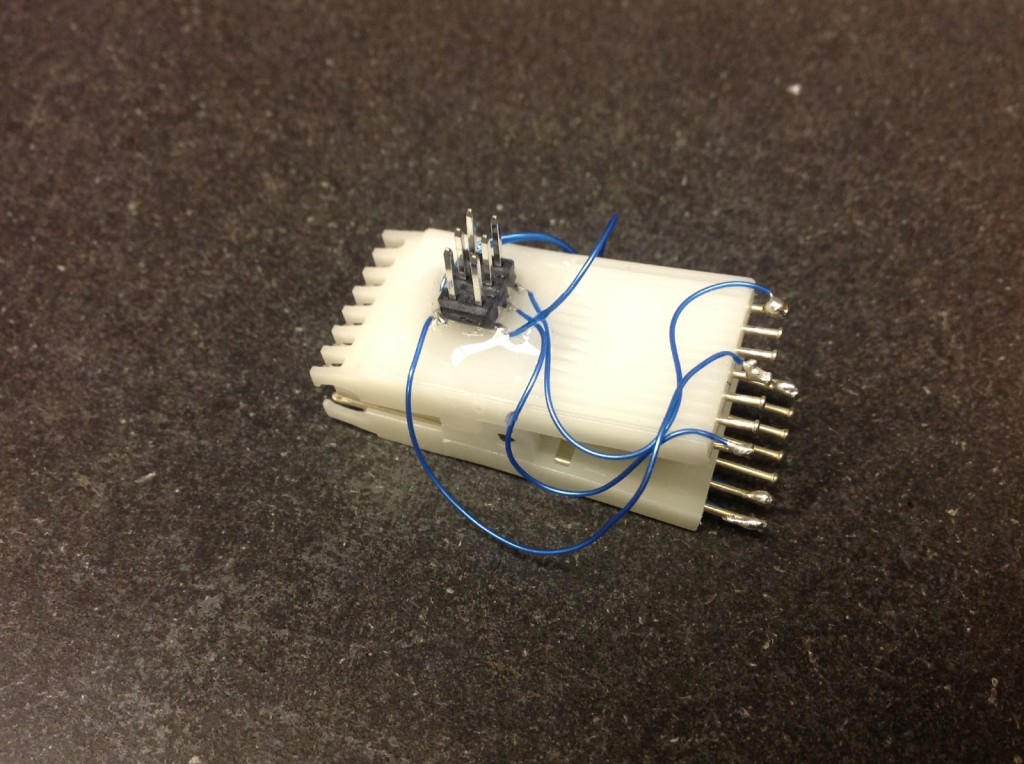
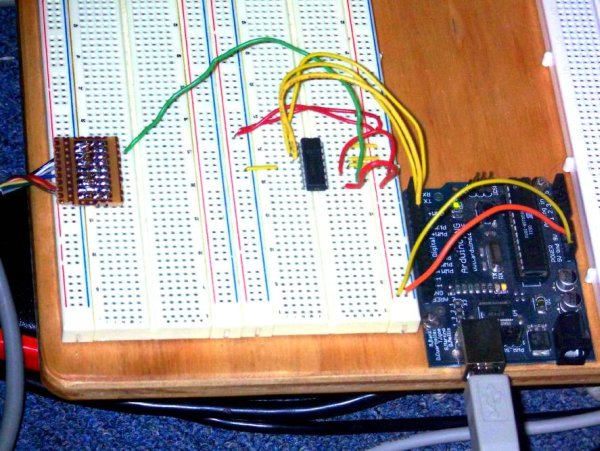
I’m currently helping a couple of engineering students finish a senior project that didn’t get finished last year. Long story… Anyway, it’s a bicycle brake tester being built for Paul Components. The mechanical design is great, but they had trouble with the electronics. Part of those electronics involved writing numbers to a pair of Sparkfun […]
Driving multiple Sparkfun 7-segment displays with an Arduino Continue Reading