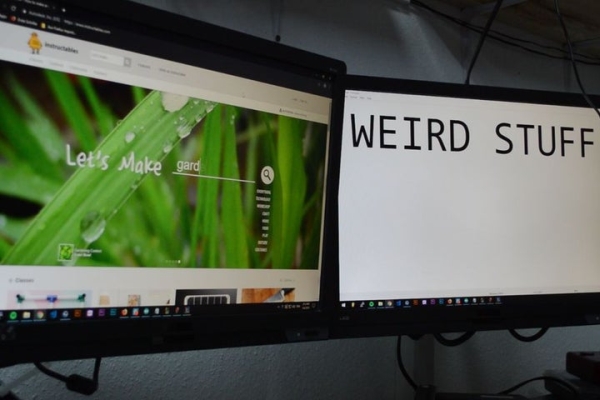
If you live with other people or have your own office you might be familiar with the problem of people randomly appearing in your room while you are working on confidential data or just have some weird stuff open on the 2nd Screen from hours ago.
Also if you live with other people and you are using any voice chat, chances are that someone slams open the door and makes noise or yells all over the place.
This instructable offers a sensor based solution which can trigger any keycomb you want to be triggered in order to get some privacy or simply mute your microphone.
Step 1: Parts
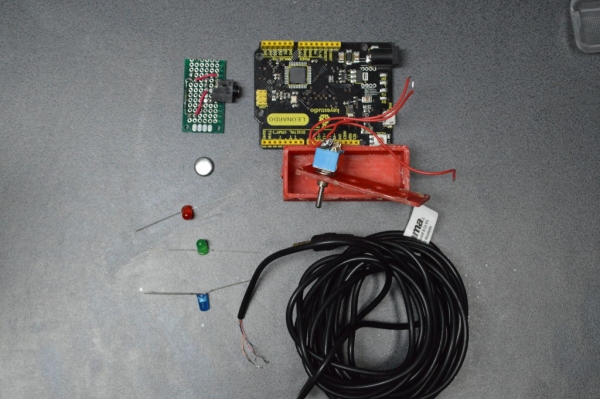
The Basic parts are:
- Arduino Leonardo OR Pro Micro (basically any arduino with HID support)
- A Reed switch with magnet as door sensor
- A pushbutton
- Cable (any lenght that reaches from your PC to your door)
- Cable for the UI to the arduino (old telephone wire works best)
- 3 10KΩ Resistors for the reed switch and buttons
- micro USB cable
Optional Parts
- LED’s as UI
- 1 220Ω Resistor for each LED
- perfboard
- Arduino prins for the perfboard
Step 2: The Reed Switch

The reed switch is a switch that closes whenever a magnet is nearby and is therefore perfect for sensing open doors!
It is as simple as connecting the 2 contacts of the reed switch to the connector (I’ve used a 3.5mm Headphone jack since it made the install easier later on) or directly to the long cable.
To install the sensor to the door just place the senso close to the magnet which needs to be fixed to the door. As the door opens, the contact of the reed switch will.
Step 3: The User Interface
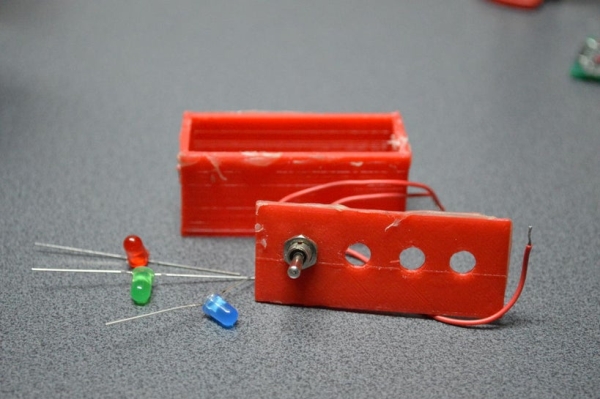
For the UI I’ve decided to go with a simple two-way momentary switch and 3 LED’s and a custom 3D printed case but you can get creative with the case.
The LED’s are just molten into the plastic and the switch fits through the hole perfectly.
Only one of the switches and two of the LED’s are used in the current code.
WIRING
Just connect everything according to the image, the user interface will be connected to the Arduino in the next step
Step 4: Connecting Everything to the Arduino
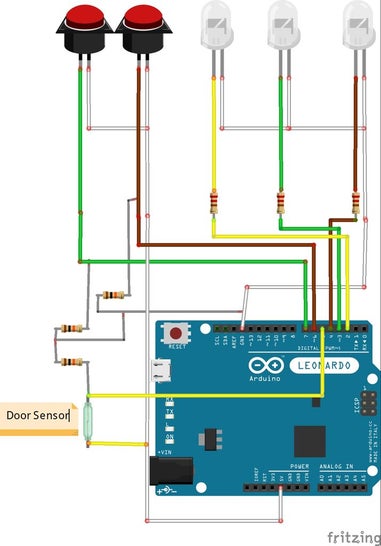
Since I am using an Arduino Leonardo I decided to create a custom shield but since I am just using some resistors there are many ways of connecting this together
Resistors used:
220Ω for the LED’s
10KΩ between the button-pin and ground (also do this for the reed switch
Step 5: The Code
The code can be found on my GitHub
https://github.com/dahunni/Pc-Privacy/blob/master/…
but the best part is that you can customize the code for your needs!
In the code, you can find two functions which are fully customizable!
The function “keycomb” is the code that will be executed as soon as the device is triggered
The function below is the comb that will be triggered once you reactivate the sensor
Here you can find the so-called keyboard modifiers:
https://www.arduino.cc/reference/en/language/funct…
Important: Don’t forget to release all keys or otherwise your key combo will only work once
Some ideas to get you started:
Windows:
Win+D - Minimizes all windows
Win+L - Locks the pc so you will never leave the room with an unlocked pc again
Mac:
command+Q - Quits the current application
F11 - Show the entire Desktop
Source: Pc-Privacy – Arduino Automated Privacy for Your Computer