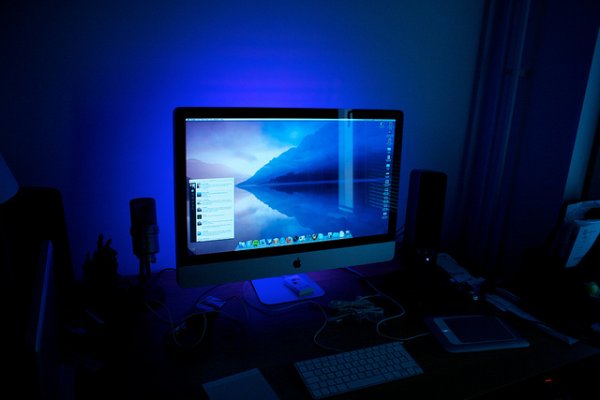
A few weeks ago, it came to my attention that IKEA do a set of colour-changeable LED strips. I’ve been looking for a decent way of providing some lighting behind my computer to reduce eye-strain for a long time, and these seemed perfect:
I was very pleased with them, but no self-respecting nerd would stop here. Especially one who’s seen Philips’ Ambilight technology in action!
Over a series of blog posts, I’ll be explaining how I built a simple controller for IKEA Dioder lights using an Arduino Mega2560 unit, then moving on to explore various ways to utilise this control in software for fun and awesomeness.
In this post, I’ll be building an Arduino layout that controls the Dioder LED strips, programming it to listen to messages on its serial port and set the LED strips’ colours accordingly, then making a simple Cocoa application in Xcode that sends messages to the unit to match the strips to colour wells in a window on-screen.
Note: If you see a paragraph starting with Tangent:, you can skip it without losing information on how to build this project.
I care not for your long and boring descriptions! Just give me the code and wiring diagrams!
You can grab the code over at the project’s homeon GitHub, which includes both Arduino sketches for uploading to the device and Xcode projects for controlling it. The Arduino sketches require the Arduino software and the Xcode projects were written on Mac OS X 10.7.
You can download a PDF wiring diagram here.
Enjoy!
Part 1: Creating the Arduino-based hardware layout
IKEA sell Dioder lights in a number of configurations — I went with the set that includes four multicolour strips, a control box and a power adapter (Store links: Sweden/UK/USA). The control box and power adapter won’t be used once they’re connected to the Arduino, though.
The Dioder LED strips have 12VDC on a common anode, with three return paths for the red, green and blue channels.
Ingredients (links to Swedish stores):
- 1 x Arduino Mega2560 Link
- 1 x 12v AC-DC Adapter Link
- 1 x A-B USB Cable Link
- ~40 x Male-Male Jump Cables (I got four packs of ten) Link
- 2 x ULN2003 DIP-profile chips Link
- 1x Breadboard with at least 20 lanes Link
The layout here is fairly simple — power the Arduino with the 12V power adapter, then tap into that for the anode on each LED strip. PWM pins 2-13 (0 and 1 collide with serial communication, which we’ll be using on this project) on the Arduino are connected to the ULN2003 chips, which act as relays for the red, green and blue cathodes from the LED strips. Finally, the ground pins on the ULN2003s are connected to the Arduino’s ground to complete the circuit.
Below are photos of the completed unit as well as a diagram of the wiring. You may notice that the wiring in the photos isn’t quite the same as in the wiring diagrams — that’s because I miswired the project when I took photos of it. All code and future projects are based on the wiring diagram.
You can download a PDF of the diagram here.
Part 2: Programming the Arduino
Rather than stepping through the process of listening to the serial port and controlling the PWM pins, I’m going to jump straight to what I implemented for the Arduino to listen to messages on its serial port and set the PWM output values accordingly. However, if you haven’t programmed Arduino before, I strongly recommend visiting the Arduino reference guides and looking at the sample projects included with the Arduino software to learn how it all works — it’s a lot of fun!
The protocol I implemented is very simple — two constant header bytes, 12 “body” bytes (one for each red, green and blue pin over four separate LED strips) and a checksum byte (a bitwise XOR of all the body bytes).
For more detail: Nerd++: Controlling Dioder RGB LED Strips with Arduino, Pt. 1 – Getting Started
