Summary of MKR1000 Connecting to the WiFi (3 steps)
This article guides users on how to connect the Arduino MKR1000 board to WiFi. After setting up the board and uploading a sketch, users download and add the WiFi101 library to the Arduino IDE. The provided example sketch scans and lists nearby WiFi networks every 10 seconds, displaying their names, signal strength, and encryption types. It also prints the WiFi shield's MAC address, helping users verify the connection status.
Parts used in the Arduino MKR1000 WiFi Connection:
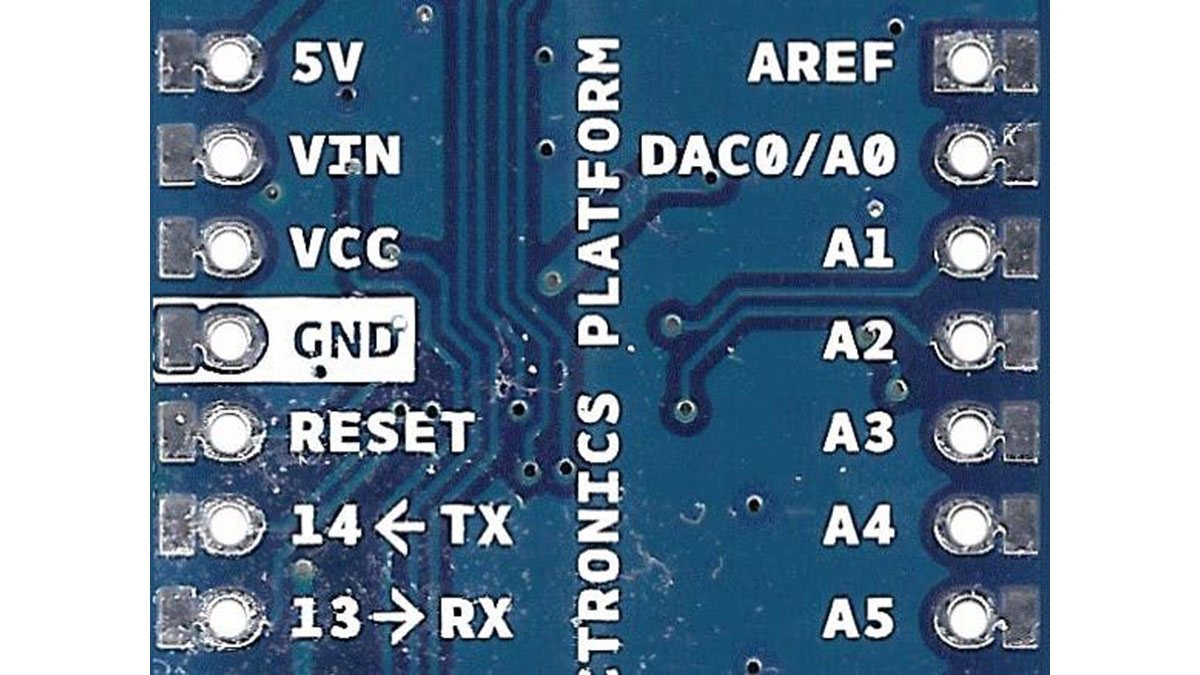
- Arduino MKR1000
- Arduino IDE
How to connect the Arduino MKR 1000 with the WiFi.
Things used in this project
Hardware components | ||||||
 |
| × | 1 | |||
Software apps and online services | ||||||
 |
| |||||
Story
How to connect the MKR 1000 with the WiFi? – It’s easier than you think.
The article will be helpfull only if you are already set up your MKR1000 board and if you are succesfully uploaded any custom sketch. If not, just read THIS article first.
So, let’s start!
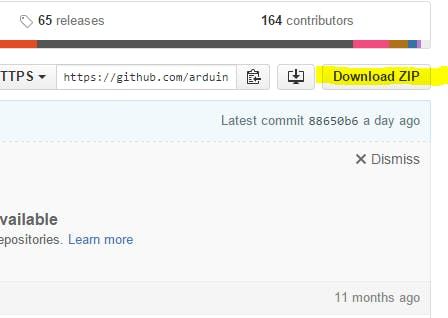
1. Go to https://github.com/arduino-libraries/WiFi101
2. Download this repository as a .ZIP library
3. Add the library into your IDE
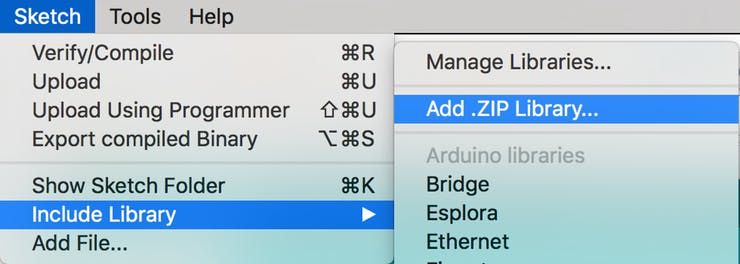
That’s it!
So, let’s test it with the following sketch.
Enjoy! 🙂
scans for available Wifi networks using the Wifi shield.
Every ten seconds, it scans again. It doesn’t actually
connect to any network, so no encryption scheme is specified.