CNC/Laser cutters are invariable tools of modern day fabrication and there are a lot of open source DIY laser cutter projects that you can make. They are now being widely used in industrial applications at a more personal and mass consumer level. But the cutters today have an indirect interface involving external computers. I can explain this better with an example. Imagine you want to cut a leather bracelet for your arm. To do this with present laser cutters, you will have to first take the measurement of your wrist, make a CAD drawing, and only can you cut a shape. There are two problems here:
- Taking measurements is a boring and tedious process.
- The user doesn’t get the actual feel of the size and place of the final cut. For example, a 1cm radius circle will look different on different screens at different zoom levels.
What if you could simplify this by placing your hand directly on the work piece and telling the system directly about measurements, using hand strokes? It removes the process of tedious measurement taking and CAD modeling. The system projects the tool path telling the user about the actual size to be cut and the actual position where cutting will happen.
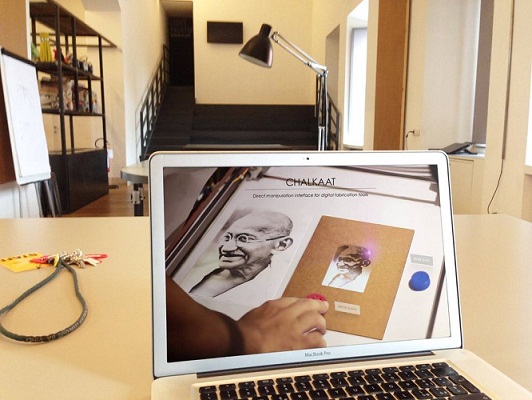
Chal-Kaat(meaning lets cut in Hindi) is an attempt to do exactly this. It’s a direct manipulation DIY laser cutter that’s aware of the strokes being drawn on the workpiece. Chalkaat is a pen stroke based UI for interacting with laser cutters. The users can express themselves by working directly on the workpiece. The camera on top tracks the strokes on paper. Different colored markers allow different commands to be executed. We built a laser cutter from ground up, with computer vision and mechanics to optimize the interface.
Required Materials
- 2W laser without driver($84)
- Laser driver($36)
- Laser heat sink and mount($4)
- Build your own Arduino it’s much cheaper (less than $5)
- Wireless programmer for Arduino($22.5)
- 2 Pololu stepper motor drivers ($12)
- At least 2 Stepper motors (got them from my 3D printer)
- Pico projector($110)
- USB HD Web Camera($68)
- Stainless steel rods (got them from local market for $4)
- 4 SK8 mounts ($8)
- 6 SC8UU bearings ($20)
- Belts (got them from my 3D printer)
- CPU fan for cooling laser($5)
- Cardboard base (got them from local market for $2)
- Glue (<$1)
- 12v-4amps and 6v-3amps power supply (got them from local market for $10)
The total cost comes up to $390. You can reduce the cost of your DIY laser cutter further by salvaging components like motors, drivers, belts, bearings, and fans from old electronic gadgets.
How Does it Work?
As explained above, the ChalKaat project allows you to interact with your cutter and design your results on the work piece. This is how the system works:
- User places the object to be cut under the system or manually draws the dimensions using hand strokes.
- System scans the image, generates g-code, and projects the scanned image on the work piece.
- User can now use different colored markers(red and blue here) to translate and scale the projected image.
- After fixing the position and scale, the laser cutter will now cut out the work piece of that exact scale and position.
This is achieved using a projector and an RGB camera. The RGB camera has two functions:
- It tracks the hand strokes by scanning the image.
- It tracks the markers for scaling and positioning.
The projector, on the other hand, projects the scanned image on the material surface used for cutting.
Read More: How to Make a DIY ChalKaat CNC/Laser Cutter!