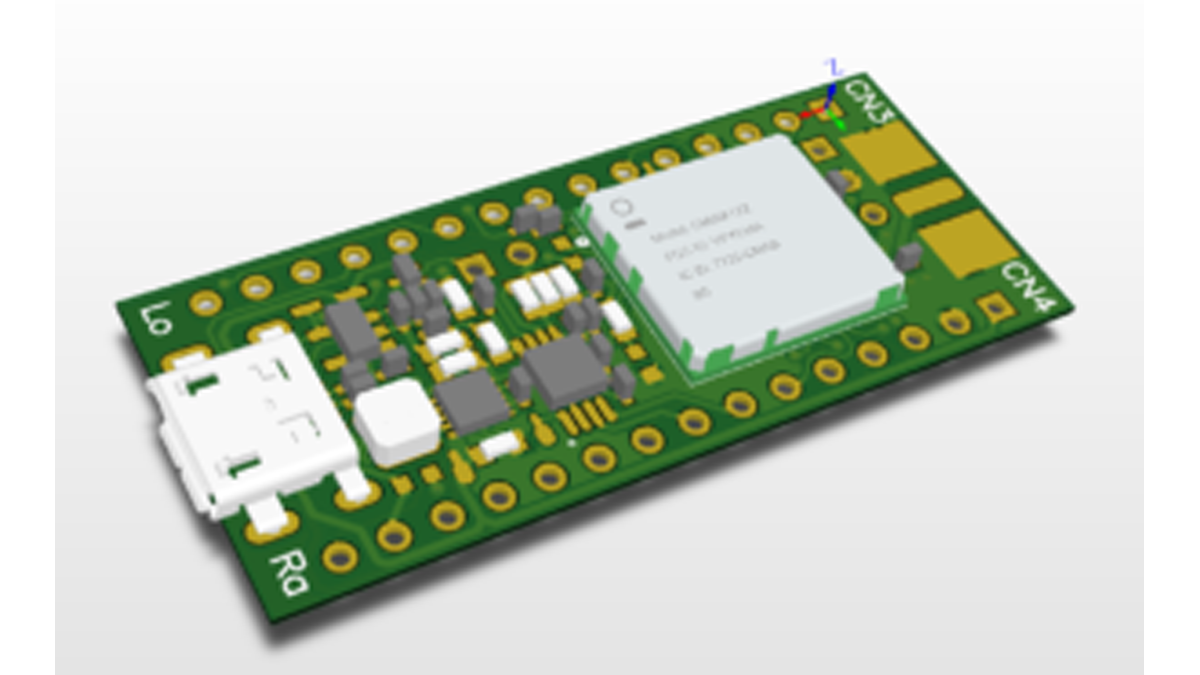
Small board with arduino nano compatibile pinout with power management and Murata ABZ LoRa module with STM32L0 microcontroller

Features
- LoRa module: Murata ABZ
- Single cell LiPo cell charger on-board with charging signal internally connected to PA11 (via jumper)
- Buck/Boost switching power supply for delivering stable 3,3V regardless of the batterz voltage
- Battery fuel gauge on-board to control the real status of the battery
Connector pinout
CN3
- 1 – PA9 USART1_TX, 2C1_SCL MCO
- 2 – PA10 USART1_RX, I2C1_SDA
- 3 – nRST
- 4 – GND
- 5 – NC
- 6 – PB5 SPI1_MOSI, LPTIM1_IN1, TIM3_CH2, TIM22_CH2
- 7 – PB6 USART1_TX, I2C1_SCL
- 8 – PB2 LPTIM1_OUT
- 9 – PB7 USART1_RX, I2C1_SDA, LPTIM1_IN2
- 10 – PA11 SPI1_MISO, EVENTOUT, COMP1_OUT
- 11 – PH1
- 12 – PA12
- 13 – PB12 SPI2_NSS, EVENTOUT
- 14 – PB15 SPI2_MOSI
- 15 – PB14 SPI2_MISO, I2C2_SDA, TIM21_CH2
CN4
- 1 – V+
- 2 – GND
- 3 – nRST
- 4 – 5V
- 5 – PA8 I2C3_SCL, EVENTOUT
- 6 – PA5 SPI1_SCK, TIM2_CH1
- 7 – PB8 I2C1_SCL
- 8 – PB9 I2C1_SDA
- 9 – PA4
- 10 – PA3 TIM21_CH2, TIM2_CH4, USART2_RX, LPUART1_RX
- 11 – PA2 TIM21_CH1, TIM2_CH3, USART2_TX, LPUART1_TX
- 12 – PA0 TIM2_CH1
- 13 – PH0
- 14 – 3V3
- 15 – PB13 SPI2_SCK, I2C2_SCL, TIM21_CH1
How to use with Keil uVision (free for STM32 F0/L0)
Installation
- Download Keil MDK-ARM v5 from https://www.keil.com/demo/eval/arm.htm
- Run the downloaded MDK5xx.exe installer
- Install to any path you like. If you have existing MDK-ARM installations that you want to keep, select a new folder for MDK v5.
- Click Install to download and install the STM32F0 and STM32L0 Device Family Packs supplied by Keil:
Activation
- Login with an account that has administration rights
- Right-click the µVision icon and select Run as Administrator… from the context menu.
- Open the dialog File — License Management… and select the Single-User License tab.
- Click the button Get LIC via Internet…, then click the button OK to register the product. This action opens the License Management page on the Keil web site.
- Enter the Product Serial Number 4PPFW-QBEHZ-M0D5M along with your contact information and click the button Submit. An e-mail is sent back with the License ID Code (LIC) within a few minutes.
- To activate the Software Product, enter the LIC in the field New License ID Code (LIC) of the dialog License Management… and click Add LIC.
Project setup and configuration – How to use LoraDunchy software
After installation of free Keil IDE (uVision for STM32 L0/F0) clone the repository and copy content of the sw/projects/LoraDunchy folder and that’s your starting point.
Next, register on the TheThings Network and create application. Within your application register new device.
Copy template comissioning file (sw/Projects/{your_project}/inc/ to new file.
Use application key and device ids to fill the missing data in the missing fields in the comissioning file. Edit the include directive in file comissioning.h, line 68. Build project, upload to the LoraDunchy hardware. Activate Reset and if your device is within the TTN connected LoraWAN Gateway, you should observe packet with couple of bytes payload (0x01 0x02 0x03 0x04 0x05).
Read more: LoraDunchy – Arduino Compatibile LoRa module
