Summary of ESP8266 DS18B20 temperature sensor, Arduino IDE, EasyIoT Cloud
This tutorial guides users in building a low-cost WiFi temperature logger using an ESP8266 module and DS18B20 sensor connected to the EasyIoT Cloud. The system costs under $5, supports mobile viewing via Android apps, and logs historical data every 10 minutes. It requires configuring the cloud service with specific parameters and programming the microcontroller using the Arduino IDE before connecting the hardware components for operation.
Parts used in the WiFi ESP8266 DS18B20 Temperature Logger:
- ESP8266 module
- DS18B20 temperature sensor
- 4.7 K resistor
- 2 AA batteries (for power supply)
In this tutorial we will show how to build WiFi ESP8266 DS18B20 temperature logger connected to EasyIoT Cloud. All material costs less than 5$ on ebay.
EasyIoT Cloud works also on mobile phone or tablet. Native Android app is also available.
Also see simplified sensor version (Plug and Play):
http://www.instructables.com/id/ESP8266-Temperature-Logger-With-Email-Alarm/
Step 1: Materials
- ESP8266 module
- DS18B20 temperature sensor
- 4.7 K esistor
Buying guide for ESP8266 DS18B20 temperature sensor is here.
Step 2: EasyIoT cloud configuration
Register to EasyIoT Cloud service. Then go to Configure->Modules->Add Module and select Analog Input module type. For first parameter set Description to Temperature, Unit to °C or °F, enable Log to database and set DB Avg.Interval to 10. For second parameter change Name to Settings.Icon1 and set Value to temperature.png. After you set values press button Save module.
DB logging means that we will log values in database, and historical values can be displayed in chart. DB Avg.Interval = 10 means that average value of parameter is inserted in database every 10 minutes.
After you save module module parameters gets ID. Copy ID for first parameter, because you will need it later.
Step 3: Program
We will program with Arduino ESP8266 IDE our ESP8266 directly. Program can be download on GitHub. In program set Acces Point username and password (AP_SSID, AP_PASSWORD) and instance parameter id (EIOT_CLOUD_INSTANCE_PARAM_ID). Instanceid/parameter id is wisible in WEB interface under configuration.
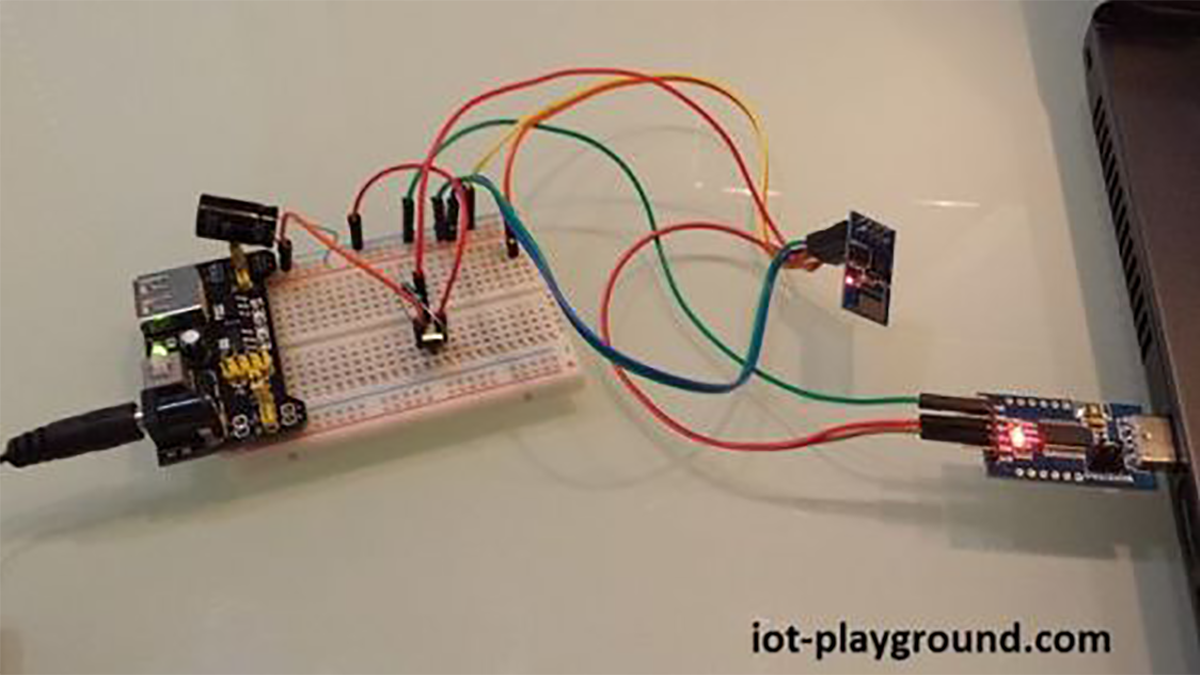
Connect ESP8266, DS18B20 and resistor. For power supply you can use 2 AA batteries. If everything is correct you can see temperature on EasyIoT Cloud http://cloud.iot-playground.com/ if you login with your username and password.
For more detail: CloESP8266 DS18B20 temperature sensor, Arduino IDE, EasyIoT ud
- How much does this project cost?
All material costs less than 5$ on ebay. - Can I view the data on a mobile phone?
EasyIoT Cloud works also on mobile phone or tablet with a native Android app available. - What is the DB Avg.Interval set to for logging?
The average value of the parameter is inserted in the database every 10 minutes. - Which IDE should be used to program the ESP8266?
You will program with Arduino ESP8266 IDE directly. - Where can I find the instance parameter ID?
The instanceid/parameter id is visible in WEB interface under configuration. - How do I configure the first parameter in the module?
Set Description to Temperature, Unit to °C or °F, enable Log to database, and set DB Avg.Interval to 10. - What power supply options are recommended?
For power supply you can use 2 AA batteries. - Is there a simplified version of this sensor?
Yes, a simplified Plug and Play sensor version is available as a separate tutorial.