Summary of Eggzact Science
This project automates egg counting for chicken coops using an Arduino MKR1000 and a Universal Windows Platform app. An infrared sensor detects eggs rolling down a sloped chute, while the MKR1000 acts as a web server to transmit data to the app. The system includes a manual reset button to clear counts after collection.
Parts used in the IoT Egg Counter:
- Arduino MKR1000
- Generic Infrared LED Emitter
- Generic Infrared Detector
- Generic Button - SPST
- Generic 330Ω Resistors (2)
- Jumper wires and cables
- Nest box with sloped floor
Entry for the “World’s Largest Arduino Maker Challenge” – An IoT Project with Windows10, the Arduino MKR1000, and Chickens.
![]()
Story
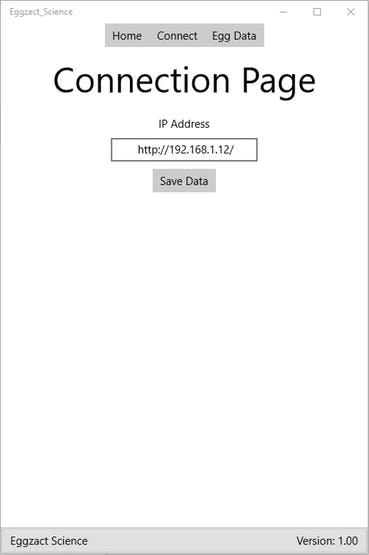 Completed App – Connection Page
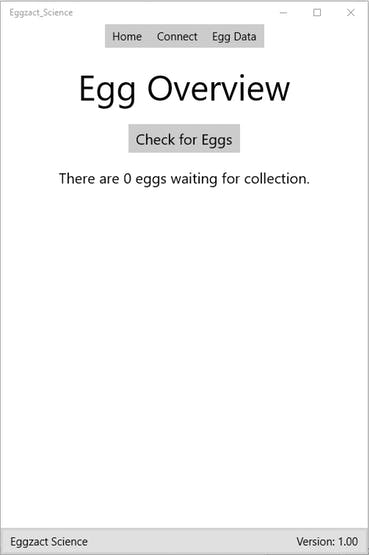 Completed App – Egg Overview Page
Things used in this project
Hardware components |
||||||
 |
|
× | 1 | |||
Software apps and online services |
||||||
 |
|
|||||
Project Theory
This project applies directly to the modern chicken farmer, but also to those interested in remote sensing using a windows apps and Arduino. Follow this process to update your chicken coop and bring it into the modern age.
The idea behind this project is that the eggs being laid are counted and recorded on an app for you. The eggs pass through a sensor which is recorded on a MKR1000. This data is then hosted on the MKR1000 as a local web server that is available for the Universal Windows Platform App to grab and use.
Hardware
Building the Coop: I made this prototype to have a slant of 15 degrees based off online research that said chickens won’t mind a sloped nesting box up to a 15 degrees. My prototype is made out of wood, and attached with hot glue and screws. I built rails to guide the egg down the shoot into the collector bin. I used extra gripping shelf liner to add a speed bump right below the sensor to help slow the egg down to insure the egg trips the sensor. See the schematic below.

Note: I used an Arduino Uno as board in the schematic so the descriptions on the pins don’t all match up with the MKR1000.
Setting up the Sensor: I set up a generic infrared, IR, emitter and an IR detector across from each other and aimed directly at each other. The IR emitter sends a “beam” of IR light to the detector. The detector is able to sense when the egg passes and blocks the IR emitter as it rolls into the collector bin. This sensor is hooked up to an LED that signifies that they are on and working and there is a button to reset the memory of how many eggs have passed.
Egg Sensor Validation
Software
All software created for this project is available on GitHub using the link at the end of this article.
Universal Windows Platform (UWP) App: Provides and organizes the data collected from the Arduino and displays it for the user. Visual Studio (VS) and UWP apps are pretty complicated if you don’t have previous exposure to them. I am by no means an expert and took many many hours to create this app. I did comment the code in hopes to make it understandable. See the video below for a brief walkthrough of both the code and the app.
Windows App Code Walkthrough
Arduino: The code that runs on the Arduino MKR1000 is responsible for three tasks. The first task is to check and record if any eggs have gone past the IR sensor. The second task is to check the button by the coop that resets the egg count, for use when the user picks up the eggs. The final task is to act as a web server that hosts the egg count for any client request from the windows app created for this project. See the video below for a brief walkthrough.
Arduino Code Walkthrough
Bill of Material
– 1 – Arduino MKR1000
– 1 – Generic Infrared LED Emitter and Detector
– 1 – Generic Button – SPST
– 2 – Generic 330Ω Resistors
As Needed
– Jumper wires and cables
– Nest box(s) with sloped floor
CAD Files
– Not applicable
References
– Eggs in Nest (Picture), edited by creating a feathered white border around this image, used under – Creative Commons Attribution 4.0 International License
– Icon (Picture), created from the image at here used under the Non-profit terms of use listed on their website
– Screenshot Video – used Icecream Apps free Screen Recorder
– Schematic View – used Fritzing
Code
Source : Eggzact Science
- How does the sensor detect an egg?
The IR emitter sends a beam of light to the detector; when an egg blocks the beam, the detector senses the interruption. - Can the egg count be reset manually?
Yes, a generic SPST button resets the memory of how many eggs have passed when pressed. - What is the recommended slope for the nesting box?
The prototype uses a 15-degree slant because research suggests chickens will not mind a sloped nesting box up to this angle. - Does the Arduino act as a web server?
Yes, the MKR1000 hosts the egg count as a local web server available for the Universal Windows Platform App to access. - What software creates the user interface?
A Universal Windows Platform (UWP) App created in Microsoft Visual Studio 2015 organizes and displays the collected data. - How does the code handle switch bouncing?
The code includes a 1000-millisecond delay to deal with switch bouncing caused by wiring or connection issues. - What format does the Arduino send to the app?
The Arduino sends the egg count in JSON format containing the key NumberOfEggs. - Why was shelf liner added to the design?
Extra gripping shelf liner was used as a speed bump below the sensor to slow the egg down and ensure it trips the sensor.