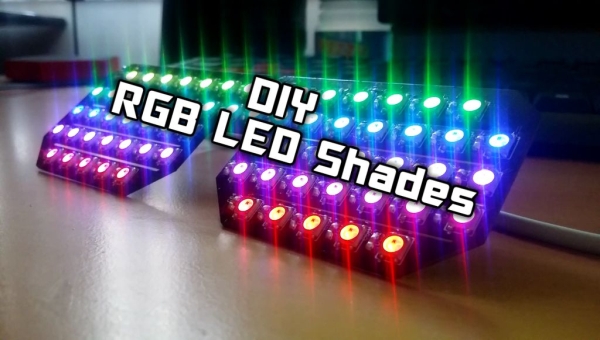
Today I’m going to teach you how you can build your own RGB LED Glasses very easily and cheap
This has always been one of my biggest dreams and it finally came true!
A huge shout out to EasyEDA for the amazing PCB’s and personal support! 🙂
The parts you will need for this project are the following:
- PCB – http://tinyurl.com/zx6t967
- 68 x WS2812 LED’s – http://tinyurl.com/zdod8eh
- 68 x 100nF 0805 Capacitors – http://tinyurl.com/j4r5elh
- Arduino (I used the Nano, since it easily fits in your pocket).
- A 3 pin male header.
- A external power source like a power bank.
- Some cables to connect the Shades to the external power source and Arduino.
You can easily order each part very cheap using the links provided.
Step 1: Step 1: the Creation of the PCB
In this video you can see how I designed the PCB.
If you’re not interested in seeing this part of the build feel free to skip to the next step.
Don’t forget to leave a comment and/or a like. It really supports my channel!
Step 2: Let’s Start Soldering!
If you’ve got all the components I suggest testing all the LED’s and after that you can start soldering!
If you’ve never soldered any SMD components before I highly suggest you look up a tutorial on internet!
Let me know if you want me to do one as well.
Start by soldering all the Capacitors into place since these take less skill to solder.
The easiest way to do this is by tinning one pad, heating up the tinned pad and place the capacitor onto the molten tin. Once the tin has hardened you can solder the other side of the capacitor and the capacitor should be all good!
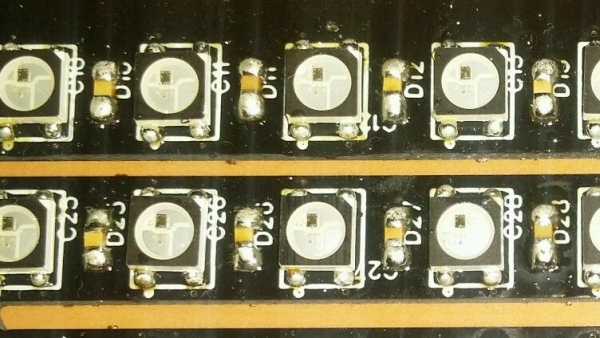
Now the harder part, the LED’s. These take some soldering skill and you might break a few LED’s during this process so make sure you’ve got some spare!
You basically use the same technique as before, but this time you have to watch the polarity and you have to align them perfectly in order to get the best result.
Step 3: How to Connect the Shades to Your Arduino
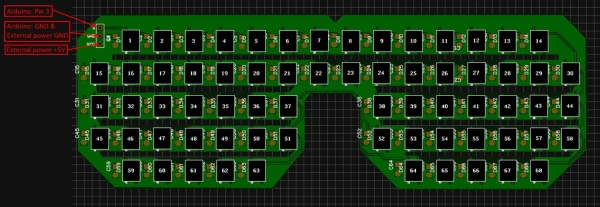
I’ve included a picture that shows how you have to connect the PCB to your Arduino.
- S needs to be connected to Pin 3 on your Arduino.
- GND needs to be connected to GND of your external power supply as well as GND on your Arduino.
- VCC needs to be connected to the +5V of your external power supply.
MAKE SURE NOT TO SWITCH POLARITY, BECAUSE IT WILL BREAK THE LED’S
Step 4: About the Software
Download: https://www.dropbox.com/sh/0d4u3wza94bjyd8/AAATvRQP9J6yB1mmlXRzg5sva?dl=0
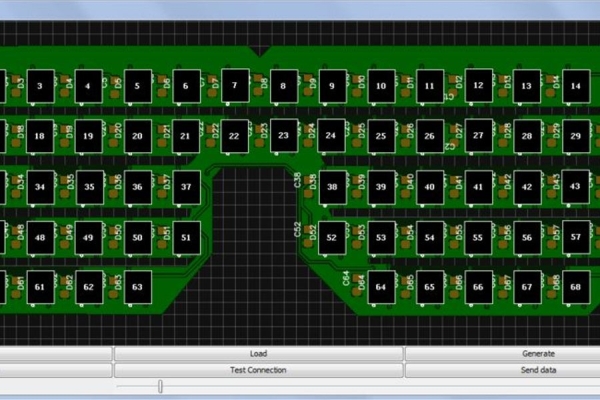
This software, written by a good friend of mine, gives you the possibility to program your shades without actually writing any code.
First, you have to select the COM port of your Arduino. You can do so by clicking “Select Arduino”.
After that you can test your connection and whether all LED’s are working by clicking on “Test Connection”.
Now you can choose to either load in a image or draw something yourself.
I have included some images that you can load in to give you some examples.
Any large image will be scaled to fit the Shades.
Make sure you’ve got the brightness you desire and click “Send data”. This will send the current colors to your Shades and you’re ready to impress some friends!
Last but not least, you can also generate a .ino file so you can wear your Shades on the go!
Just click the “Generate” button and upload the .ino to your Arduino.
All the buttons are described in the first image as well. All buttons without a note shouldn’t be used.
Read more: DIY RGB LED Shades Controlled by Arduino