Introduction
Hello Everyone!
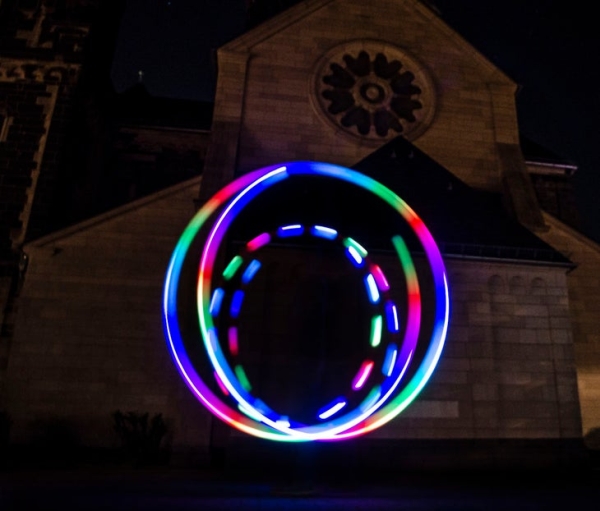
This is my first guide and (hopefully) the first one in a series of guides on my quest to create an open-source RGB-LED visual poi. To keep it simple first, this is going to result in a simple led-poi featuring remote control via IR and all kinds of colour-change-animations.
Keep in mind: This kind of poi (without IR-remote) can be bought for around 20$ on Amazon, so this is not worth the effort financially – DIY for the experience, not the result.
I hope people will contribute animations to the GitHub of this project resulting in a great variety of animations for you to choose from and therefore giving this version some more value compared to the over-the-counter ones.
Disclaimer
First of all a few safety warnings. Only attempt this build if you know what you are doing. I am not an electrical engineer, I am not to be held liable if something goes wrong. A few dangerous steps/materials are involved and you should be aware of them:
Lipos might be dangerous. Especially soldering, shorting and storing LiPos comes with a variety of dangers. Even if the build goes well, wires might come loose, the cells might get damaged or one of the no-name Chinese components might fail and cause a short. Don’t let them charge unattended, best use an external charger to charge them up, remove the lipo for storage & transport (best is to store them in one of those „lipo bags“ I believe).
The pois are subject to some significant forces when performing with them. If you hit someone or something with them or a print fails & parts fly around people might get hurt.
Use common sense, be aware of the dangers, read up on your own if you are unsure. You get the idea.
If I haven’t spooked you, enjoy the build & have fun with them.
Step 1: Material & Tools

Bill of Materials
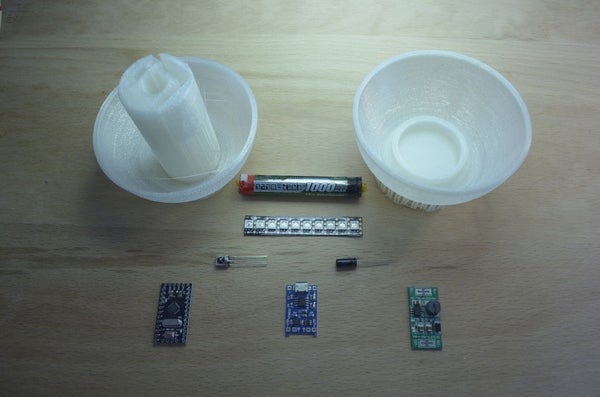
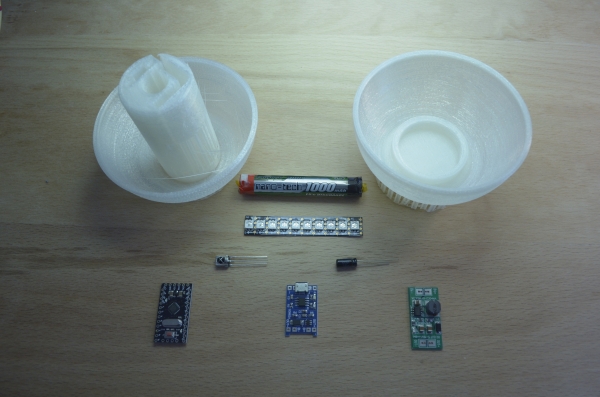
First lets take a look at what we need for this build. I recommend to buy most of the stuff at AliExpress if you have the time to wait. I only found the lipos at HobbyKing though.

Read more: DIY RGB-LED Glow Poi With Remote Control
