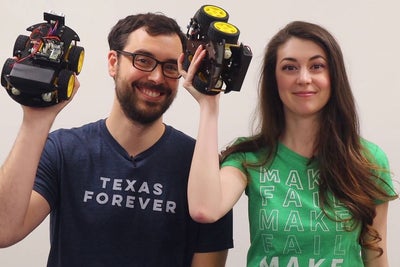
There are some projects where you make a functional thing or practical thing. There are some projects where you make a beautiful thing. And then there are projects like this where you decide to slap a razor blade and balloon on some robots and battle them, Mario Kart style 😀
I’ll start this by saying this project could be done with a robot kit (what we did), RC cars, or basically any moving object you can control remotely. And if you want to play with kids or play indoors, you can swap the razor blades with sharpened bamboo skewers or anything less… knife-y. We’ll share the 3D files we used to modify our robots and the quick steps to bring this awesome game into real life!
Here’s what we used:
- Robot kit
- TAZ 6 (our 3D printer)
- Tough PLA
- Utility knife blades
- Small balloons
- Decorating supplies (optional)
Step 1: Build, Buy, or Assemble Your Robot/RC Base
Like I mentioned in the intro, you can use anything that’s remote controllable as your robot base. We went with these robot kits because they were more of a blank canvas for us to modify (it’s easier to attach 3D printed parts to flat sheets of acrylic rather than contoured RC car hoods). These took us about 3 hours to build, and if you’re curious about that we do have a Twitch live stream of it here, but basically we followed simple instructions and it was a little bit like an elaborate lego kit. We’re robotics beginners, so we’re confident that most people could put these together.
Step 2: 3D Print Modifications
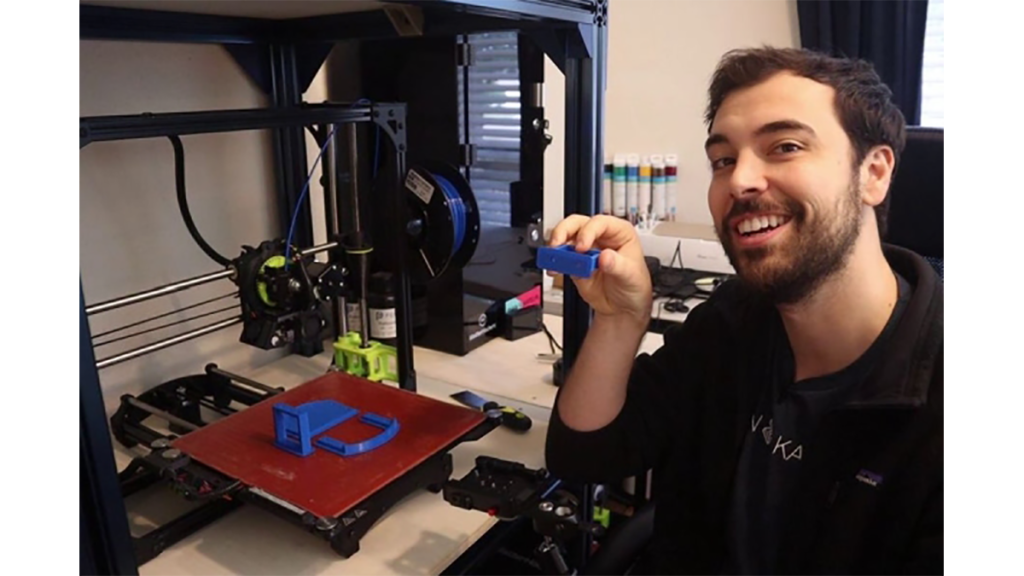
Alrighty, now that your robots are assembled, purchased, or in some way existing: it’s time to get them battle ready! Do to that, they need to be able to hold something pointy on their heads, and balloons on their butts. We have links to our 3D files here and you can modify them to fit your robot/RC vehicle.
We designed a frame that goes around the robot kit’s “head,” protecting some important components but also giving us a mounting point to attach razor blades. Specifically, we used utility knife blades and screwed them into place on the 3D prints. Then we designed a back “bumper” that has 3 slots where you can friction fit in the ends of 3 balloons right at the knot. It holds them securely in place even during vigorous battles.
Step 3: (Optional) Decorate!
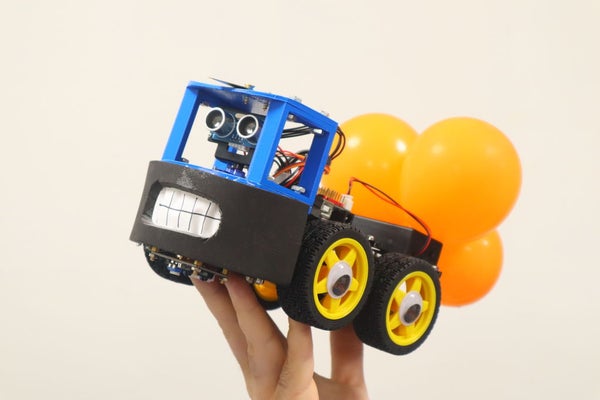
Ok, this part is just for fun, but it’s really fun! We decorated our robots using craft foam, faux fur, paper, and hot glue. You could make yours super realistic by following some of the awesome prop weathering tutorials out there, you could go Mario themed and make your favorite characters, or if you’re itching to get to the battle
Step 4: Battle!!
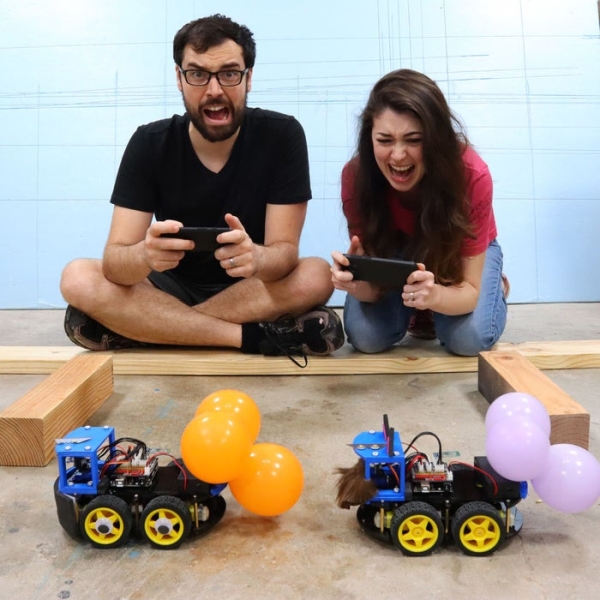
Our robots are controllable via either our phones or remotes that came with them, but the remotes were IR remotes and either remote could control either robot, so we opted for phones. For the battle, we found it to be more fun and challenging when we had a few obstacles we had to steer around (think buckets, scrap pieces of 2x4s, etc). And that’s it! These are EXTREMELY fun and seriously felt like playing video games in real life. Whether you’re grown up(ish) like we are or playing with kids, you’re gonna have a good time! Have fun y’all 😀
Source: DIY Mario Kart Balloon Battle Robots