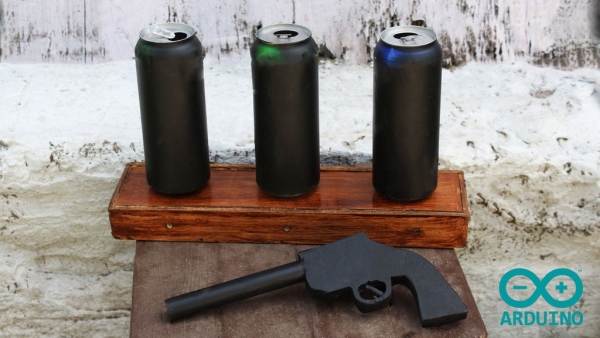
In the lesson I will show you how I made a toy on arduino that will suit beginners. If you start working with sensors, then this toy will suit you as a homemade product.
Step 1: Watch the Video
Step 2: Material:
– plywood
– PVC tube
– arduino
– servo
– photoresistors
– power supply +5V
– button
– laser
– aluminum tube (10mm)
-wires
– resistors 10 kOm
Step 3: Box
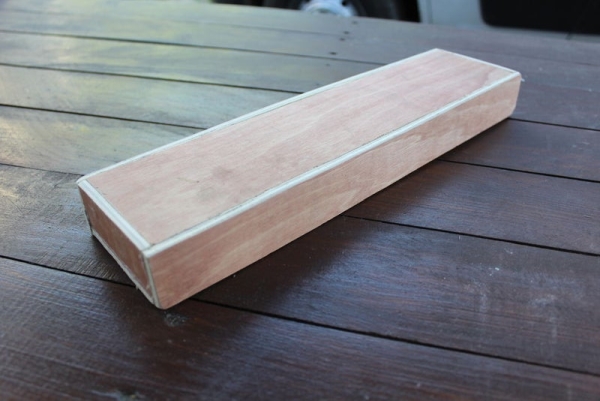
First you need to cut two rectangles “A” (36×4 cm) out of plywood, two rectangles “B” (8×3.5 cm), one rectangle “C” (36×8 cm), one rectangle “D” (35×8 cm). In the “D” rectangle, drill a 10mm hole in the center and two holes at a distance of 12 cm from the center. Similarly, you need to drill in the details “A”. For the beauty and protection of wood, I varnished the box.
Step 4: Assembly of the Pushing Mechanism
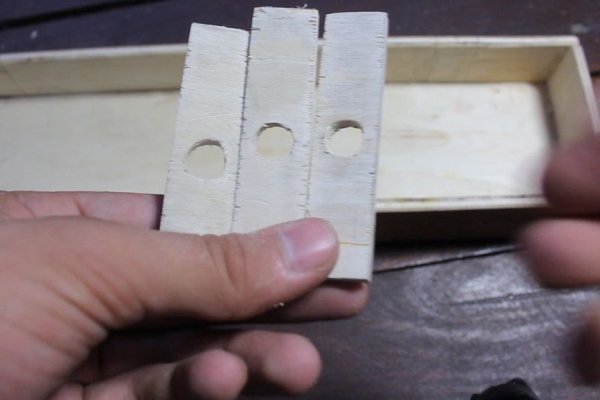
From plywood, you need to cut three rectangles (8 x 1 cm) and drill them into the center of the hole (10 mm). They need to be glued so that the holes coincide with the holes of the part “D” at a depth of 1 cm. Under it you need to glue the servo as shown in the photo. Just need to make three parts (3 cm) of the aluminum tube.
Read more: Cowboy Toy – Arduino Laser Target