In this instructable we will use a potentiometer on an Arduino Uno to control a MIDI CC in Ableton Live. A MIDI CC stands for Continuous Controller, i.e. a number in the range from 0 to 127 inclusive to modulate something with. In the youtube I made for this intro you can see and hear that we modulate the filter frequency with the potentiometer. A potentiometer is an electronics component that lets you dial in a value of resistance. This instructable deals with the Apple OSX operating system, but you can hopefully read between the lines and implement a modified version on your operating system of choice.
Step 1: What Do We Need?
We need several pieces of hardware and software to recreate this entire instructable. Let’s go over them first. We’ll start with the hardware:
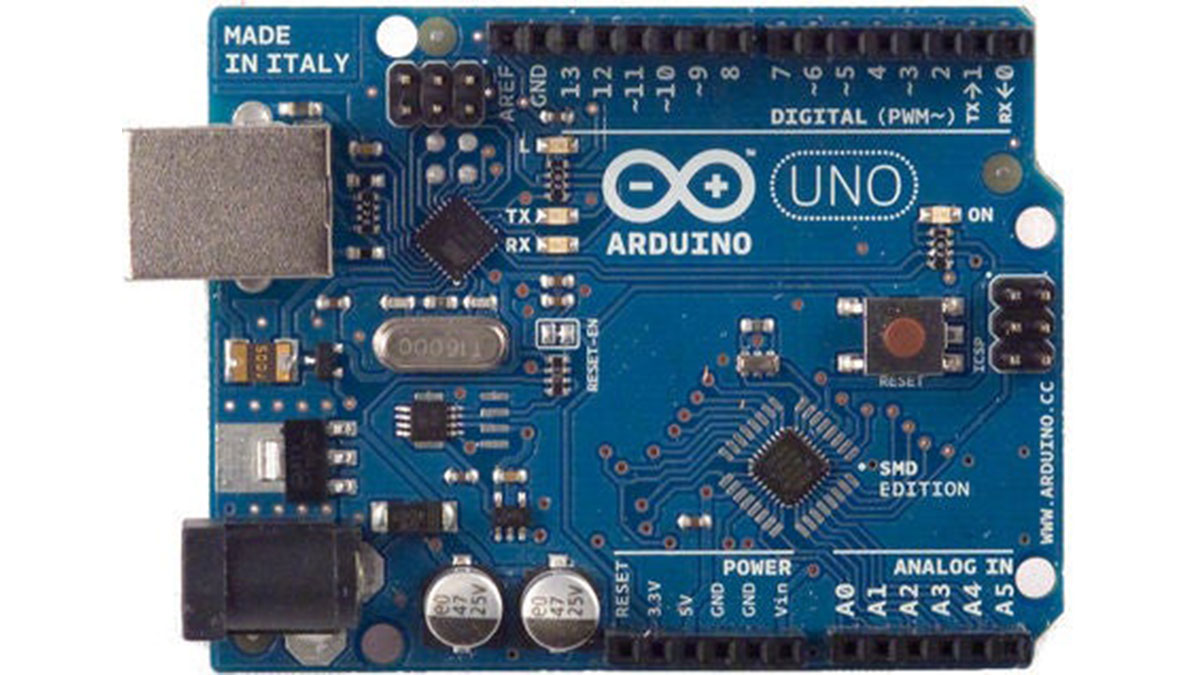
- An Arduino Uno.
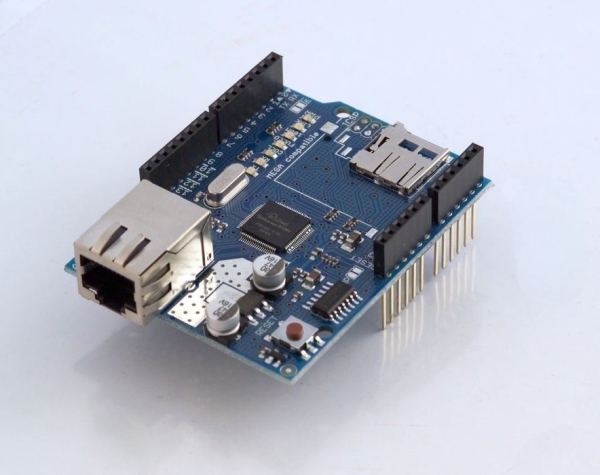
- An Arduino ethernet shield.
- A wall power mains USB connector.
- A USB cable that will connect to the Arduino Uno.
- A LAN cable that will connect to the ethernet shield.
- A home network modem that lets you connect an ethernet cable to it.
- A breadboard. The one that comes with the Arduino Starter kit will do fine.
- A potentiometer. 10K 1/4 watt will do.
- Cables to connect the potentiometer to the Arduino Uno.
- A Mac running OSX on the same home network.
Now for the software:
- A stable version of OSX. I used 10.10.3 for this instructable.
- Ableton Live. I used Ableton Live suite 9.1.9 for this instructable.
- The Arduino IDE. I used 1.6.2 for this instructable.
- OSCulator.
- Max (also known as Max/Msp). I used version 7 for this instructable.
- The CNMAT OSC library for the Arduino.
Step 2: Why OSC? Why Not a Direct Connection?
You can certainly connect an Arduino Uno directly to Ableton Live. But this is just a very small example of controlling one MIDI CC with one potentiometer. What if you want to expand the project and send chords from the Arduino to Ableton Live? Or maybe you want to be able to adjust several parameters in Ableton Live with a dozen or so potentiometers. At that point a direct connection becomes cumbersome and breaks apart. OSC (Open Sound Control) is an elegant solution for just these DIY type of projects.
OSC is a content format developed at CNMAT by Adrian Freed and Matt Wright comparable to XML, WDDX, or JSON. It was originally intended for sharing music performance data (gestures, parameters and note sequences) between musical instruments (especially electronic musical instruments such as synthesizers), computers, and other multimedia devices. OSC is sometimes used as an alternative to the 1983 MIDI standard, where higher resolution and a richer musical parameter space is desired. OSC messages are commonly transported across the internet and within home and studio subnets using (UDP/IP, Ethernet). OSC messages between gestural controllers are usually transmitted over serial endpoints of USB by being wrapped in the SLIP protocol.
OSC gives musicians and developers more flexibility in the kinds of data they can send over the wire, enabling new applications that can communicate with each other at a high level.
(from http://en.wikipedia.org/wiki/Open_Sound_Control)
Although it may feel strange to use UDP networking between your Arduino Uno and Ableton Live, remember that this solution is still several times faster than your vanilla MIDI cable, you know, the thing with the DIN connector.
Another beautiful feature of using UDP is that it’s just a network protocol. Any device can start sending UDP packages and any device is free to listen to UDP packages and use them. No process is monopolizing a serial port and it doesn’t really matter that much in which order you start your different programs. Think about it.
Step 3: Hooking Up the Arduino
Add the Arduino ethernet shield to your Arduino Uno. It’s been described here. Before you do this, make a note of the Mac address that’s probably on the bottom of your ethernet shield. You will need this number later and it’s pretty difficult to read once the ethernet shield is piggy backed on the Arduino Uno.
Assemble the Arduino Uno + ethernet shield with the breadboard. The Arduino Starter Kit explains how to install everything on the wooden board that’s supplied with it. But any breadboard will do. Sparkfun and AdaFruit have great ones too.
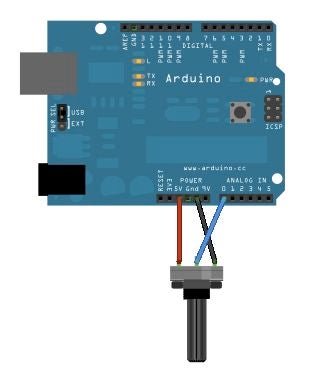
The 10K potentiometer goes onto the breadboard. All three pins of the potentiometer should have their own row of breadboard holes. It’s quite common that breadboards have rows of 5 holes (a1b1c1d1e1 or f2g2h2i2j2 for example) that are electronically connected. In fact, that’s the whole fun and ease of breadboards.
Connect the three wires from the potentiometer to the Arduino Uno. The first goes from one of the outer pins of the potentiometer to Arduino ground. The second goes from the other outer pin of the potentiometer to Arduino 5 volts. The third goes from the middle pin of the potentiometer to Arduino analog in 0 (A0). It helps to use colored cables for your wiring.
Step 4: The Electronics Behind What Goes on Here.
If you need to understand what happens between the potentiometer and the Arduino, you can read the article Analog Read Serial on the Arduino website. The images in this step are also from that article.
Step 5: Install the CNMAT OSC Library
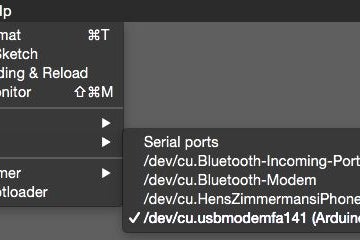
In this step we assume you have the Arduino IDE installed. If not, follow these instructions. Make sure it is able to upload code to your Arduino. It is easy to forget to assign the right port and board in the Arduino IDE settings (see pictures in this step).
Download the free OSC zip package from CNMAT’s github OSC page. It says “Download Zip” in the bottom right. You don’t need to unzip it. Simply choose Sketch – Include Library – Add .ZIP library… from the Arduino IDE menu and point it to the OSC zip package you just downloaded. From then on you will see “OSC” or “OSC master” in the Contributed Libraries menu item in that same menu.
Read more: Controlling a MIDI CC in Ableton Live With an Arduino Uno