Conductivity is the ability of a material to transfer electrons. It is the opposite of the concept of resistivity which is well known to electricians. However, while we are used to address the topic of conductivity in the field of electronics, things get a little bit more complicated when we try to apply the concepts to chemical solutions such as salty water.
If I am addressing the topic here it is because measuring the conductivity of chemical solution is a pretty handy concept in lab or field operations. It can be used to monitor drinking water quality, find titrations end points, track reaction kinetics… All the applications usually rely on the fact that a solution conductivity is proportional to its salt concentration. The proportionality may vary from linear on small domains to more complex shapes that are best described by the Kohlrausch law on larger ranges. As an indication, the circuit presented here is able to track the concentration of sodium chloride (kitchen salt) in water from 1.5 mg/l to about 25 g/l with a typical deviation to linearity of 15%. This corresponds to the salinities of almost distilled water to sea water. Quite nice for a small circuit!
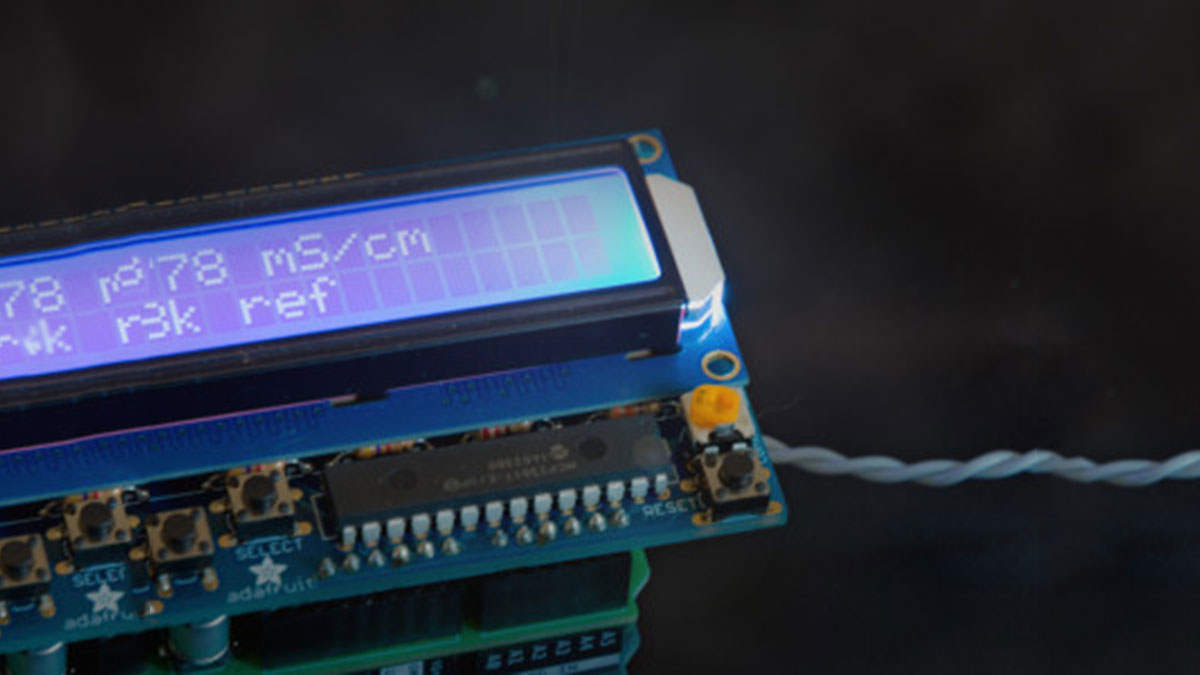
Conductivity measurement tools are readily available from chemical suppliers with price ranging from 300€ to more than 1,500€. Here, I wanted to make something affordable but accurate enough to be usable by the amateur scientist or by students to better understand and play with the concept of chemical conductivity. I therefore decided to build something around an Arduino UNO R3 with a LCD shield from Adafruit. A picture of the complete Arduino stack is shown in Figure 1 with the conductivity probe in a beaker on the right hand side of the image. You may also browse directly to the end of the post where Figure 11 shows a detailed picture of the conductivity shield presented here. All the Gerber files and BOM are included such that you can reproduce the circuit yourself.
To give an idea on how useful the circuit can be to undergrad students, Figure 2 shows a titration plot obtained with it in the lab. In the experiment, an acid of known concentration (oxalic acid) is slowly added to a solution of a base of unknown concentration (potassium carbonate here). As the acid (the titrant) is added to the solution, it neutralizes the base until all the base is consumed. After that point (called the equivalence point) the solution is becoming acidic because we keep adding acid to the solution and there is no more base to neutralize it. The experimental concept is to find the location of the equivalence point with precision such that we can infer the base concentration from the measurement. You have probably done this in high-school chemistry labs but with a coloured indicator that turned from pink to clear when the equivalence point was reached. The idea is exactly the same with the conductivity measurement except that it is much more precise. In Figure 2, the equivalence point is found by the intersection of two lines which represent the conductivity of excess base on the left and of excess acid on the right.
Read more: Conductivity Shield for Arduino Uno