Summary of Ciclop 3d Scanner My Way Step by Step
This article details a simplified, DIY approach to building a Ciclop 3D scanner. The author replaces difficult-to-find components with printable alternatives and custom PCB solutions compatible with Arduino Nano. Key modifications include a new printed base, a modified laser holder for 12mm lasers, and a rubber band for rotation control, streamlining the original project's complexity.
Parts used in the Ciclop 3D Scanner:
- Anet A8 3D printer
- Plexiglass base (original) or Printable base variant
- 12mm laser module
- Laser holder variant
- Rubber band
- Arduino Nano
- CUSTOM PCB (compatible with original Zum Scan)
- Gerber files for PCB production
- SVG or PDF files for PCB etching/milling
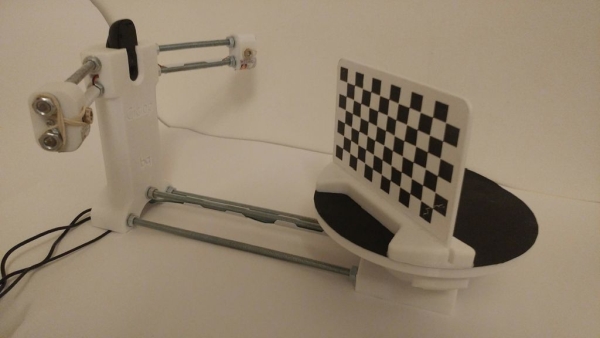
I’m going to realize the famous Ciclop 3D scanner.
All the step that are well explained on the original project aren’t present.
I made some fix to simplify the process, first I print the base, and than I restilize the PCB, but go on.
Step 1: Printing and Assembly Part
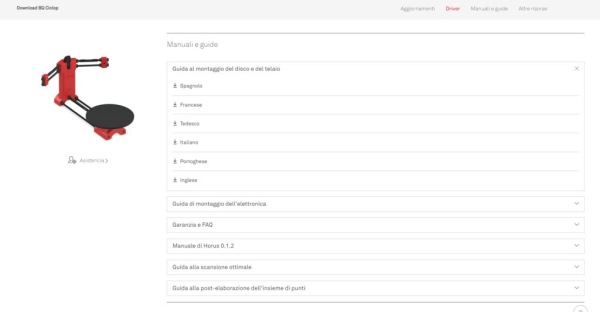
For assembly part the best solution is to refer to origina documantation
https://www.bq.com/it/support/ciclop/support-sheet
in multilanguage and well explained.
The printed part are quite simple to assembling.
Step 2: New Base
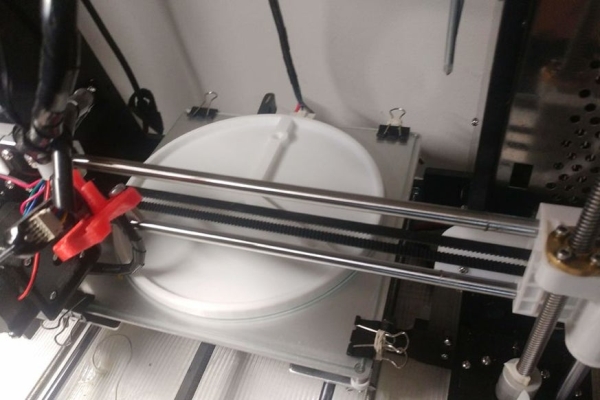
The only piece that is difficult to find is the Plexiglass base, so I design a printable one with my Anet A8 3d printer.
You can find the project here .
Step 3: Little Fix
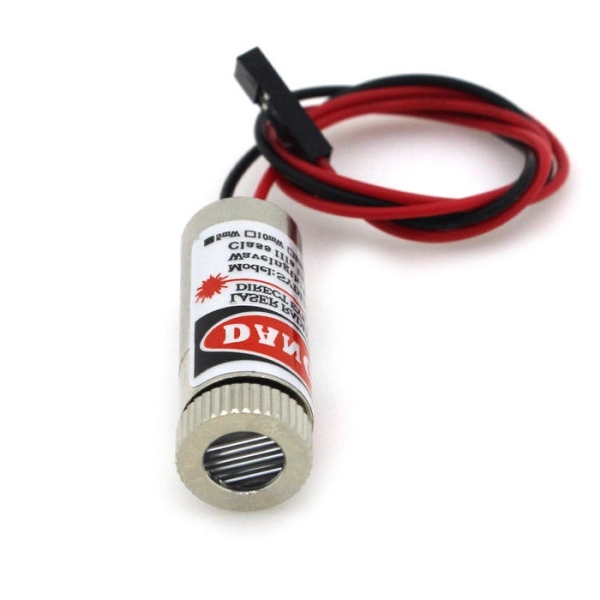
Another problem is that you can probably find a low cost laser that don’t fit on orginal holder.
The common laser is 12mm laser.
So you can use this printed variant.
Another problem is to stop the rotating part, I think the better solution is to use a rubber band, as you can see in the pictures.
Step 4: PCB Homemade
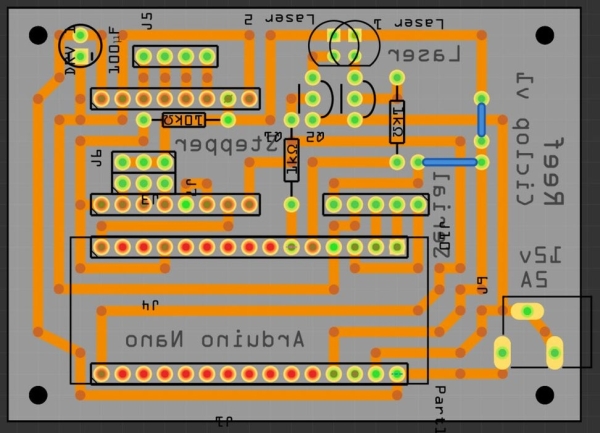
For this project I made a PCB fully compatible with the original one Zum scan is more complex, but all additional features is unused.
My version is for Arduino Nano, so It’s more little than the original one.
If you don’t have the skill to auto produce PCB you can use the gerber file that you can find in the aricle to sent to the factory that produce PCB like https://www.pcbgogo.com/ .
Step 5: PCB Etching
I never used this technic, but I add to this step the svg file or PDF for production.
Step 6: Milling PCB
I use this technic for my personal production, about this I write 2 article:
The first is a step by step guide to create a portable CNC perfect and optimized for CNC Milling.
Than a previous guide that explain step by step how to use the machine, how to create a PCB and how to create a file for production.
Source: Ciclop 3d Scanner My Way Step by Step
-
Where can I find the original assembly documentation?
The best solution is to refer to the original documentation available at bq.com/it/support/ciclop/support-sheet. -
How can I solve the issue of finding the Plexiglass base?
You can design and print your own base using an Anet A8 3D printer. -
What should I do if my low-cost laser does not fit the original holder?
You can use a printed variant designed specifically for a common 12mm laser. -
What is the best way to stop the rotating part of the scanner?
The better solution is to use a rubber band to stop the rotating part. -
Can I use an Arduino Nano for this project?
Yes, the custom PCB version described is fully compatible with the Arduino Nano. -
How can I get a PCB made if I cannot produce it myself?
You can use the provided gerber file to send to a factory like PCBGOGO. -
What files are needed for PCB etching?
You need the SVG file or PDF file added to the step for production.