The Arduino Ethernet Shield is a sweet toy!!! Everybody, from the beginner who got their Arduino yesterday and hasn’t slept since, to the hard core pro who learned c as a second language, can learn how to use the Ethernet Shield and have lots of fun with it.
Its that awesome! As soon as I earned enough to get one, it was mine, but it took a while for me to figure out how to get my site running and on the web, and I had some trouble with the software, but once I got started, I designed a whole web server, which included a traffic meter, LCD screen, and SD card storage!
This instructable is going to show you how you can make your own “ServDuino” web server, and get it on the web without some of the roadblocks that I, and many others have faced.
Some of this instructable is a work in progress – specifically the code on the programming step. Not all of the code was released as of the publishing of this instructable because I am always improving or writing new code for my projects. I am also seeking help from the instructables community in writing code, not because I am lazy, but because I know that I don’t have the most efficient code, as I have been programming in c for only a few years, most of which is spent in the world of Arduino.
Don’t forget to rate!
I entered this into the Microcontroller contest, so if you think its awesome, or it helps you off the ground with the ethernet shield, vote for it! 🙂
For this project, you need only 2 things minimum to make it work. Everything else is extras that you can include if you want to.
The Required Parts are:
An Arduino
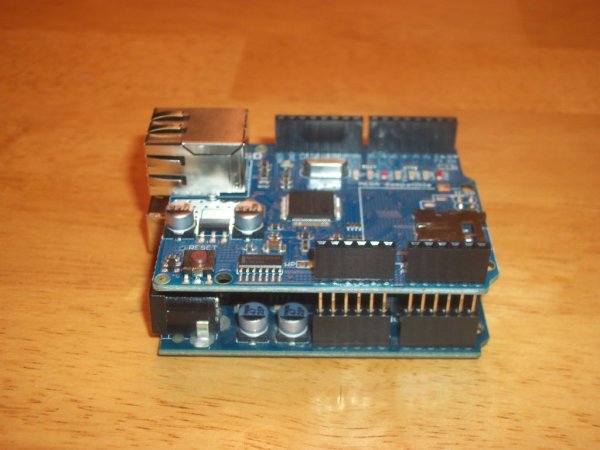
An Arduino Ethernet Shield – Note: If you have an older shield, you will not be able to use an SD card with it. If you don’t have a shield, get the newest version!!!
Optional Parts:
A box to put it in – Recommended
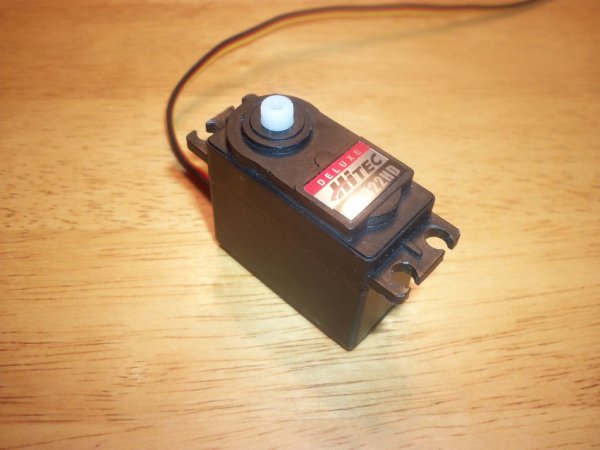
A Servo
An LCD Screen
Some LEDs
An SD Card
Even More Optional Parts – These are for external controls and/or sensors:
A Second Arduino
Whatever sonsers and controllers you want
Either a Long Cable or a wireless Transciever (like an Xbee)
The first thing you will need to do is put the Ethernet shield on the arduino. If you need help, line up the pin names on the shield to those of the Arduino. Then plug it in to your computer and connect an ethernet cable from your router to the Arduino. Open up Arduino IDE and run the WebServer example under arduino-00xx -> libraries -> Ethernet.
Open up your favorite web browser and type http://192.168.1.177 . You should see something like the image below. If it does not work, DO NOT PANIC!!! You probably have an Internet Service Provider the blocks port 80, the standard http port.
To test this, we will try one of the following ports 8080 or 8081. Go to the WebServer sketch and find the line that reads: Server server(80); It is at the begining of the sketch. Change 80 to 8080 or 8081. Now upload. To get on your site, however you will need to type: http://192.168.1.177:8080 or http://192.168.1.177:8081 . If it works, Great now you can move on to the next step!!! A great place to look at for forwarding help is portforward.com .
Before you get excited and call up your friend to get on, we have a problem. The IP address you site has can only be accessed by a computer connected to your router. Nobody else can access it. How do we solve this??? We use port forwarding. This can be easy or hard, depending on how you and your router make it. You will need to access you router’s settings page and search until you see a link or tab or whatever that is named port forwarding, or port forwarding/port triggering, or similar. Go to that page, and select a new http service. Type the IP of your webserver, and set the starting and ending ports to 8080 or 8081. Save changes and now people can access you website from outside your router. But you will need a new IP. Your router’s IP. Go to www.whatismyip.com . No go to your IP at http://this.is.my.ip:8080 or http://this.is.my.ip:8081. With this and is and my and ip being the respective numbers of your address.
For more detail: Build Your Own Arduino Web server