This project examines how interface pressure is a key risk factor in the development of pressure ulcers. Visual feedback of continuous interface pressure between the body and support surface could inform clinicians on repositioning strategies and play a key role in an overall strategy for the prevention and management of pressure ulcers.
eTextiles are made using techniques and materials that make it so electrical components can be embedded and integrated into fabric. This projects can be made with any microcontroller that has WiFi capabilities and can be programmed with JavaScript.
This Instructable will go over how to setup up your Edison and uses a textile pressure sensor.
Step 1: Setting Up the Edison
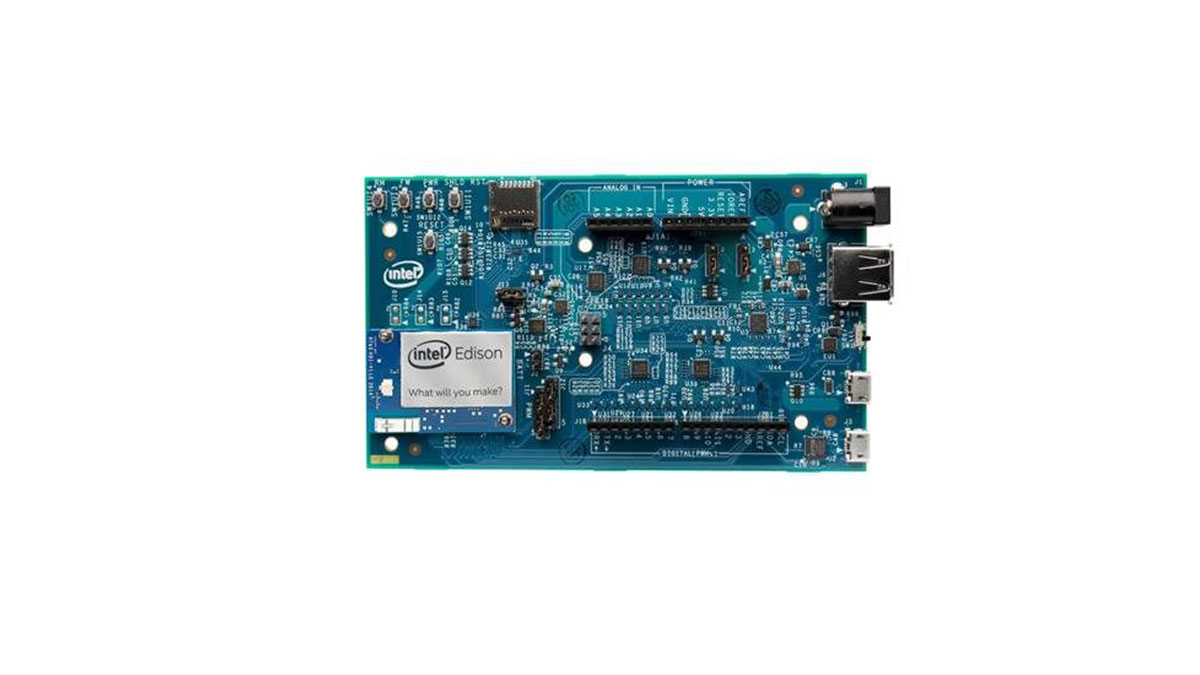
Any web enabled microcontroller can be used for this projects. Here we are using the Edison, a linux embedded microcontroller with GPIOs created by Intel.
The project is written in JavaScript, with a little bit of HTML. The Edison Arduino breakout was used because it was accessible at the time.
Getting Started
1) If you haven’t already, head over to Intel’s “Getting Started” page for the Edison. Go through all the steps to connect through serial, enable WiFi and download the Intel XDK IoT Edition.
2) Go through the Blink demo that is linked on the “Getting Started” page. Afterwards, click next and go through the “Creating and debugging projects using the Intel® XDK IoT Edition”. I recommend going through the whole XDK guide, but these two will give you enough to move forward.
3) You will need to use a command-line interface to talk to, transfer and manipulate files on your Edison. For Windows, this will be PuTTY, Macs use Terminal. I use both, so I’m going to refer to this as a command-line interface, or CLI from now on. Going Wireless Going wireless is very cool and very easy. When you know the board is connected to the network, SSH in using it’s IP address. PuTTY has text fields you fill in with your IP, root and password, otherwise type this in a CLI window. ssh [email protected] the Edison with a 9 volt battery or plug in a power adapter that supplies 7.5, 9v or 12v, I’ve seen people use up to 1500 mA with the Arduino board, don’t go any higher than that. Communicating with board? check. Powered? check.
Now unplug the USB cables and your board is free. Now that you are wireless, you can upload all your applications this way. Make sure that your computer is on the same network as the Edison before you try doing that. Moving Files to the Edison
There are two ways to move your JS applications to the Edison.
1) Import or copy and paste your code to a blank template in the XDK, upload and run from there.
2) Use a FTP client to transfer files over to the boards root directory (you should be dropped there automatically after logging in). For Windows I use WinSCP,Cyberduck is good for Macs.
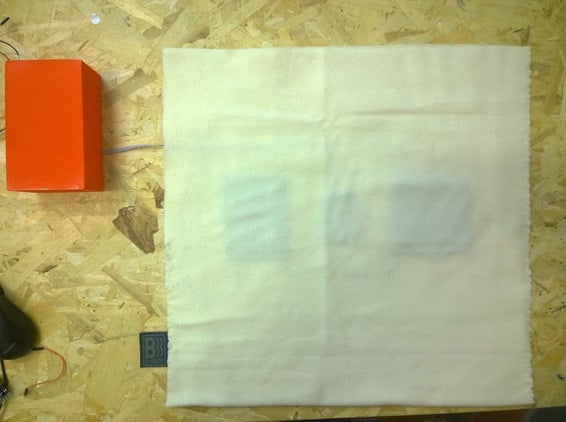
Step 2: Web Controlled Sensors Pressure Textile
Learn how to hand sew a textile and control it remotely from a webpage. It consists of 3 handmade pieces of pressure sensor that it connect with pin in to the Edison. The pressure sensor pad advise with a buzzer sound and led to turn on.
The Edison acts as a server which hosts a simple HTML page that has three buttons, corresponding to each sensor. When the power is on the led lights. And when then person seats up the pad, after a while, it’s sensor pressure mate will turn on and if the value is higher of the established standard starts a countdown. When the range is dangerous interested button changes color. This is a interesting project for getting started with socket.io and click events used to control hardware. As well as getting comfortable sewing with conductive thread and controlling pressure sensor matrices.
Materials:
[1] Intel Edison : Mini or Arduino breakout
[12] Crimp pin pairs: male and female
[1] Bobbin of conductive thread
[3] (2.8″x2.8″) conductive fabric pieces
[3] (2.8″x2.8″) velostat pieces
[4] Stranded jumper wires
[5″ x 5″] White cotton fabric
[18″ x 18″] Craft felt
[40] 3mm LEDs : 36 for matrix + 4 extra
[1] Flex Perma-Proto board (or any perforated board with printed traces)
[12″] 10+ conductor ribbon cable
[1]Fabric glue
[1]Masking Tape
Tools
Pencil
needle
Scissors
Ruler
nose pliers : preferably round
Printer
Soldering Iron
Multimeter
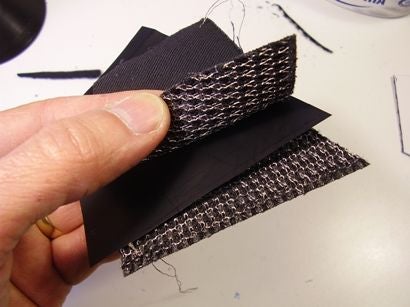
Step 3: Make a Pressure Sensor
To make shaped Analog Sensor Kit
This step will show you how to make shaped analog sensors using this materials
– three 10 x 8 cm conductive fabric pieces
– three 10 x 8 cm Velostat piece
– conductive thread
You’ll need:
– sewing needle – non conductive thread – a small piece of cardboard
Start by cutting the shape you want to make on a piace of cardboard. The shape must be smaller then 10 x 10 cm.
Step 4: Sewing the Circuit
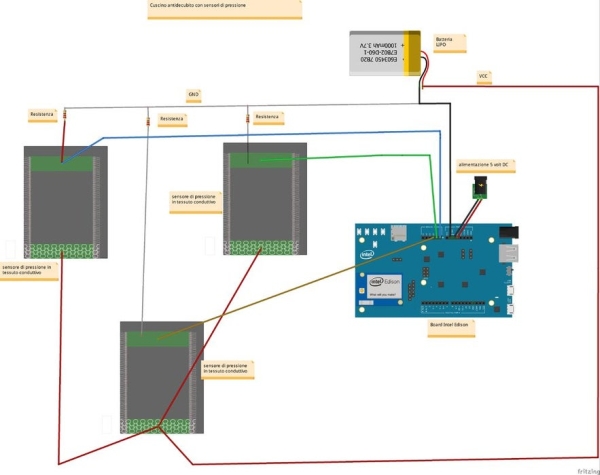
In this step you can start to sew a circuit scheme.
This is a fritzing files to download.
Step 5: Software
In this step you can download the script to run the software interface
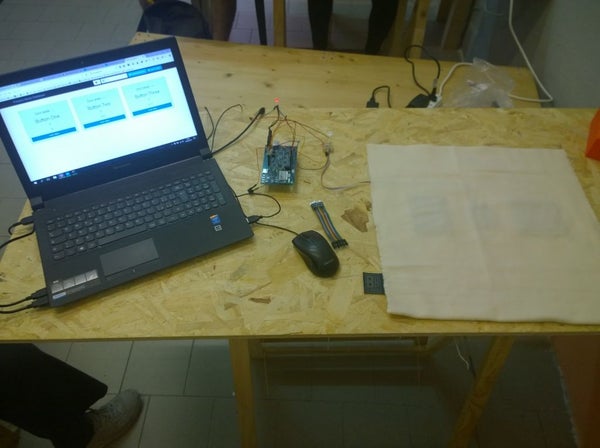
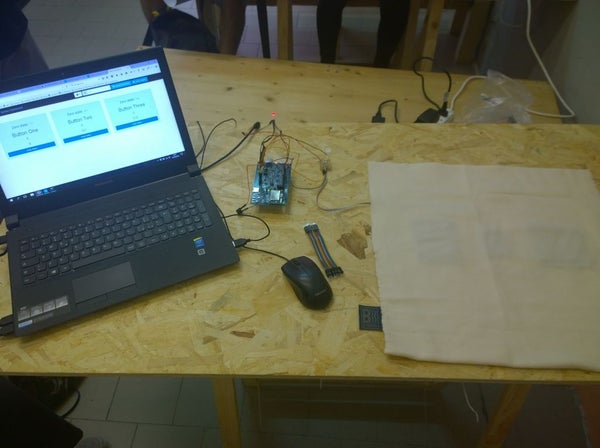
Step 6: Testing
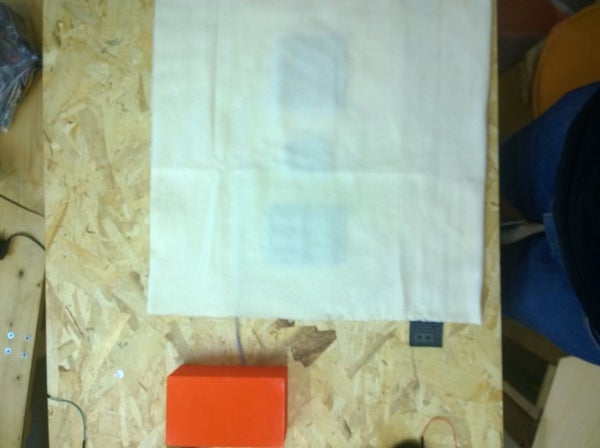
To testing this cushion, follow these steps:
- Turn on the device and make sure the led is on.
- Connect your browser to the IP address: 192.168.1.1 port: 3000;
- From the web interface you can immediately test the buzzer and see real time pressure data
- To test the alarm system: apply pressure higher than the limit value; a timer will start ; at the end of which the alarm and the buzzer will go on. To reset the alarm you have to push the acknowledge button. Pushing this button on the web page the alarm and the buzzer will go off.
- Note: when the timer is on and the alarm is off , if the pressure becomes lower than limit value, the timer stops.
Source: B-SENSOR: DIY PRESSURE CUSHION