This is a simple solar tracker which automatically orients itself towards the sun or any bright source of light like the sun .If you place solar panels on this robot it can increase their productivity by 90 to 95 %. At first creating a solar tracking robot may sound complicated but it quite quickly becomes clear. As the title suggests it runs on the arduino board .This is a fun to do and low cost project.
This instructable was inspired from geo bruces instructable solar tracking robot
This instructable explains how to create your own solar tracking robot, how to set up the robot and how to test the robot.
This instructable is a entry in the robot challenge in the age category of 13 – 18 (I am 14 years old).
Step 1: Parts & Tools
Parts:
~ 2 x Servo Motors – Local Electronics Store
~ 4 x LDR’s – Local Electronics Store
~ 4 x 10k Resistors – Local Electronics Store
~ Arduino Uno –
Sparkfun.com
~ 2 x 50k Variable Resistor – Local Electronics Store
Tools:
~ Soldering Iron – Sparkfun.com
~ Solder Wire – Sparkfun.com
~ Jumper Wires – Sparkfun.com
~ Protoboard – Local Electronics Store
All the parts will cost you less than 30$ (Excluding the arduino and all the tools)
Step 2: Build The Circuit
The Circuit is pretty simple connect the four LDR’s to analog pins 0,1,2 and 3 respectively via a 10k resistor.Connect the two servos to digital pins 9 and 10 respectively.Conect the two variable resistors to analog pins 4 and 5 .Take a Look at the pictures they really help.See the last picture for the circuit diagram (It might be the baddest that you have ever seen).
Step 3: Build The Sensor Assembly
To build the the sensor assembly take two rectangular pieces of cardboard, cut a long slit through the middle of the first cardboard piece.Cut a short slit through the middle of the second cardboard piece and then intersect both of them and fix them nicely using some tape. It should look like a 3D cross with 4 sections..We have to place our four LDR’s in these four sections of the cross.See the pictures they really help.
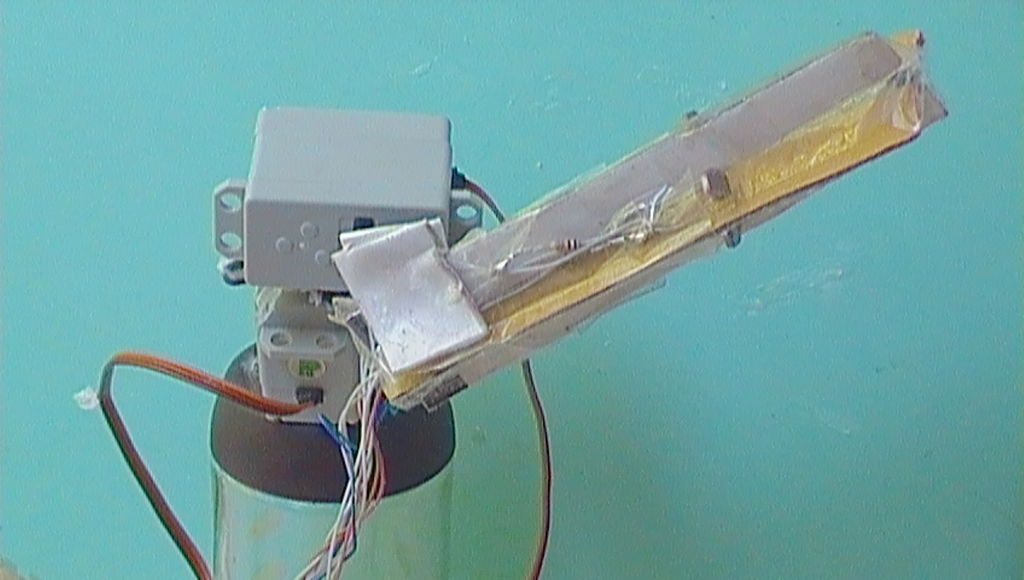
Step 4: Set It Up
Find a base (Nescafe bottle in my case) and stick your fist servo to it then to the rotor of the first servo connect the second servo.To the rotor of the second servo connect the sensor assembly that we made earlier.To test your robot take it out in the sun and it should automatically align itself towards the sun.If indoors it will align itself to the brightest source of light in the room. Take a look at the pictures they really help.