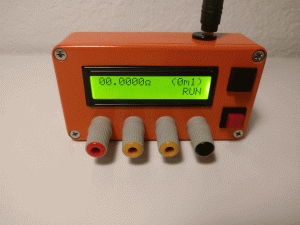
This is an accurate milliohm meter with a maximum resolution of 0.1mOhm. The design is very simple, the whole assembly can be built in a couple of hours once all the parts are gathered. It is based on a precision current sink and a high-resolution ADC controlled by an Arduino Nano V3. It uses a Kelvin connection with the resistor under test to exclude the resistance of test leads from the measurements.
It can be very useful for measuring small resistors and the resistance of PCB traces, motor coils, inductance coils, and transformer coils, or calculating the length of wires.
Measurement ranges:
- Scale 0m1: 0.1mOhm to 12.9999 Ohm.
- Scale 1m0: 1mOhm to 129.999 Ohm.
- Scale 10m: 10mOhm to 1299.99 Ohm.
Step 1: Parts and Wiring Diagram
- The file WiringAndParts.pdf attached to this step shows all the parts of the milliohm meter with the buying link, and how to connect them.
- The main circuit (1) contains the Arduino Nano and the rest of the electronics. This circuit has been designed by me and can’t be purchased, but it is fully described in the following steps.
- The power comes from a wall adapter (D) that is connected directly to the 2.1mm power jack female socket (2).
- The 2×16 display (3) shows the current scale set and the value of the resistor under test. It is connected using the I2C bus.
- The binding posts/banana jacks (4) connect the circuit to the test clips (B).
- There are two pushbuttons (5). The black one is connected to the “SEL” connector. When this button is pressed the scale change. The red one is connected to “CAL”. When this button is pressed the meter enters in HOLD MODE.
- All the parts are contained in an orange Hammond 1590B aluminum box (A).
Step 2: Circuit Design and Schematic
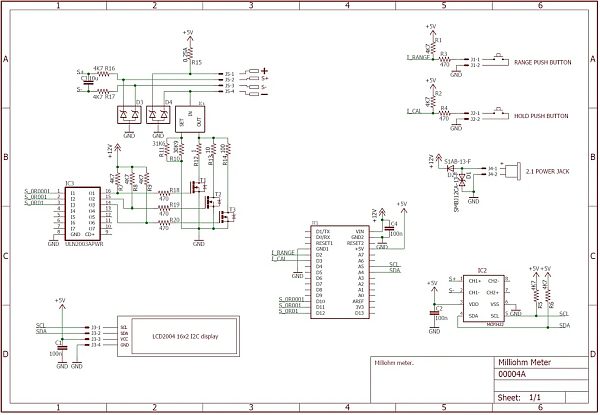
- Most of the parts in the circuit can be ordered at digikey.com.
- IC4 is an LT3092 precision current source/sink. The SET pin produces a precise current of 10uA. R10 and R11 are 0.1% precision resistances arranged in parallel that form a value of 15623ohm, this leads to a SET voltage of 0.156V. The resistance between OUT and SET programs the output current, in this case, there are three resistors R12, R13, and R14 that can be enabled or disabled by MOSFET transistors.
- Enabling R12 (1ohm) the output current will be 156mA, enabling R13 (10ohm) the output current will be 15.6mA and enabling R14 (100ohm) the output current will be 1.56mA. T1 has less than 1mOhm of RDSon, which is less than 0.1% of the value of R12. T2 and T3 have 20mOhm of RDSon which is a very small value relative to R13 and R14.
- IC4 could have worked as a source or sink, but in this case, the sink mode is better because it makes it easier to have a higher gate voltage for T1, T2, and T3.
- T1, T2, and T3 are driven directly by the supply voltage through a ULN2003 (IC3) I have chosen this IC because it is very simple and it actually requires less space in the board than discrete transistors, also, there is no need for fast switching the MOSFETs in this circuit.
- R15 is a 250mA resettable fuse that avoids the 5V rail to be destroyed if accidentally the + lead touches the circuit’s GND.
- D3 and D4 are TVS that protect the circuit against static discharges from test leads.
- C3, R16, and R17 form a 30Hz filter.
- J5-1 (+), J5-2 (S+), J5-3 (S-), and J5-4 (-), are wired to the binding posts and form the Kelvin connection with the resistance under test.
- IC2 is an MCP3422A0 I2C ADC. It has an internal voltage reference of 2.048V, a selectable voltage gain of 1, 2, 4, or 8V/V, and a selectable number of 12, 14, 16, or 18bits. In this circuit, only channel 1 of IC2 is used, and it is connected differentially to the R under test “S+ S-“. The MCP3422 is configured as 18bit but as S+ is always going to be greater than S-, the effective resolution is 17bit.
- With T1 on, T2 off, and T3 off, the current through the resistance under the test is 156mA. With this current, each 1/10 milliohm will result in a voltage of 15.6uV, this value is exactly one LSB of the ADC (IC2). In the other two scales the situation is the same, but multiplying by 10 or 100.
- The I2C bus is shared between IC2 and the external display. The external display is connected and powered using J3.
- J4 is connected to a panel 2.1 power jack with 12V. D1 is a TVS to prevent damages from static discharges. D2 is just for protecting reverse polarity. D1 and D2 are bigger than necessary but I’ve used them because I already have these parts around.
- J1 connects the SCALE push button.
- J2 connects the HOLD push button.
Step 3: Circuit PCB
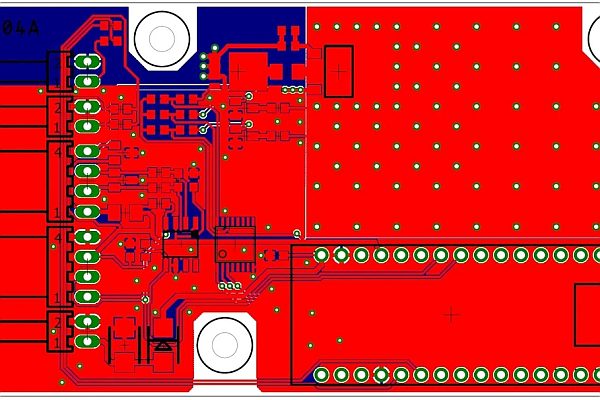
- I have used the free version of Eagle for both the schematic and the PCB. The PCB is 1.6 thick double-sided design.
- The traces between IC4(SET), R12, T1, and IC4(OUT) are as short as possible. IC4(OUT) is soldered to a big copper area on both sides of the PCB, to meet the power dissipation requirements of IC4.
- One failure in the design is that the 5V regulator of the Arduino Nano gets too hot with the maximum 200mA current it provides in the 0.1mOhm scale, it works but a separated regulator would have been better.
- I am posting the following files: Gerber files: 00004A.zip. And the BOM(Bill Of Materials) + assembly guide: BOM_Assemby.pdf.
- I ordered the PCB to PCBWay (www.pcbway.com). This time I have ordered the boards using the standard “ePacket” shipping method, the shipping time was higher but the price was significantly lower, $14 for 10 boards that arrived in two weeks and a half.
Step 4: Circuit Assembling
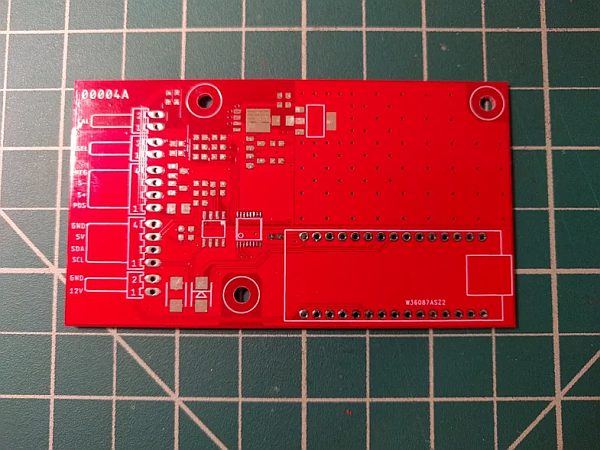
Most of the parts are SMT on this board. They can be assembled with a regular soldering iron, fine-tip tweezers, some solder wick, and a 0.02 solder.
- Sort the parts.
- Start soldering smaller parts.
- Use solder wick to solder IC3.
- In the case of IC4, solder first the leads and then, the thermal pad.
- Assemble the rest of the THT parts and cut the leads.
Step 5: Box Lid Machining
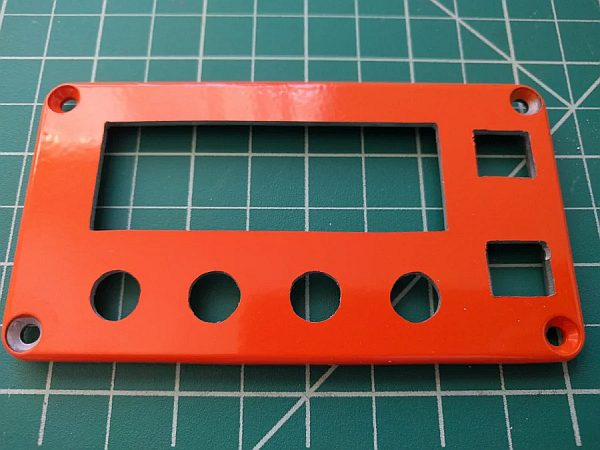
I have attached an Inkscape file with the stencil: frontPanel.svg.
- Cut the stencil.
- Cover the panel with painter tape.
- Glue the stencil to the painter tape. I have used a glue stick.
- Mark the position of drills.
- Drill holes to allow the fret saw or coping saw blade get into the internal cuts.
- Cut all the shapes.
- Trim with files.
- Remove the stencil and the painter tape.
Step 6: Box Body Machining
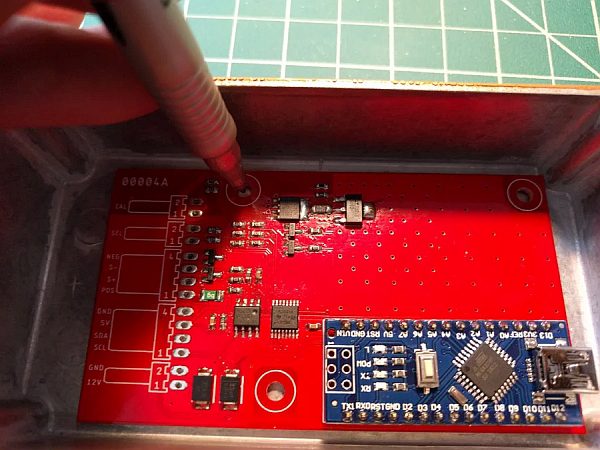
- Mark the position of the holes for the circuit spacers (screws).
- Center punch the holes.
- Drill the holes of the circuit spacers.
- Countersink the holes of the circuit spacers on the bottom of the box.
- Mark the position of the 2.1-panel jack.
- Drill first a small hole and then a bigger one.
- Trim to size with a file.
- Soften the edges.
Step 7: Lid / Front Panel Assembly
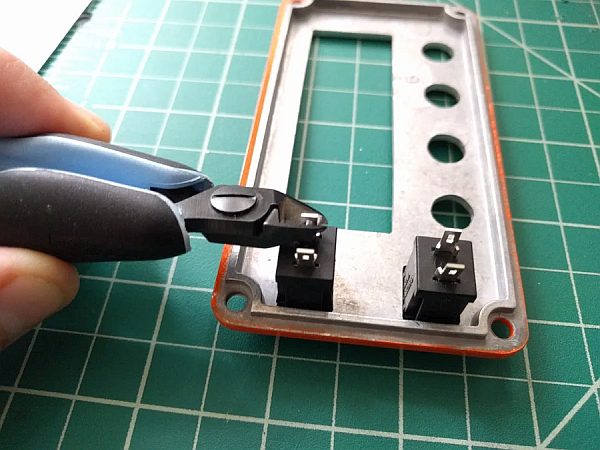
- Cut the leads of pushbuttons and the bolts of the banana connectors to avoid them touching the circuit.
- Install the LCD using double-sided tape.
- Build the cable-Molex connectors assemblies and solder the wires to the parts of the panel.
Step 8: Final Assembly
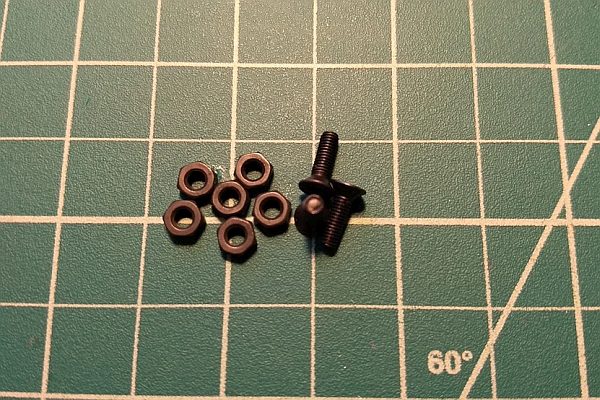
Step 9: Misc.
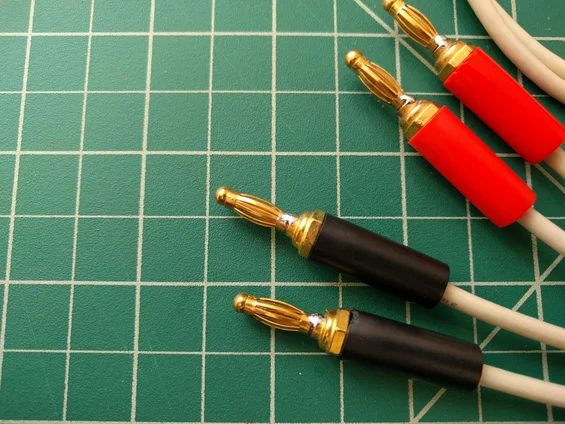
The Kelvin Leads I have purchased on eBay came with the nozzle springs a little bit loose and didn’t make a good contact. I applied solder to fix it.
Step 10: Updates
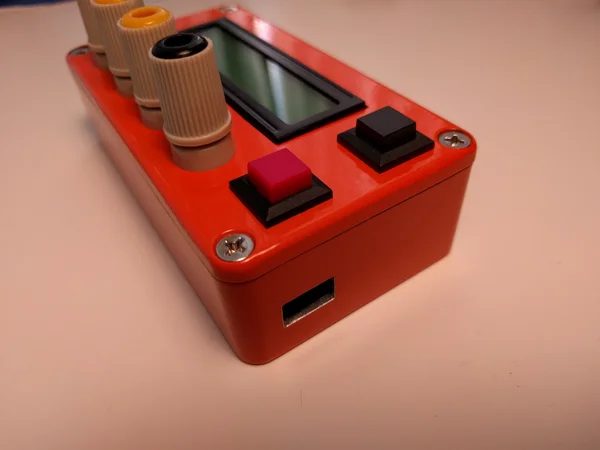
- In order to update the code easily, I have done a hole facing the mini USB connector of the Arduino.
- I added a new mode for measuring uV as requested by schabanow, the Arduino code is attached to this step. To enter into this mode it is necessary to press the two buttons for ~2sec. It is necessary also to shortcut the +5V output (red) with the S+ input. To return to normal mode it is necessary to press the RUN button again. Here is a video showing how it works:
Source: Arduino Milliohm Meter

