In our last tutorial, we examined how to create a menu for your Arduino project on a Nokia 5110 LCD, with push buttons to navigate through it. In today’s tutorial, we will build a modified version of it which will make use a rotary encoder (in place of the push buttons) for menu navigation.
A menu is one of the easiest ways through which users can interact with devices with diverse features. From Smartphones to PCs and even TVs, it is used in almost every electronic device with a screen and navigating through it is done usually by pressing certain buttons to move up/down, right/left and make selections. However, in some recent smart devices, either for aesthetics or for an improved form factor, a knob-like approach is employed for navigation. For today’s tutorial, we will explain how to create a menu with the same Knob style control, using a rotary encoder.
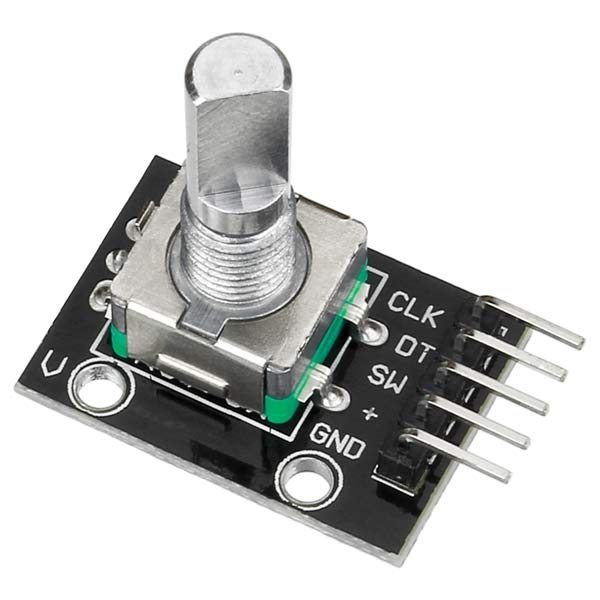
Rotary Encoders are used in several systems where precision and feedback in terms of rotational motion or angular position are required. By turning the shaft to the right or left, we either get an increase or decrease in value (depending on the configuration). One of the major advantages of rotary encoders is the fact that their rotation is limitless. If the maximum position, (which is 20 for the particular rotary encoder used in this tutorial) is reached, the device starts the position counting all over again while the value attached to the position continues to increase/decrease with every turn of the knob in the same direction. Another good feature which will be handy for this tutorial is that they come with buttons attached, so it can be clicked by pressing the knob and is recognized by the Arduino just as any other button or switch.
REQUIRED COMPONENTS
The following components are required to build this project;
As usual, the exact components used for this tutorial can be purchased via the links attached to each of them.
SCHEMATICS
The schematics for today’s project is almost similar to the one of the last tutorial. We will take out the three push-buttons and add a rotary encoder. Connect the components as shown in the schematics below.
Read more: ARDUINO MENU TUTORIAL WITH A ROTARY ENCODER AND A NOKIA 5110 LCD DISPLAY