
Summary of Arduino Cat Detector SD Card Logger
This project describes building an Arduino-based "Cat Detector" that logs motion events to an SD card. It uses a PIR sensor to detect movement, triggering an LED and recording timestamps when a cat is detected. The system combines the Arduino Uno with a Parallax PIR sensor and a Seeed Studio SD Card Shield for data storage.
Parts used in the Cat Detector:
- Arduino Uno
- Parallax PIR Motion Sensor
- Seeed Studio SD Card Shield
- LED
- Breadboard
- Riser pins
I used:
an Arduino Uno
a Parallax PIR Motion Sensor
and
a Seeed Studio SD Card Shield
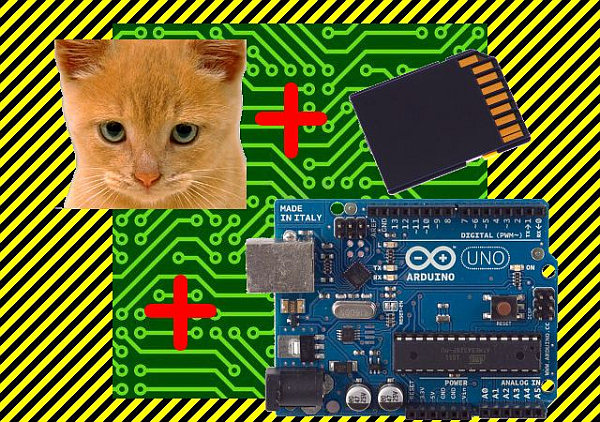
Arduino, shield, sd card, logging shield, storage, logger
Check out This instructable on PIRs in case you didn’t know what it is:
http://www.instructables.com/id/PIR-Motion-Sensor-Tutorial/
Step 1: Connect your PIR Sensor
Ground pin to Ground
VCC pin to 5V
OUT to A5
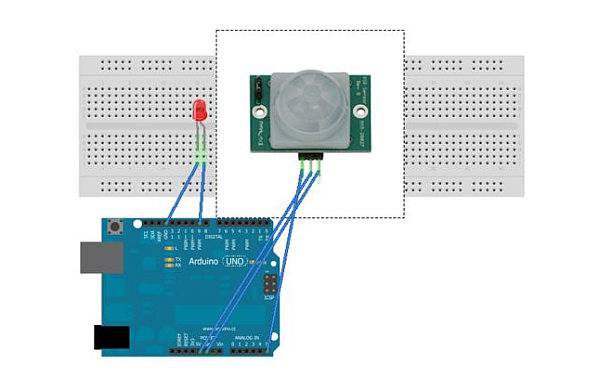
To better help you understand how to hook it up:
| Arduino Pin | PIR Sensor Pin |
| GND | GND |
| 5V | VCC |
| A5 | OUT |
Also hook up and LED to pin 9 on the arduino
You might need to use a breadboard to hook it up right.
I’ve included a Frizing file to illustrate the device hookups.
 Cat Detector.zip925 KB
Step 2: Test your PIR Sensor
Now enter this code into your Arduino
| void setup() { Serial.begin(9600); pinMode(9, OUTPUT); pinMode(A5, INPUT); } void loop() { |
After you hooked up the Motion Sensor and the LED and uploaded your code to the Arduino, wave your hand in front of the sensor. If the LED lights up then you did it right. Sit still for a few seconds and the LED will go off.
You can also open the Arduino Serial Monitor to see whats going on.
Step 3: Connect you SD Card Sheild
Now that your Motion Sensor is working you want to log the times is senses motion.
So plug your new SD Card Shield into your Arduino and proceed to hookup the Motion Sensor and LED using the riser pins on the Shield.
All connections should be in the same place like on the Frizting file it shows.
Parallax PIR Motion Sensor
Seeed Studio SD Card Shield
For more detail: Arduino Cat Detector SD Card Logger
-
How do I connect the PIR sensor to the Arduino?
Connect the Ground pin to GND, the VCC pin to 5V, and the OUT pin to A5. -
Which pin should the LED be connected to?
The LED should be hooked up to pin 9 on the Arduino. -
What code logic detects a cat?
The code checks if analogRead(A5) is greater than 0; if so, it turns the LED HIGH and prints Cat detected. -
How can I verify the PIR sensor is working correctly?
Wave your hand in front of the sensor; the LED should light up, and the Serial Monitor should show Cat detected. -
Where does the system store the logged data?
The system uses the Seeed Studio SD Card Shield to log the times motion is sensed. -
Can I use a breadboard for this project?
Yes, you might need to use a breadboard to hook up the components right. -
What happens when no motion is detected?
The LED turns LOW and the Serial Monitor prints No cats.
