
Summary of An Arduino-controlled RGB lamp
Miguel describes an Arduino-controlled RGB lamp project using a digital LED strip. Users connect via Bluetooth to a PC GUI, which displays a 30-rod hue palette for individual LED control. The interface allows creating custom patterns by dragging the mouse and turning off specific LEDs by clicking while holding the spacebar.
Parts used in the Arduino-controlled RGB lamp:
- Wooden support
- RGB digitally-addressable LED strip
- Microcontroller (Arduino Pro Mini)
- Bluetooth or USB wire
On his blog, Miguel presents one of his latest projects:
This project shows the operation of an RGB lamp using a digital LED strip. After activating the bluetooth connection, the user can open the GUI on the PC to control the lamp. The program shows a hue palette divided into 30 rods, one for each LED of the strip.
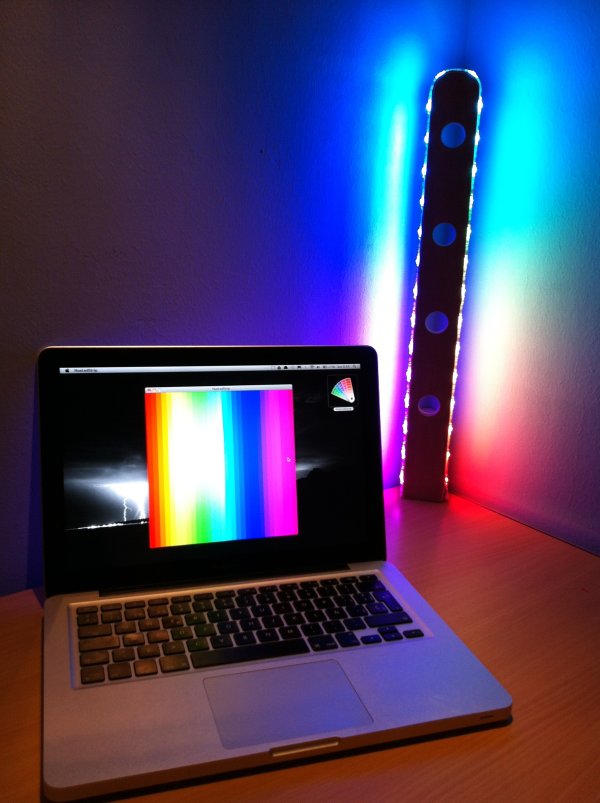
By clicking & dragging the mouse cursor it is possible to make your own patterns,. To remove a color, the user can simply click on a rod while pressing the spacebar, which switches off the selected LED.
Part list: wooden support, RGB digitally-addressable LED strip, microcontroller (Arduino Pro Mini, for example), Bluetooth or USB wire.
For more detail: An Arduino-controlled RGB lamp
-
How does the user control the lamp?
The user activates the bluetooth connection and opens a GUI on the PC to control the lamp. -
What does the program display on the PC?
The program shows a hue palette divided into 30 rods, with one rod representing each LED of the strip. -
How can users create their own patterns?
Users create patterns by clicking and dragging the mouse cursor over the hue palette. -
How do you remove a color from an LED?
To remove a color, the user clicks on a rod while pressing the spacebar to switch off the selected LED. -
What microcontroller is recommended for this project?
An Arduino Pro Mini is suggested as an example of a suitable microcontroller. -
What type of communication connection is required?
The project requires either a Bluetooth connection or a USB wire to link the device to the PC.
