Alright so soldering is pretty straightforward for through-hole components, but then there are times when you need to go tiny *insert ant-man reference here*, and the skills you learnt for TH soldering just dont apply anymore.
Welcome to the world of Surface Mount Device (SMD) soldering, where components are placed on tiny pads, and solder on the pads is reheated to solder the component to the board. It sounds complicated…but it doesn’t have to be.
Let’s begin.
Oh, if you dont like reading a lot of words, and are more of a video person, I’ve got it all covered in the video!
First thing you would want to do is order the components, which requires some skill (size, type, pad size, etc. needs to be determined). It’s best to have a BOM on-hand and order accordingly.
With the components ordered, you would need a good quality board.
I order my boards from my trusted manufacturer PCBway.com.
Not only do they provide the best boards with the highest quality standards, but they also have a support team to thoroughly check the orders for technical errors and guide accordingly.They also provide the best stencils to go with your PCB boards (more on stencils later). Their boards start at only $5! Check them out here.
Now, obviously a normal soldering iron and solder wont do, you would need a set of supplies, so here is a list:
Supplies:
- PCB
- Stencil (recommended when components are concentrated in a small area).
- Hot air soldering gun
- Soldering Microscope
- Solder Paste (store it in the fridge, but away from food please!)
- A spatula (or a normal plastic card).
- A pair of tweezers
- Isopropyl alcohol
- Lots of patience
Step 1: Inspect and Clean the PCB
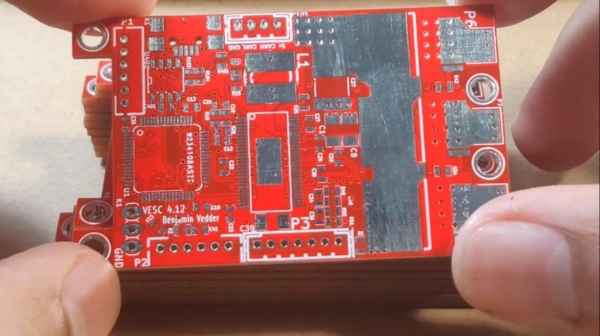
PCBs usually come vacuumed and protective-coated.
It’s very important to first clean the PCB with some isopropyl alcohol.
After clean and dry, inspect it under the microscope. Compare the pads, the vias, the traces, to ensure it matches with the board layout provided to the manufacturer. Also ensure the pads are nicely and firmly on the board, and not lifted.
Step 2: Apply Solder Paste to PCB
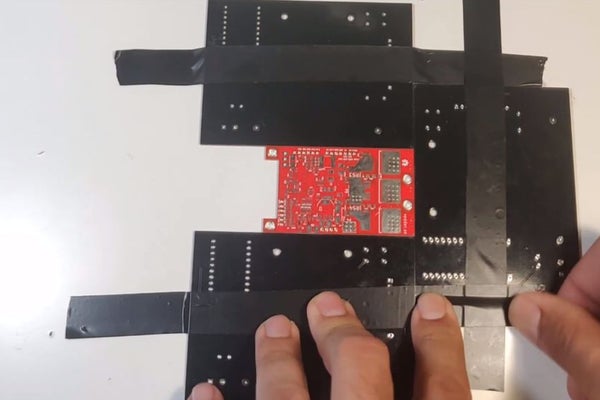
For a small pcb with few components, you can just spread solder paste on the pads manually, but for complex PCBs, a stencil, as shown in the picture, is needed.
Once you have the board firmly held on the table (as shown), place the stencil over it, and apply a little bit of solder paste.
Spread the paste using the spatula, and make sure all the openings on the stencil are covered with the solder paste.
Now carefully remove the stencil.
Dont worry if you dont get it right the first few times. Just wipe the board and try again!
Step 3: Placing the Components
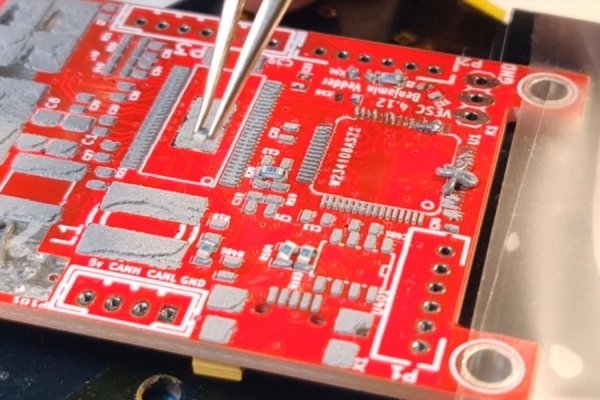
Now comes the most daunting task: Placing the components on the board.
Here is my component-placing ritual:
I have a big sheet (A4) of the board layout with the component markings on it, and a big sheet of the components themselves on the desk (You can see it in the photo with the microscope).
Once I place a component, I cross if off from both the sheets. This way, I prevent misplacing, losing, or forgetting components.
Read more: A Complete Beginner’s Guide to SMD Soldering