
Summary of Water Quality Monitoring Using MKR1000 and ARTIK Cloud
This project demonstrates a DIY water quality monitoring system for swimming pools and aquariums using an Arduino MKR1000. It integrates a DFRobot pH meter and a temperature probe to collect real-time data, which is then transmitted via WiFi to Samsung ARTIK Cloud for remote visualization. The system allows users to analyze water safety and maintain optimal chemical levels efficiently without excessive resource consumption.
Parts used in the Water Quality Monitoring System:
- Arduino MKR1000
- Jumper wires (generic)
- DFRobot pH Meter
- Resistor 4.75k ohm
- Temperature probe
- Samsung ARTIK Cloud for IoT
- Arduino IDE
Water quality data monitoring for swimming pools, fish aquarium and more!
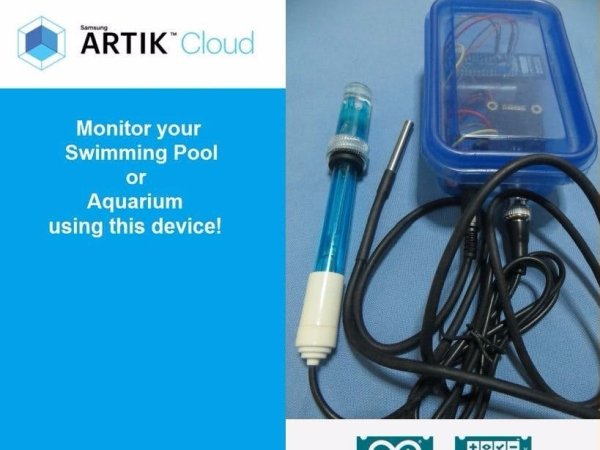
Things used in this project
Hardware components |
||||||
 |
|
× | 1 | |||
 |
|
× | 1 | |||
|
× | 1 | ||||
 |
|
× | 1 | |||
|
× | 1 | ||||
Software apps and online services |
||||||
 |
|
|||||
 |
|
|||||
Story
I. Objective
The primary objective of this project is to use Samsung ARTIK Cloud to monitor the pH and temperature levels of swimming pools.
II. ARTIK Cloud Setup
Step 1. Creating your new device
Sign up with ARTIK Cloud. Go to developer site and create new “device type”.
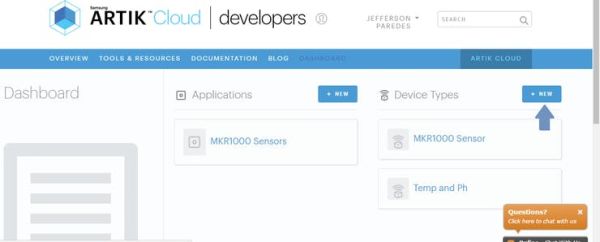
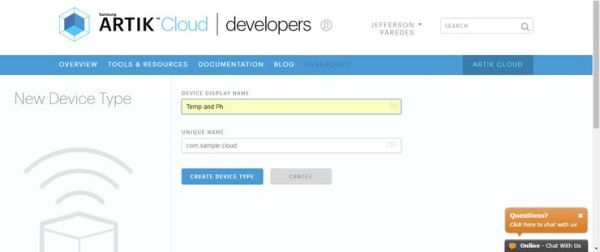
Enter your desired display and unique name.
Create new Manifest

Enter field name and other description
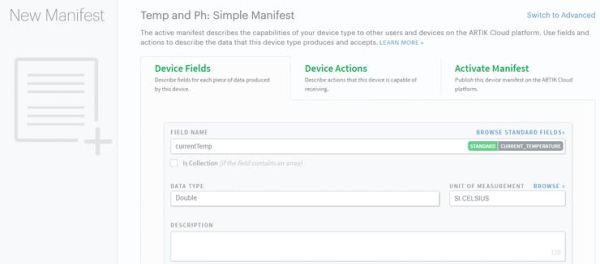
Click Save and then navigate to Activate Manifest Tab
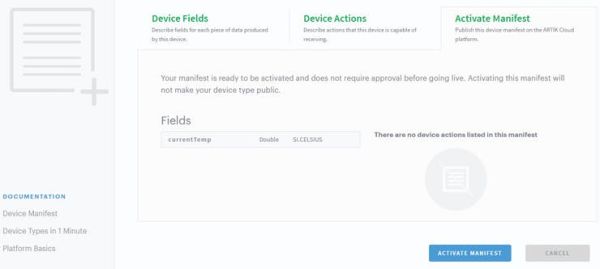
Click the ACTIVE MANIFEST Button to finish and you will be redirected here
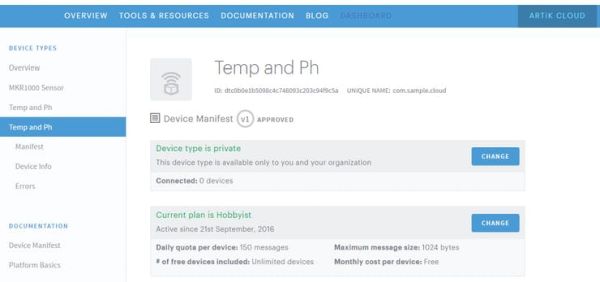
Done creating device type!
Now lets create your application that will use that device.
Step 2. Creating your application
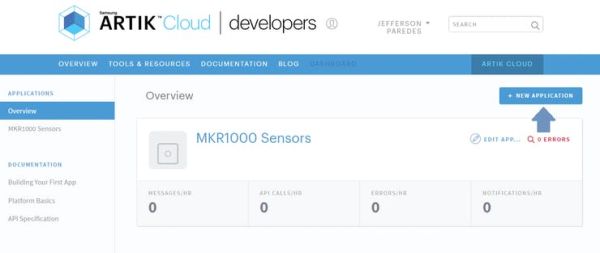
Navigate to ARTIK Cloud Applications.
Click new application
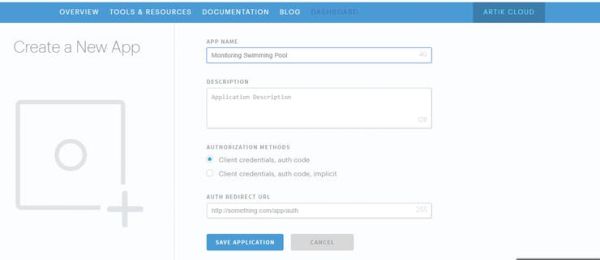
Enter your desired application name and authentication redirect url.
Note that the authentication redirect url is required. It is used to authenticate the users of this application hence will redirect to this url if in need of login.
We used http://localhost/index/ for sample.
Now set your application permission to read and write, navigate to your device then save.
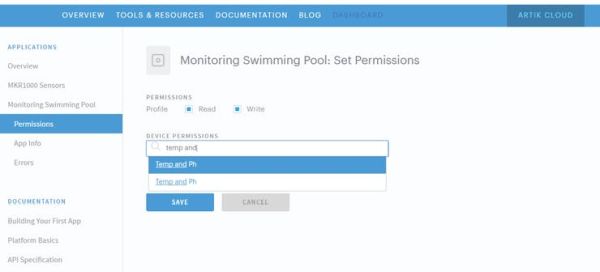
Congratulation you now have your application!
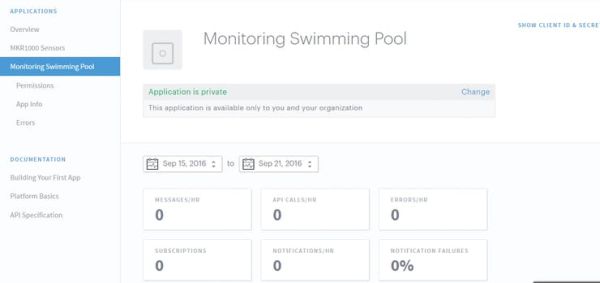
Now lets connect that application.
Step 3. Connect your device
Navigate to my devices and click connect another device.
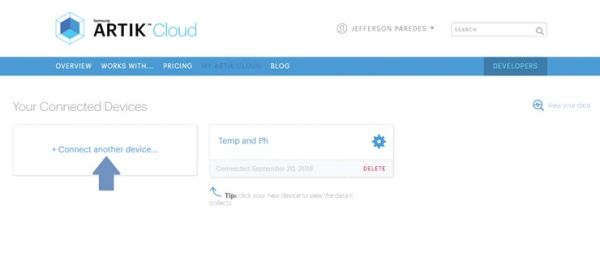
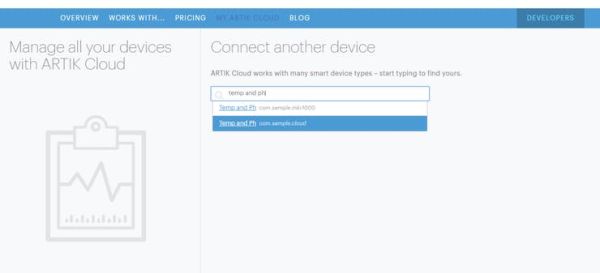
Click your new device type created earlier then click connect device.
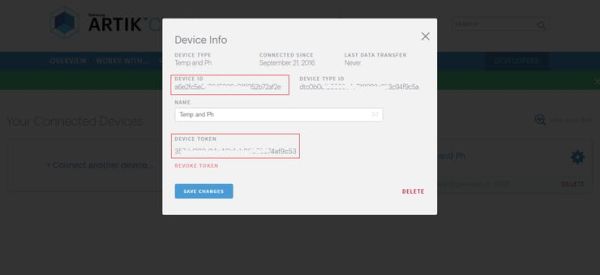
Click your connected device settings.
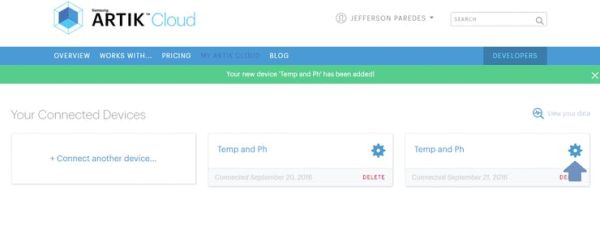
Take note of these info as you will needed it on the program.
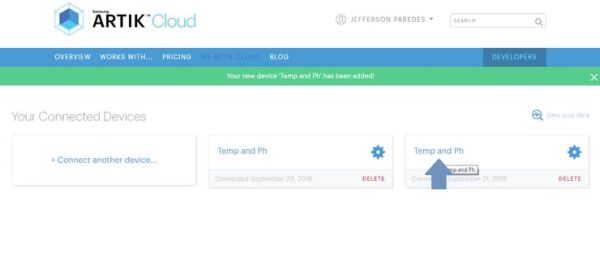
Now navigate to your connected device
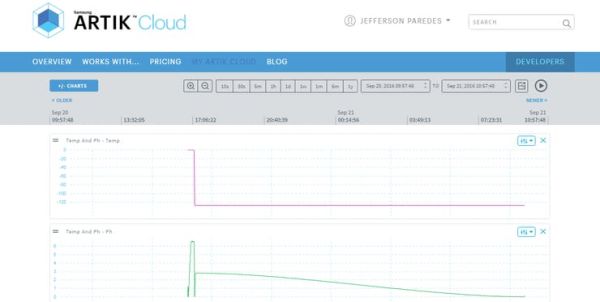
III. Hardware Sensor Setup
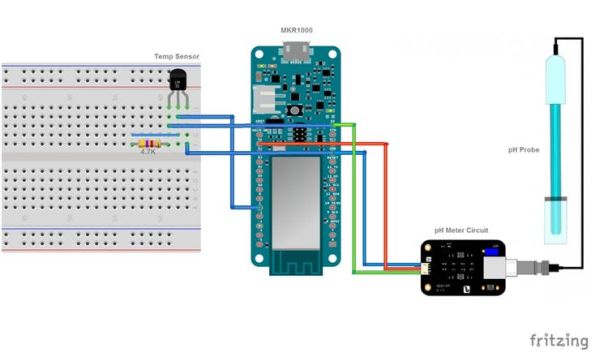
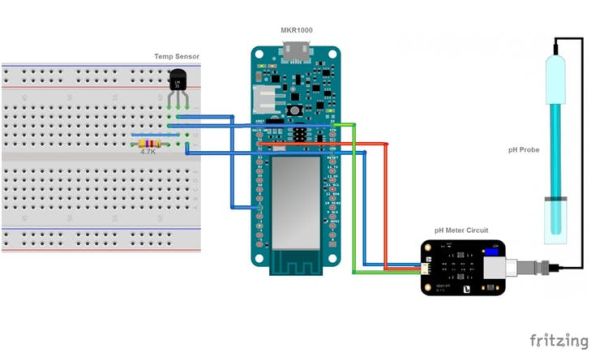
Step 1. Connect the Temp and pH Sensors to MKR1000.
Here’s the diagram:
- Temp GND to MRK1000 GND
- Temp OUT to MKR1000 Digital pin 1
- Temp VCC to MKR1000 5V
- Connect a 4.7K resistor to Temp VCC and Temp OUT
- pH GND to MRK1000 GND
- pH OUT to MKR1000 Analog pin 1
- pH VCC to MKR1000 5V
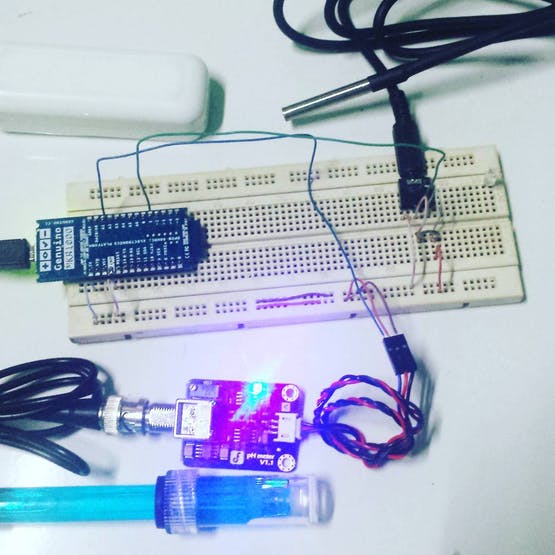
Here’s my sample wiring
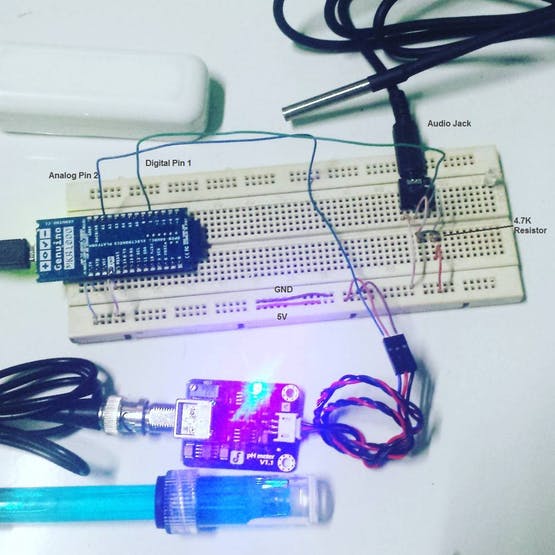
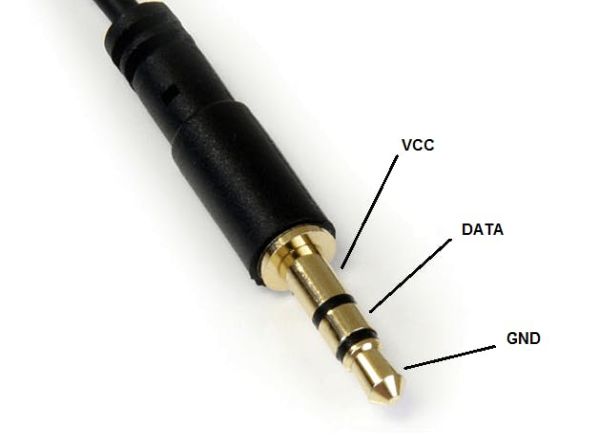
If you noticed we added an Audio Jack for easy detaching of temperature sensor. But this is optional.
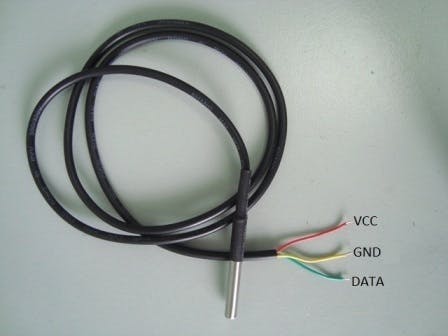
Here’s the connection of temperature sensor to the jack.
Step 2. Setup required software
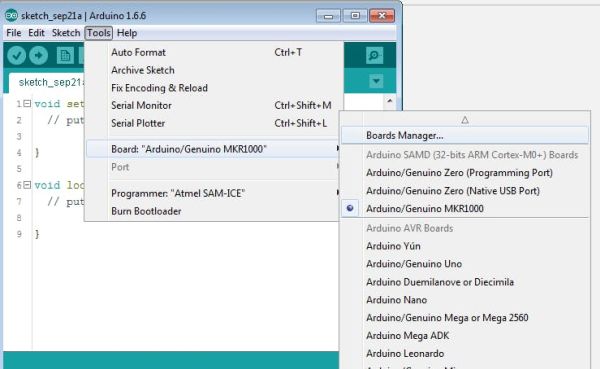
Go to Arduino IDE and add the MKR1000 board.
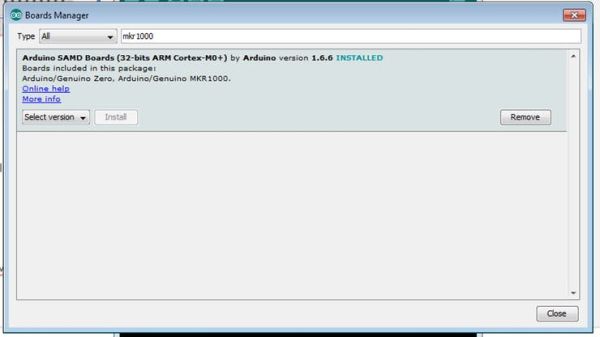
Search mkr1000 and click install
Add required library
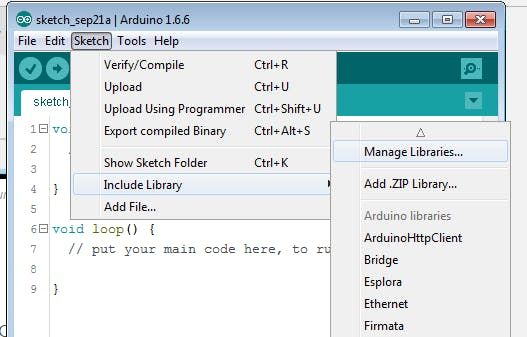
Search for libraries to install:
- ArduinoJson – we’ll be using this to send JSON data to ARTIK Cloud
- ArduinoHttpClient – host for connecting to API
- OneWire – needed to read digital input from Temperature sensor
- DallasTemperature – Dallas Temperature sensor required library
Finish adding required software!
Step 3. Upload the program
Now plug the MKR1000 to your PC/Laptop
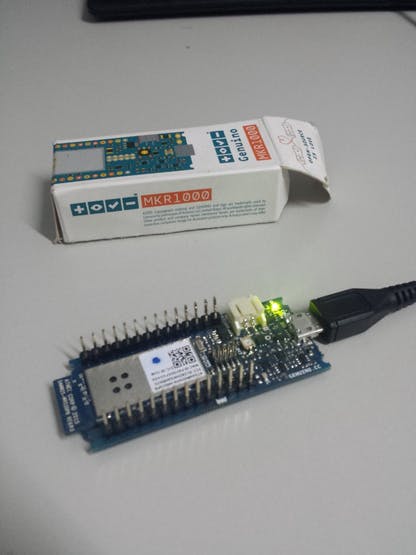
Download the software on GitHub here
Change the following info:
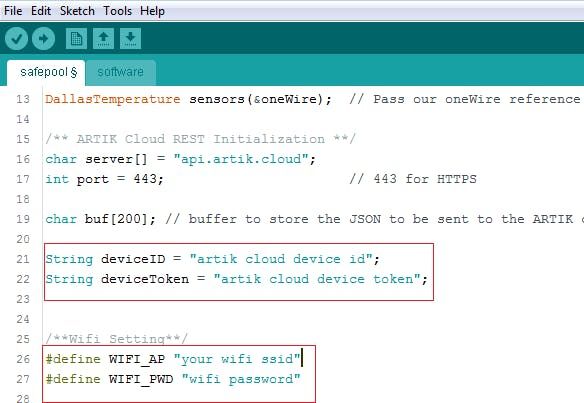
Then Upload the Software Code to MKR1000 and start monitoring.
Note: Your WiFi must have internet connection.
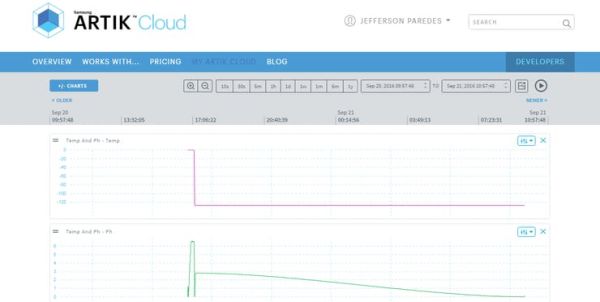
IV. Field Test
We have tested the hardware sensor to Private, Public and School Swimming Pool. Collecting the data from these respondents’ pool enabled us to analyze the capability of the hardware.
You can place the MKR1000 and sensor on a box and put it on your swimming pool away from water contamination. By doing this, you can monitor the quality of your water and normalize them by placing the desired chemicals.
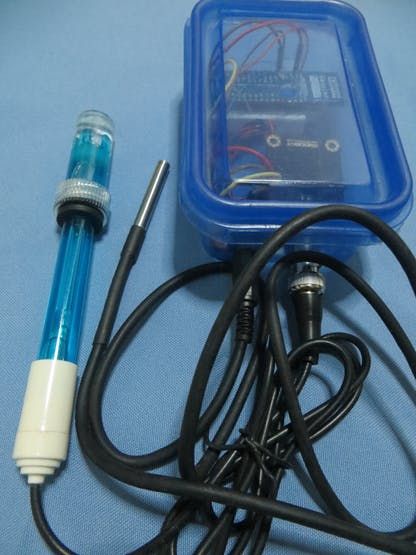
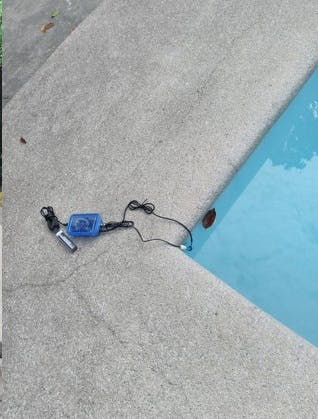
Soon we will upload the tutorial on how to put all the circuits inside this box and the actual footage of testing.
V. Results
Hope this tutorial helps people to build their own DIY swimming pool water quality monitoring device. May there will be an increased awareness regarding the continuous degradation of the swimming pool water quality as people tend to focus more on the amenities that are offered instead of checking how safe they are. They also intend to contribute to the community by being able to provide a means to make water quality testing more efficient and effective without the unnecessary sacrifice of resources.
Happy building! 🙂
Schematics
- What is the primary objective of this project?
The primary objective is to use Samsung ARTIK Cloud to monitor the pH and temperature levels of swimming pools. - How do you create a new device type on ARTIK Cloud?
You must sign up with ARTIK Cloud, go to the developer site, enter a display name, create a manifest, and click the Active Manifest button. - Can I use localhost as the authentication redirect URL?
Yes, the article notes that http://localhost/index/ was used as a sample authentication redirect URL. - Which libraries are required for the Arduino IDE setup?
The required libraries include ArduinoJson, ArduinoHttpClient, OneWire, and DallasTemperature. - Does the temperature sensor require a specific resistor value?
Yes, a 4.7K resistor must be connected between the Temperature sensor VCC and Temp OUT pins. - Where should the MKR1000 and sensors be placed during testing?
You can place the MKR1000 and sensors inside a box and put it on the swimming pool away from water contamination. - What digital pin is used for the temperature sensor data wire?
The data wire for the temperature sensor is plugged into digital port 1 of the Arduino. - How is the pH value calculated in the code?
The code uses analog readings from pin A1, averages them, calculates voltage, and applies a formula involving an offset to determine the pH value. - What happens if the number of samples is less than five?
If the number of samples is less than five, the code calculates the statistics directly by summing the values and dividing by the count. - Does the WiFi connection need internet access?
Yes, the article notes that your WiFi must have an internet connection to send data to the ARTIK Cloud API.
